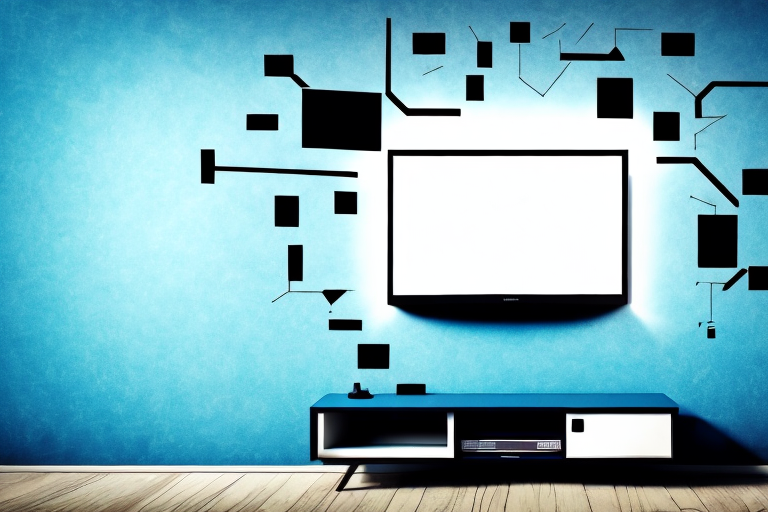
Mounting a TV on the wall not only clears up space, but also enhances the viewing experience of your favorite shows and movies. However, improper installation can lead to costly damages or injury. In this article, we will provide a comprehensive guide on how to mount a TV wall bracket between studs, including why it’s important, finding the optimal spot, measuring the distance between studs, tools and materials required, choosing the right type of TV wall bracket, preparing the wall surface, step-by-step installation, tips and tricks, common mistakes to avoid, troubleshooting common issues, enhancing your viewing experience, and maintenance and care tips.
Why Is It Important to Mount a TV on the Wall?
Mounting a TV on the wall is not only aesthetically pleasing, but also improves your viewing experience. Watching TV from eye level reduces neck and eye strain, and eliminates the need for a bulky entertainment center that takes up valuable space. Additionally, mounting the TV on the wall keeps it out of reach of children and pets, avoiding any potential hazards.
Another benefit of mounting a TV on the wall is that it can help to create a more immersive viewing experience. By positioning the TV at the optimal height and distance from your seating area, you can feel like you are part of the action on the screen. This is especially true for larger TVs, which can be difficult to fully appreciate when placed on a stand or table. With a wall-mounted TV, you can enjoy a more cinematic experience from the comfort of your own home.
Finding the Optimal Spot to Install the TV Wall Bracket
Before you begin mounting your TV wall bracket, you need to decide on the optimal spot for viewing. Find an area that allows you to comfortably view the screen without tilting your head up or down. Ideally, the center of the screen should be at eye level when seated. Also, consider the distance between the TV and seating area to avoid eye strain. A distance of 6-8 feet works well for a standard-sized living room.
Another important factor to consider when finding the optimal spot for your TV wall bracket is the lighting in the room. Avoid placing the TV in direct sunlight or in a spot where there is a lot of glare. This can cause eye strain and make it difficult to see the screen clearly. If you can’t avoid placing the TV in a bright area, consider investing in curtains or blinds to control the amount of light in the room.
Finally, think about the placement of other furniture in the room. Make sure that the TV is not obstructed by any other objects, such as shelves or cabinets. You want to ensure that the screen is visible from all angles in the room. Additionally, consider the placement of any speakers or sound systems that you may have. You want to make sure that the sound is evenly distributed throughout the room and that it complements the viewing experience.
Measuring the Distance Between Studs for Accurate Installation
It’s important to locate the studs in the wall before mounting the TV bracket. Studs are typically spaced 16-24 inches apart. You can use a stud finder tool or manually tap the wall to locate them. Once you have found the studs, measure the distance between them to determine the exact placement of your TV wall bracket. This will ensure a secure and stable installation.
It’s also important to consider the weight and size of your TV when determining the placement of the wall bracket. Larger and heavier TVs may require additional support, such as using multiple studs or a specialized mounting bracket. It’s recommended to consult the manufacturer’s instructions or seek professional assistance to ensure the proper installation of your TV wall bracket.
Tools and Materials Required for Mounting a TV Wall Bracket
You will need several tools and materials to mount your TV wall bracket, including a screwdriver, drill, level, measuring tape, stud finder, pencil, a mounting bracket, and screws or bolts. Make sure to use high-quality materials that can support the weight of the TV and bracket. It’s best to purchase a bracket that is rated for at least 2-3 times the weight of your TV.
Before you begin mounting your TV wall bracket, it’s important to consider the placement of the TV. Make sure the TV is at a comfortable viewing height and angle, and that it’s not in direct sunlight or near a heat source. You should also ensure that there are no obstructions or hazards in the area where the TV will be mounted, such as electrical outlets or cords.
How to Choose the Right Type of TV Wall Bracket for Your TV
There are various types of TV wall brackets available, including fixed, tilting, and full-motion brackets. The type you choose will depend on your specific needs. A fixed bracket holds the TV in a stationary position, while a tilting bracket allows the TV to be tilted up or down for optimal viewing. A full-motion bracket allows the TV to move in multiple directions. Consider the size and weight of your TV when choosing a bracket, as well as the VESA pattern, which is the standard measurement for TV mounting holes on the back of your TV.
It is also important to consider the location where you will be mounting your TV. If you plan to mount your TV in a high traffic area, such as a living room or family room, a full-motion bracket may be the best option as it allows you to adjust the TV to different viewing angles. However, if you plan to mount your TV in a bedroom or home office, a fixed or tilting bracket may be sufficient. Additionally, make sure to choose a bracket that is compatible with your wall type, whether it be drywall, concrete, or brick.
Preparing the Wall Surface for Installation of TV Wall Bracket
Clean the wall surface before installing the TV bracket to ensure a secure hold. Remove any dirt, debris, or wallpaper, and fill any holes or gaps in the wall with spackling compound. Allow the compound to dry and sand it down to a smooth surface. Use a stud finder to locate the studs and mark their location with a pencil.
It is important to consider the weight and size of your TV when selecting the appropriate wall bracket. Make sure to choose a bracket that can support the weight of your TV and is compatible with its size. Additionally, it is recommended to have a second person assist with the installation process to ensure safety and accuracy.
Step-by-Step Guide to Installing a TV Wall Bracket Between Studs
Once you have measured and marked the spot, follow these steps to mount the TV wall bracket:
- Hold the bracket against the wall, aligning the screws with the studs.
- Mark the location of the screw holes in the bracket with a pencil.
- Drill pilot holes into the marked spots.
- Secure the bracket to the wall using screws or bolts.
- Attach the mounting plate to the back of the TV, aligning it with the VESA pattern.
- Hook the mounting plate onto the bracket on the wall and secure it with safety screws.
- Use a level to ensure the TV is straight and adjust accordingly.
It is important to note that the weight of the TV should be taken into consideration when choosing the appropriate wall bracket. Make sure to select a bracket that can support the weight of your TV. Additionally, it is recommended to have a second person assist with the installation process to ensure safety and accuracy.
Tips and Tricks for Hiding Unsightly Cables and Wires
To keep your installation looking clean and professional, consider using cable management tools such as cord covers, tubing, or raceways. These tools hide wires and prevent them from dangling behind the wall-mounted TV. Additionally, using a wireless sound system can minimize the number of cords needed to be concealed.
Another useful tip is to label your cables and wires. This will make it easier to identify which cable belongs to which device, and will prevent confusion when trying to troubleshoot any issues. You can use cable ties or labels to mark each cable, and keep them organized. This will not only make your setup look neater, but it will also save you time and frustration in the long run.
Common Mistakes to Avoid When Installing a TV Wall Mount
One common mistake is not properly securing the mounting bracket. It’s essential to attach the bracket to the studs for a secure hold rather than just the drywall. Additionally, make sure to choose a bracket that is rated for the weight of your TV. Other common mistakes include installing the bracket too high or at an angle, and not using a level to ensure the TV is straight.
Another common mistake is not considering the viewing angle. It’s important to mount the TV at a height and angle that is comfortable for your viewing experience. This may require adjusting the height of your furniture or choosing a different wall for mounting.
Lastly, failing to properly hide the cables can detract from the overall appearance of your mounted TV. Consider using cable covers or running the cables through the wall for a clean and organized look.
Troubleshooting Common Issues with TV Wall Mounting
If you experience issues with your wall-mounted TV, check the bracket and screws for any looseness or damage. Also, double-check the cables to ensure they are properly connected. If the TV is tilting or sagging, adjust the bracket to ensure a secure hold. Check the manual for your specific bracket for additional guidance.
If you are still experiencing issues with your wall-mounted TV, it may be helpful to use a level to ensure that the bracket is installed correctly and that the TV is not crooked. Additionally, if you are mounting the TV on drywall, make sure to use anchors that are appropriate for the weight of your TV. If you are unsure about the installation process, it may be best to consult a professional to avoid any potential damage or safety hazards.
Enhancing Your Viewing Experience: Setting Up Sound Systems and Smart Technology with Your Mounted TV
With your TV mounted on the wall, you can enhance your viewing experience by setting up a sound system and smart technology. Soundbars or surround sound systems can provide improved audio quality. Additionally, smart technology such as Amazon Fire TV or Apple TV can allow you to access streaming content and control your TV with voice commands.
Maintenance and Care Tips for Your Newly Mounted TV
To maintain your new wall-mounted TV, regularly clean the screen and surrounding area with a microfiber cloth. Avoid using harsh chemicals or abrasive materials that could damage the screen. Additionally, inspect the bracket and screws periodically to ensure they are tight and secure.
In summary, mounting a TV wall bracket between studs is a great way to free up space and enhance your viewing experience. Make sure to properly measure, choose the right bracket and tools, prepare the surface, and follow the step-by-step installation guide to ensure a secure and stable hold. Hiding wires and cables, avoiding common mistakes, troubleshooting issues, enhancing your viewing experience, and maintaining your TV will keep your installation looking great for years to come.