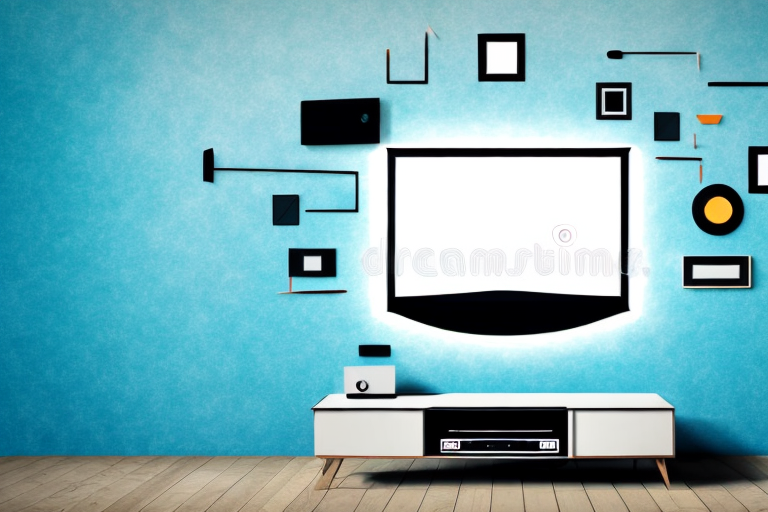
Mounting a TV on the wall is a great way to save space and achieve a sleek, modern look for your home entertainment system. However, mounting a 50-pound TV can seem like a daunting task. With the right preparation, tools, and know-how, anyone can do it. In this article, we’ll guide you through each step of mounting your TV safely and securely.
Choosing the Right Wall Mount for Your TV
The first step to mounting your TV is selecting the right wall mount for your TV’s size and weight. Make sure to choose a mount that is designed to handle a TV of your TV’s weight and size. Consult the manufacturer’s specifications or speak to a customer service representative to ensure that you are purchasing the correct mount.
Another important factor to consider when choosing a wall mount for your TV is the viewing angle. Think about where you will be sitting or standing while watching TV and choose a mount that allows for the best viewing experience. Some mounts offer tilting or swiveling options, which can be helpful if you need to adjust the angle of the TV to reduce glare or improve the viewing angle. Take the time to consider your viewing needs before making a final decision on which wall mount to purchase.
Measuring and Marking the Mounting Location
Before mounting your TV, you need to decide on the ideal location for it. Take into account factors like room layout, lighting, and other furniture. Once you’ve chosen a location, use a level to ensure that your mount will be installed straight. Mark the location for the mount with tape or pencil.
It’s important to also consider the height at which you want to mount your TV. A good rule of thumb is to mount it at eye level when seated. This will ensure comfortable viewing and prevent neck strain. If you have a large room or plan on mounting the TV above a fireplace, you may need to adjust the height accordingly.
Before drilling any holes, make sure to check for any electrical wires or plumbing behind the wall. You can use a stud finder to locate the studs in the wall, which will provide a secure anchor for the mount. If you’re unsure about any wiring or plumbing, it’s best to consult a professional before proceeding with the installation.
Gathering the Necessary Tools and Hardware
You’ll need a variety of tools and hardware to mount your TV. These may include a drill, screws, a stud finder, a level, and a screwdriver. Make sure you have everything on hand before beginning the installation process.
It’s important to note that the specific tools and hardware you need may vary depending on the type of wall you’re mounting your TV on. For example, if you’re mounting on a concrete wall, you may need specialized drill bits and anchors. Be sure to research the requirements for your specific wall type before gathering your tools.
In addition to the necessary tools and hardware, you may also want to consider purchasing a cable management system to keep your cords organized and hidden. This can help create a cleaner, more professional look for your mounted TV. Some cable management systems even allow you to run cords through the wall for an even more seamless appearance.
Preparing the Wall for Mounting
Before you begin drilling into the wall, use a stud finder to locate the studs behind the drywall. Mark the location of the studs on the wall and use a level to draw horizontal lines between them. This will give you a guide for attaching the wall plate. Then drill pilot holes on the studs where the wall plate will be mounted.
It is important to ensure that the wall is clean and free of any debris before mounting. Use a damp cloth to wipe down the area where the wall plate will be attached. This will ensure a secure and stable mount for your item. Additionally, if you are mounting a heavy item, it is recommended to use anchors in addition to the pilot holes to provide extra support.
Attaching the Mounting Bracket to the TV
Once your mount is secured to the wall, it’s time to attach the mounting bracket to the back of your TV. Typically, this is done by screwing the bracket into the VESA mounting holes on the back of the TV. Be sure to tighten the screws until they are snug, but be careful not to overtighten them.
It’s important to note that not all TVs have VESA mounting holes. If your TV doesn’t have these holes, you may need to purchase an adapter or a different type of mount that is compatible with your TV. Additionally, make sure to check the weight limit of your mount and ensure that your TV falls within that limit to avoid any accidents or damage to your TV.
Securing the Wall Plate to the Wall
With the bracket attached to the TV, it’s time to secure the wall plate to the wall. Use screws to attach the wall plate to the pilot holes made earlier. Make sure the plate is aligned with the horizontal lines drawn earlier.
Before securing the wall plate, it’s important to ensure that the wall is strong enough to support the weight of the TV and bracket. If you’re unsure, consult a professional or use a stud finder to locate the studs in the wall for added support.
Once the wall plate is securely attached, you can tidy up any loose cables by using cable ties or a cable cover to keep them neat and organized. This will not only improve the appearance of your setup, but also prevent any tripping hazards or damage to the cables.
Hanging Your TV on the Wall Mount
Now for the moment of truth: it’s time to hang your TV on the wall mount. Lift your TV and carefully align the mounting bracket with the wall plate. Once it’s in place, tighten any screws or locking mechanisms that your mount may have to secure it in place. Check to make sure your TV is level and adjust as necessary.
It’s important to note that the weight of your TV will determine the type of wall mount you need. Make sure to choose a mount that can support the weight of your TV. Additionally, consider the placement of the mount and the viewing angle. You want to make sure the TV is at a comfortable height and angle for optimal viewing. If you’re unsure about any of these factors, consult a professional or do some research before proceeding with the installation.
Adjusting Your TV’s Viewing Angle and Height
Now that your TV is mounted, you’ll want to make sure it’s positioned correctly for optimal viewing. Adjust the height and angle of your TV by loosening the screws on the mounting bracket and moving it into the desired position.
It’s important to consider the lighting in the room when adjusting your TV’s viewing angle. If there is a lot of natural light coming in from windows or if there are bright lights in the room, you may need to adjust the angle of the TV to reduce glare and improve the picture quality. Experiment with different angles until you find the best position for your TV.
Testing and Ensuring a Secure Installation
After your TV is securely mounted, do a final check to make sure it’s level and straight. Give it a gentle shake to test that it’s stable and won’t fall. Also be sure to check your TV’s manual for any other recommendations or specific instructions for securing the mount.
It’s important to note that the weight of your TV should also be taken into consideration when selecting a mount. Make sure the mount you choose is rated to support the weight of your TV. Additionally, if you have children or pets in your home, it’s a good idea to consider adding extra security measures such as a safety strap or lock to prevent the TV from being accidentally knocked over.
Troubleshooting Common Mounting Problems
If you encounter any issues with mounting your TV, check for loose screws, unaligned mounting brackets, and make sure your mount is compatible with your TV’s weight and size. Be sure to follow all safety procedures when working with a mounted TV to avoid injury or damage to your TV or home.
If you have checked for loose screws and unaligned mounting brackets, but are still having trouble mounting your TV, consider seeking professional help. A professional installer can ensure that your mount is securely attached to the wall and that your TV is properly mounted. Additionally, they can advise you on the best placement for your TV to optimize viewing angles and minimize glare. While it may cost more than a DIY installation, it can save you time and frustration in the long run.
Maintenance Tips for Your Wall-Mounted TV
Caring for your wall-mounted TV is critical to ensure it lasts for years to come. Dust your TV regularly and avoid exposing it to extreme temperatures or moisture. Check for any loose or damaged screws, and tighten or replace as necessary. Finally, make sure to periodically check the mounting bolts and brackets to ensure they remain secure and stable.
With these steps and some attention to safety and detail, you’ll have your 50-pound TV securely mounted in no time. Enjoy the space-saving benefits and sleek look of a wall-mounted TV for years to come!
It’s also important to consider the location of your wall-mounted TV. Avoid mounting it in direct sunlight or near a heat source, as this can cause damage to the screen and internal components. Additionally, make sure to keep any objects or furniture away from the TV that could potentially fall and damage it. By taking these extra precautions, you can ensure that your wall-mounted TV stays in great condition and provides you with high-quality entertainment for years to come.