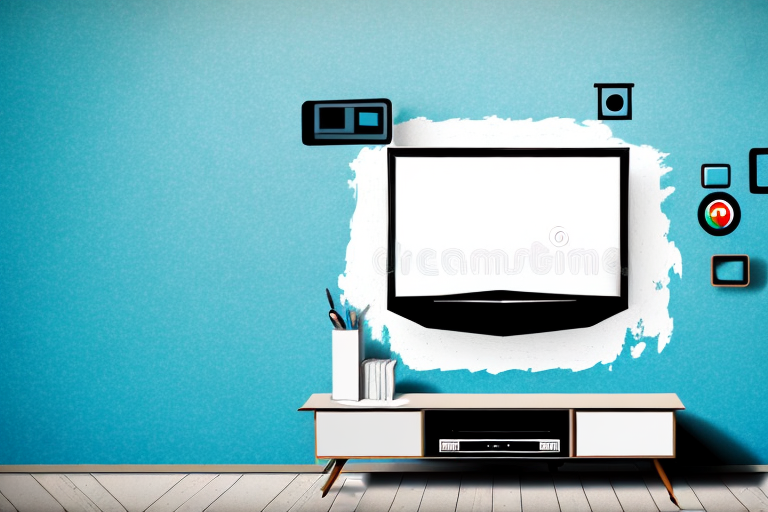
Are you tired of your TV taking up valuable space on a table or stand? Mounting your TV on the wall can not only save space but also provide a more enjoyable viewing experience. In this article, we’ll guide you through the process of installing a wall TV mount, including the materials you’ll need, the types of mounts available, and how to troubleshoot common issues.
Materials Required for Wall TV Mount Installation
Before we dive into the installation process, let’s first take a look at the materials you’ll need. These include:
- Wall mount
- Screws and bolts
- Level
- Drill and drill bit
- Screwdriver
- Stud finder
- Tape measure
- Pencil or marker
- Optional: cable ties, wire cutters, and wire concealment kit
It’s important to note that the size and weight of your TV will determine the type of wall mount you need. Make sure to check the specifications of your TV and wall mount to ensure they are compatible. Additionally, if you’re mounting your TV on a brick or concrete wall, you’ll need special anchors and drill bits to secure the mount.
Before you begin drilling into your wall, use a stud finder to locate the studs behind the drywall. This will ensure that your TV is securely mounted and won’t fall off the wall. If you can’t find a stud in the desired location, you’ll need to use toggle bolts or other types of anchors to secure the mount.
Types of Wall TV Mounts
There are three primary types of wall TV mounts: fixed, tilting, and full-motion. Fixed mounts offer the most stability, but don’t allow for any adjustment once the TV is mounted. Tilting mounts provide more flexibility, allowing you to angle the TV up or down. Full-motion mounts offer the most flexibility since they allow you to adjust the TV’s viewing angles and position. Consider your viewing needs and preferences when selecting a mount.
Another important factor to consider when selecting a wall TV mount is the weight and size of your TV. Make sure to choose a mount that can support the weight and size of your TV to ensure it stays securely mounted on the wall. Additionally, it’s important to consider the location of the mount and the viewing angle. For example, if you plan to mount your TV in a corner, a full-motion mount may be the best option to ensure you can adjust the viewing angle to your liking.
When installing a wall TV mount, it’s important to follow the manufacturer’s instructions carefully to ensure proper installation and avoid any damage to your TV or wall. It’s also recommended to have a professional install the mount if you’re not comfortable doing it yourself. With the right wall TV mount and proper installation, you can enjoy your favorite shows and movies from the perfect viewing angle.
Measuring the Wall and TV for Mounting
It’s essential to measure both the TV and the wall before choosing a mount and beginning installation. Measure the TV’s dimensions and weight and ensure that it’s compatible with the mount you’ve chosen. Measuring the wall will help you determine the mount’s placement and ensure it’s level. Use a stud finder to locate the wall studs, as they’ll provide the necessary support for your TV.
When measuring the TV, it’s important to consider the VESA pattern, which refers to the distance between the mounting holes on the back of the TV. This pattern should match the mount you’ve chosen to ensure a secure fit. Additionally, consider the viewing angle and height when choosing the mount’s placement on the wall. You want to ensure that the TV is at a comfortable viewing height and angle for your space.
Before drilling any holes in the wall, it’s a good idea to check for any potential obstacles, such as electrical wiring or plumbing. You can use a stud finder with a built-in voltage detector to help identify any potential hazards. It’s also important to choose the right type of mount for your wall, whether it’s drywall, concrete, or brick. This will ensure that the mount is securely attached and can support the weight of your TV.
Choosing the Right Location for Wall TV Mount
Select a location that provides a comfortable viewing experience and that won’t require awkward neck movements. Choose a spot with adequate wall space and consider the TV’s size, viewing height, and angles before making the final decision.
It’s also important to consider the room’s lighting when choosing a location for your wall TV mount. Avoid placing the TV in direct sunlight or in a spot where there is a lot of glare. This can cause eye strain and make it difficult to see the screen clearly. If possible, choose a location where you can control the lighting, such as a room with curtains or blinds that can be closed.
Preparing the Wall for Installation
Before installing the mount, clear the area and remove any obstructions. Double-check the wall’s surface before proceeding to make sure it’s sturdy and will support the weight of the mount and TV. Ensure that there’s enough space for any wiring or cables needed for your setup.
If the wall is not sturdy enough, you may need to reinforce it with additional support. This can be done by adding a piece of plywood or a mounting plate to the wall before attaching the mount. It’s important to make sure that the additional support is securely attached to the wall studs to prevent any accidents or damage to your TV.
Installing the Wall TV Mount Bracket
Now that you’ve prepared the wall and gathered the necessary materials, it’s time to install the mount. Begin by attaching the bracket to the TV’s backside using the screws provided, following the instructions provided with the mount.
Once the bracket is securely attached to the TV, hold the mount against the wall at the desired height and mark the spots where the screws will go. Use a level to ensure that the mount is straight before drilling the holes and inserting the screws. Make sure the screws are tight and the mount is securely attached to the wall.
After the mount is installed, carefully lift the TV and attach it to the bracket. Double-check that the TV is level and securely attached to the mount before letting go. Finally, tidy up any loose cables and cords to complete the installation process.
Securing the TV to the Mount Bracket
Once the bracket is securely attached to the TV, it’s time to attach it to the wall mount. Lift the TV and hand off to an assistant who can hold the TV while you attach it to the mount. Begin by attaching the top bracket first, ensuring that it’s securely fastened before moving to the bottom bracket. Once both brackets are securely fastened to the mount, double-check the mount and brackets to ensure they’re level and secure.
It’s important to note that the weight of the TV should be evenly distributed on the mount bracket. If the weight is not evenly distributed, it can cause the TV to tilt or even fall off the mount. To ensure even weight distribution, adjust the brackets as needed and use a level to make sure the TV is straight.
Additionally, it’s recommended to use safety straps or anti-tip devices to further secure the TV to the wall. These devices can prevent the TV from tipping over in case of accidental bumps or earthquakes. Always follow the manufacturer’s instructions when installing safety straps or anti-tip devices.
Adjusting the TV Angle and Viewing Height
With the TV securely attached to the wall mount, adjust the viewing angle and height to suit your preference. Full-motion mounts provide the most flexibility, allowing for adjustment up, down, left, and right. However, even fixed mounts have a degree of adjustable angle, so experiment with moving your TV around to find the ideal viewing position.
It’s important to consider the lighting in the room when adjusting the TV angle and height. If there is a lot of natural light coming in from windows, you may need to adjust the angle of the TV to reduce glare. Similarly, if you have overhead lighting, you may need to adjust the height of the TV to avoid any reflections on the screen.
Another factor to consider is the distance between the TV and your seating area. If the TV is too high or too low, it can cause neck strain or discomfort. The general rule of thumb is to have the center of the TV screen at eye level when seated. However, this may vary depending on your personal preference and the size of the TV.
Concealing Wires and Cables
Now that your TV is securely mounted, it’s essential to tidy up any wires and cables that’ll be visible. Utilize cable ties to bundle up wires and keep them neat and tidy. Wire concealment kits are also readily available, providing an easy solution to hiding wires within the wall.
Another option for concealing wires and cables is to use cord covers. These covers come in various sizes and colors, and can be easily attached to the wall to hide any unsightly cords. They are especially useful for hiding wires that run along the baseboard or floor.
If you’re feeling creative, you can also use decorative elements to conceal wires and cables. For example, you can use a decorative basket or box to hide a power strip or surge protector. This not only keeps your wires organized but also adds a stylish touch to your room.
Troubleshooting Common Issues during Installation
During the installation process, you may encounter some common issues, such as incorrect placement of the bracket, trouble finding the studs, or difficulty mounting the TV. If you’re facing any of these issues, consult the user manual or seek professional help.
Another common issue that may arise during installation is the lack of necessary tools. Make sure you have all the required tools before starting the installation process. This will save you time and prevent frustration.
Additionally, it’s important to consider the weight and size of your TV when choosing a bracket. Choosing the wrong bracket can result in the TV falling off the wall or causing damage to the wall. Make sure to carefully read the specifications and weight limits of the bracket before purchasing and installing it.
Tips for Maintaining Your Wall Mounted TV
To prolong the life of your wall-mounted TV, dust it regularly and avoid pressing buttons too hard. Always follow the manufacturer’s instructions when cleaning your TV and avoid using harsh chemicals or sprays directly on the screen. Consider investing in a TV screen cleaner or a microfiber cloth for easy, gentle cleaning.
Cost Comparison of DIY vs. Professional Installation
While it’s possible to install a wall TV mount yourself, it may be beneficial to hire a professional installer. Professional installation can provide peace-of-mind that the mount and TV are securely attached and ensure that the wiring and cable concealment are safely installed. Be sure to weigh the cost and time constraints when deciding to hire a professional installer.
Now that your TV is securely mounted to the wall and tidied up, it’s time to sit back, relax, and enjoy your favorite shows with an improved viewing experience.