Are you planning to give your living room a sleeker look by wall mounting your TV on concrete? It can seem like a daunting task, but you can easily achieve it by following a few simple steps. In this article, we will guide you through the process of wall mounting a TV on concrete, ensuring that it is stable and safe, and providing tips to make your installation look professional.
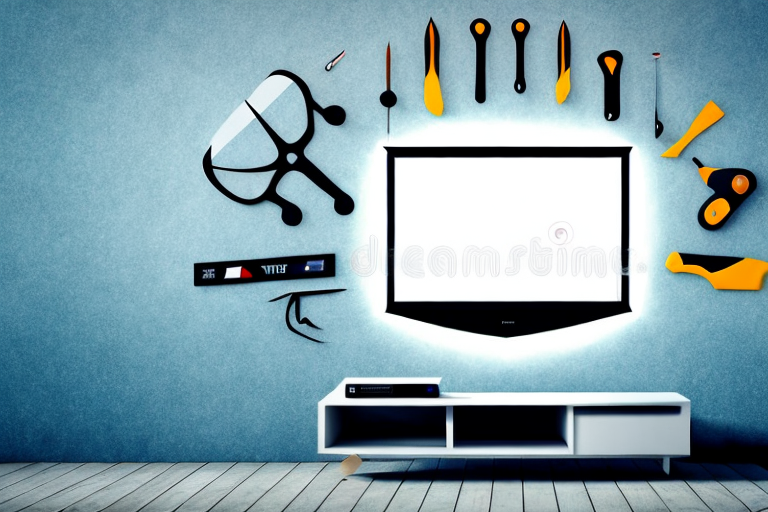
Gathering the necessary tools and materials
The first step is to gather all the necessary tools and materials for the project. You will need a drill, hammer drill, concrete drill bit, level, measuring tape, pencils or marker pens, anchors, screws, and a mounting bracket. While selecting a bracket, ensure that it is compatible with the size and weight of your TV. It’s essential to gather all the materials before beginning the installation to avoid running out and causing unnecessary delays during your installation.
Additionally, it’s important to consider the location of the installation and any potential obstacles that may affect the process. For example, if you plan to mount the TV above a fireplace, you may need to use a specialized bracket that allows for proper ventilation and heat dissipation. It’s also important to ensure that the wall you plan to mount the TV on is sturdy enough to support the weight of the TV and bracket. If you have any doubts, it’s best to consult a professional or seek advice from a hardware store before proceeding with the installation.
Preparing the concrete wall for mounting
To ensure that your TV mount is stable, you need to prepare the concrete wall adequately. Start by removing any dust, dirt, or debris from the wall’s surface. If the wall is painted, sand off the paint in the area where you intend to mount your TV. Take a damp cloth and wipe the wall to remove the remaining debris. Let the wall dry completely before proceeding.
Next, you need to locate the studs in the wall. Use a stud finder to locate the studs and mark their positions with a pencil. This step is crucial as it ensures that your TV mount is securely attached to the wall. If you cannot locate the studs, use toggle bolts to mount your TV.
Before drilling any holes, double-check the measurements and ensure that the TV mount is level. Use a level to ensure that the mount is straight. Once you have confirmed the measurements and levelness, drill the holes into the wall. Insert the anchors into the holes and screw them in tightly. Finally, attach the TV mount to the anchors and ensure that it is securely fastened to the wall.
Measuring and marking the mounting location
One of the most important things to ensure correct placement is accuracy throughout the measurement process. Use a tape measure and a level to mark out the mounting location. Make sure the TV’s center aligns with the viewer’s eye level with significant symmetry. Using a pencil or marker pen, mark two spots where you intend to drill the holes for your mount. Ensure that both points are level, and the gap between them is the same as the mounting bracket measured earlier.
It is also important to consider the weight of the TV and the type of wall you are mounting it on. If you are mounting on drywall, it is recommended to use anchors to ensure the mount is secure. For heavier TVs, it may be necessary to use a stud finder to locate the studs in the wall and mount the TV directly onto them. Always follow the manufacturer’s instructions for your specific mount and TV to ensure a safe and secure installation.
Drilling holes for anchors
With the wall marked, you can now proceed to drill holes for the anchors. Start by using a small drill bit to drill the pilot holes (to reduce the risk of cracking the concrete) and then switch to the concrete drill bit. Use the hole size recommended for the anchors you have. Drill halfway through each mark with a hammer drill using firm pressure and spiral movement gently. Then use a drill driver to complete the holes, which should be the same depth as the anchors you purchased.
It is important to note that the type of anchor you use will depend on the weight of the object you are hanging and the type of wall you are drilling into. For example, if you are hanging a heavy mirror on a drywall, you will need to use toggle bolts instead of regular anchors. Make sure to read the packaging of the anchors carefully before purchasing them.
After drilling the holes, it is recommended to clean them out with a vacuum or compressed air to remove any debris. This will ensure that the anchors fit snugly into the holes and provide a secure hold. Once the holes are clean, insert the anchors and tap them gently with a hammer until they are flush with the wall. Finally, attach the object to the wall using screws and a drill driver.
Inserting anchors into the wall
With your pilot holes drilled, take the plastic sleeves or Anchors and gently tap them into the hole. They should be flush with the wall’s surface. If they are not, you may need to hammer them in place until they are. Once the anchors are inserted, use a screwdriver or wrench to tighten them securely, putting the bracket in its place.
It is important to choose the right size and type of anchor for the weight of the object you are hanging. If the anchor is too small or weak, it may not be able to support the weight and could come loose from the wall. On the other hand, if the anchor is too large or strong, it could damage the wall or even cause it to collapse.
Before inserting the anchors, make sure to clean the area around the pilot holes to remove any dust or debris. This will ensure a tight fit and prevent the anchor from slipping or spinning in the hole. Additionally, if you are hanging something in a high-traffic area or in a location where it may be bumped or jostled, consider using adhesive strips or double-sided tape in addition to the anchors for added security.
Attaching the mounting bracket to the wall
Next, it’s time to attach the mounting bracket to the wall. With the anchors in place, align your bracket holes with its corresponding anchors. Once aligned, fasten each screw to the anchors using a wrench or screwdriver until they are tight. Make sure that there are no loose screws before attaching the TV mount on the bracket.
It’s important to ensure that the mounting bracket is level before attaching it to the wall. You can use a level tool to check if the bracket is straight. If it’s not level, adjust the bracket until it is. This will ensure that your TV is mounted straight and won’t tilt to one side.
Before drilling any holes into the wall, it’s important to check for any electrical wires or plumbing pipes that may be hidden behind the wall. You can use a stud finder to locate any studs or pipes. If you’re unsure, it’s best to consult a professional to avoid any damage or accidents.
Securing the TV to the bracket
Now that the bracket is securely in place, it’s time to fix the TV onto it. Depending on the mount type, you may need an extra set of hands to help hold the TV while you attach it to the bracket. Slide the hanging bracket on the TV to the corresponding bracket on the wall—siding side to side until it clicks the locking mechanism. Grab hold of the TV and try to shake it gently to see if it feels stable. If you feel it contains moves, then adjust the screws to make sure that it is firmly in place.
It’s important to note that the weight of the TV should be evenly distributed on the bracket. If the TV is not centered on the bracket, it can cause the bracket to become unbalanced and potentially lead to the TV falling off. Use a level to ensure that the TV is straight and centered before tightening the screws. Additionally, make sure that all cables and cords are properly secured and not pulling on the TV, as this can also cause instability.
Testing the mount for stability and safety
Once the TV is securely attached to the bracket, test it for stability and safety. Wiggle the TV gently to ensure that it is not loose and securely anchored. Test the mount’s stability to ensure that it can support the weight of the TV without problems. This will help you identify potential problems and prevent any accidents in the future.
Tips for hiding cables and wires
If you want to make your wall mounted TV look more professional, you can hide the cables and wires from sight. Run the cables through PVC piping or tubing, a range of which you can find at your local home goods store. Conceal tubes or pipes behind furniture or underneath a room’s molding or baseboard. If you would like to maintain a clean and uncluttered look, look into purchasing wireless speakers to reduce the need for cables or wires.
Common mistakes to avoid when wall mounting a TV on concrete
Make sure you avoid common mistakes that you should avoid when wall mounting a TV on concrete. Some of the common mistakes include drilling too deep, using unsuitable anchors, and not aligning or levelling the bracket correctly. Double-check all aspects of the installation and perform any necessary fixes before moving on.
Troubleshooting issues with your wall mount
Make sure you plan your installation according to your needs, assess what you want to achieve, and ensure that there are no obstacles in your way or any potential problems. However, if you encounter any issues, such as an unbalanced bracket or problems with aligning it, consult the guides and videos available online. If all else fails, consult a professional to troubleshoot your installation or give you expert advice.
Frequently asked questions about wall mounting a TV on concrete
Some of the frequently asked questions about wall mounting a TV on concrete include what type of drill bit to use or the most suitable anchors for concrete walls. Consult our resource article or explore commonly asked questions online to get answers to your burning questions and find suitable solutions.
Conclusion: Enjoying your newly mounted TV on a concrete wall
Now that you know how to install your TV mount safely and securely, enjoy your newly mounted TV on your concrete wall by following the steps above. It may take time, effort, and patience to install the mount correctly, but with careful planning, attention to detail, and the right tools, you can complete the installation confidently, safely and securely.