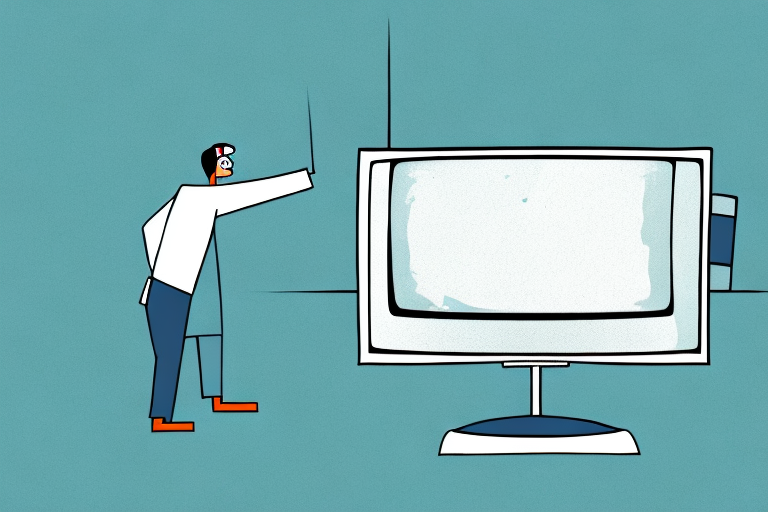
Mounting a television on a wall is a great way to save space and enhance your viewing experience. But what do you do when you need to take it down? Removing a TV wall mount may seem like a daunting task, but with the right tools and approach, it can be done safely and efficiently. In this article, we’ll take a detailed look at how to take down a TV wall mount, from understanding the different types of mounts to troubleshooting common issues. Read on for a step-by-step guide to removing a TV wall mount.
Tools you will need to take down a TV wall mount
Before starting the process of taking down a TV wall mount, it’s important to have the right tools at hand. Here is a list of the essential tools you will need:
- Screwdrivers (flathead and Phillips)
- Wrench or pliers
- Measuring tape
- Wire cutters (if necessary)
- Level
Aside from the essential tools listed above, there are a few additional tools that can make the process of taking down a TV wall mount easier. One such tool is a stud finder, which can help you locate the studs in the wall and ensure that you are mounting the TV in a secure location. Another useful tool is a power drill, which can make it easier to remove screws and bolts that may be difficult to remove by hand.
It’s also important to have protective gear on hand when taking down a TV wall mount. Safety goggles can protect your eyes from debris and dust, while gloves can protect your hands from sharp edges and cuts. Additionally, having a drop cloth or tarp on hand can help protect your floors and furniture from any debris that may fall during the process.
Understanding the different types of TV wall mounts
When taking down a TV wall mount, it’s important to know the type of mount you have, as this will determine the specific steps required. The three most common types of TV wall mounts are:
- Fixed mounts: These mounts do not allow for any tilt or swivel movements. They are the simplest type of mount to take down.
- Tilting mounts: These mounts allow for vertical tilts, but not horizontal movements. They are slightly more difficult to remove.
- Full-motion mounts: These mounts provide the most flexibility in terms of movement, allowing for both horizontal and vertical adjustments. They are the most complex type of mount to take down.
It’s important to note that the weight and size of your TV will also play a role in determining the type of mount you need. For larger and heavier TVs, it’s recommended to use a fixed or tilting mount, as they provide more stability and support. Full-motion mounts are better suited for smaller and lighter TVs, as they may not be able to support the weight and movement of larger screens.
Steps to safely remove a fixed TV wall mount
To remove a fixed TV wall mount, follow these steps:
- Use a screwdriver to remove any screws that are holding the wall bracket to the wall.
- Loosen the screws that are holding the TV bracket to the back of the TV.
- Gently lift the TV off the wall bracket.
- Remove the wall bracket from the wall by unscrewing any remaining screws.
It is important to note that before attempting to remove a fixed TV wall mount, you should ensure that the TV is turned off and unplugged from the power source. This will prevent any potential electrical hazards during the removal process.
Additionally, it is recommended to have a second person assist with the removal of the TV from the wall mount. This will help to ensure that the TV is lifted off the wall bracket safely and without any damage to the TV or the wall.
Step-by-step guide to taking down a tilting TV wall mount
To remove a tilting TV wall mount, follow these steps:
- Start by tilting the TV up so that it is parallel to the wall.
- Remove any screws that are holding the wall bracket to the wall.
- Loosen the screws that are holding the TV bracket to the back of the TV.
- Gently lift the TV off the wall bracket.
- Remove the wall bracket from the wall by unscrewing any remaining screws.
It is important to note that before attempting to remove a tilting TV wall mount, you should ensure that the TV is turned off and unplugged from the power source. Additionally, it is recommended to have a second person assist you in lifting the TV off the wall bracket to avoid any accidents or damage to the TV or wall. Once the wall mount is removed, be sure to properly dispose of any screws or materials and patch up any holes left in the wall.
Removing a full-motion TV wall mount: What you need to know
To remove a full-motion TV wall mount, follow these steps:
- Position the TV in its most upright position.
- Locate the locking mechanism on the mount and disengage it.
- Hold the TV with one hand and use a wrench or pliers to loosen the bolts holding the mount to the wall.
- Once the mount is loose, remove any screws that are holding the wall bracket to the wall.
- Release the TV from the mount and carefully lower it to the ground.
- Remove the wall bracket from the wall by unscrewing any remaining screws.
It is important to note that before removing the TV from the mount, you should unplug all cables and cords connected to the TV. This will prevent any damage to the TV or the cables during the removal process. Additionally, it is recommended to have a second person assist with the removal to ensure the TV is safely lowered to the ground.
Tips on removing an articulating TV wall mount without damaging your wall
Articulating TV wall mounts require extra care when being removed. Here are some tips:
- Always have someone to help you lift and maneuver the TV as you take it down.
- Use a stud finder to locate the studs in the wall before removing the wall bracket.
- If you need to remove anchor bolts, use a pair of wire cutters to compress and twist them until they break off. This will minimize damage to the wall.
Another important tip is to make sure you have all the necessary tools before attempting to remove the wall mount. This includes a screwdriver, pliers, and a level. Having these tools on hand will make the process smoother and less stressful.
It’s also a good idea to have a plan for where you will place the TV once it’s removed from the wall mount. Make sure you have a safe and secure location to set it down, such as a sturdy table or another wall mount. This will prevent any accidental damage to the TV or injury to yourself or others.
How to patch up your wall after taking down a TV wall mount
Once you have removed the TV wall mount, you may notice holes or scratches on the wall. Here’s how to fix them:
- For small holes, use spackle to fill them in and let them dry overnight. Then sand the area smooth and repaint it.
- For larger holes or scratches, use joint compound to fill them in. Let the compound dry, then sand and repaint the area.
It’s important to note that the type of wall you have will affect the repair process. If you have a drywall wall, the above steps will work well. However, if you have a plaster wall, you may need to use a plaster patching compound instead of joint compound.
If you’re unsure about how to proceed with the repair, it’s always a good idea to consult with a professional. They can assess the damage and recommend the best course of action to ensure that your wall looks as good as new.
Precautions to take when removing a heavy-duty TV wall mount
If you have a heavy-duty TV wall mount, it’s important to take extra precautions when removing it:
- Wear gloves and eye protection to prevent injury.
- Have someone to help you lift and maneuver the TV and mount.
- If the mount is attached to concrete or brick, use a drill with a masonry bit to remove the screws.
Additionally, before removing the mount, make sure to unplug all cables and cords from the TV and any other devices connected to it. This will prevent any damage to the devices or injury to yourself during the removal process.
Furthermore, if you are unsure about how to safely remove the mount, it’s best to consult a professional. They will have the necessary tools and expertise to safely remove the mount without causing any damage to your wall or TV.
Troubleshooting common issues when taking down a TV wall mount
Here are some common issues you may encounter when removing a TV wall mount, along with their solutions:
- If you can’t find all the screws holding the mount to the wall, use a magnet to locate them.
- If the TV won’t come off the bracket, double-check that all the screws holding it in place have been removed.
- If the mount is stuck to the wall, use a putty knife to gently pry it loose.
However, there are some other issues that you may encounter when taking down a TV wall mount. One of the most common issues is that the mount may have been installed incorrectly, which can make it difficult to remove. In this case, you may need to consult a professional to help you remove the mount safely.
Another issue that you may encounter is that the wall behind the mount may have been damaged during installation. This can make it difficult to remove the mount without causing further damage to the wall. To avoid this, it’s important to take your time when removing the mount and to use the right tools for the job.
How to dispose of old or broken TV wall mounts in an eco-friendly way
When you’re done removing your TV wall mount, you may be wondering what to do with it. Here are some eco-friendly disposal options:
- Check with your local electronics retailer or recycling center to see if they accept old TV mounts for recycling.
- Donate your old mount to a local school or community center that might be able to use it.
- If the mount is still in good working condition, consider selling it online or at a consignment store.
Removing a TV wall mount may seem daunting, but with the right tools and approach, it can be done safely and efficiently. Whether you have a fixed, tilting, or full-motion mount, follow the steps outlined in this article to take it down and dispose of it in an eco-friendly way.