Are you tired of constantly switching between your home theater system and cable box? Do you want to experience high-quality audio and video without the hassle? In this article, we’ll provide step-by-step instructions on how to sync your home theater system to cable, as well as tips and tricks to enhance your viewing experience.
Understanding the Basics of Home Theater System and Cable Connections
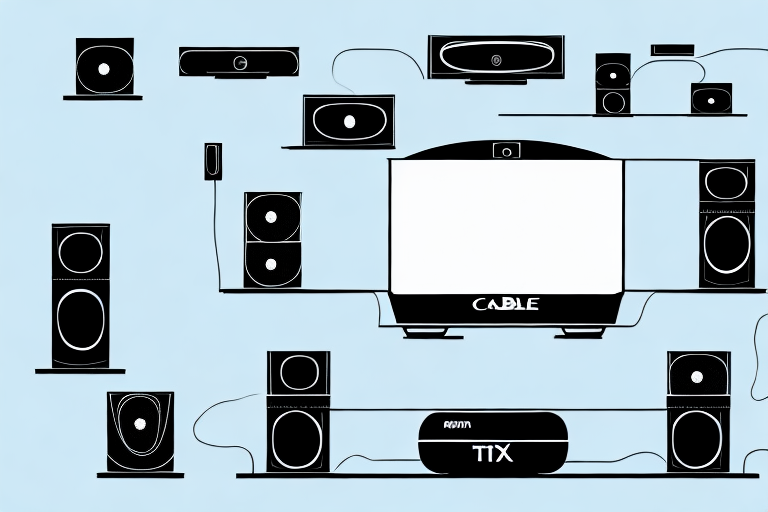
The first step in syncing your home theater system to cable is understanding the different connections available. HDMI is by far the most common connection type for both home theater systems and cable boxes. It transmits high-quality audio and video signals through a single cable, making it easy to set up and use. Other connection types include component, composite, and S-video, but these are becoming less common as new technologies emerge.
Before setting up your system, check that your TV and cable box both have HDMI ports. Additionally, make sure your home theater system supports HDMI pass-through, which allows you to send audio and video signals from your cable box through your home theater system to your TV. Connecting your devices through HDMI is the best way to ensure optimal picture and sound quality.
It’s important to note that not all HDMI cables are created equal. When purchasing an HDMI cable, look for one that is labeled as “high-speed” or “category 2.” These cables are designed to handle the high-bandwidth signals required for high-definition video and audio. Using a lower-quality HDMI cable can result in a degraded picture and sound quality.
Choosing the Right Cables for Your Home Theater System
Once you understand the different connection types, it’s important to choose the right cables for your home theater system. HDMI cables are available in different lengths and speeds, and can range from a few dollars to hundreds of dollars. A high-speed HDMI cable is recommended for home theater systems, as it can handle the large amounts of data required for high-quality audio and video.
When selecting your HDMI cables, consider the length of the cable, the speed rating, and the materials used. Higher-quality cables may cost more, but can often provide a better audio and video experience. Don’t be fooled by expensive or “premium” cables, though. In most cases, a mid-range cable will provide adequate performance at a fraction of the cost.
It’s also important to consider the compatibility of your cables with your devices. Some older devices may not support the latest HDMI standards, so it’s important to check the specifications of your devices before purchasing cables. Additionally, if you have a 4K TV or plan to upgrade to one in the future, make sure to choose cables that support 4K resolution and HDR (high dynamic range) for the best viewing experience.
Setting Up Your Home Theater System for Optimal Performance
Before syncing your home theater system to your cable box, make sure your system is configured for optimal performance. This includes positioning your speakers correctly, adjusting sound and video settings, and ensuring proper ventilation to prevent overheating.
When positioning your speakers, it’s important to follow the manufacturer’s guidelines to achieve optimal sound quality. Try to place your front speakers at ear level for the best immersive experience. Additionally, consider investing in a subwoofer to enhance the bass and overall sound quality of your system.
When adjusting sound and video settings, refer to your system’s manual for specific instructions. Most home theater systems come with built-in equalizers and video modes, which can be adjusted to suit your preferences. Experiment with different settings to find the best balance between sound and video quality.
Another important factor to consider when setting up your home theater system is the lighting in your viewing area. Ideally, you want to minimize any ambient light that may interfere with the picture quality. This can be achieved by using blackout curtains or blinds, or by dimming the lights in the room. Additionally, you may want to consider investing in a high-quality surge protector to protect your system from power surges and voltage spikes.
Configuring Your Cable Box for Optimal Picture and Sound Quality
Now that your home theater system is configured for optimal performance, it’s time to configure your cable box. Start by accessing your cable box’s settings menu and selecting the highest possible resolution and refresh rate. This will ensure that the picture quality is as sharp and clear as possible.
If your cable box has options for advanced video settings, such as picture calibration or noise reduction, experiment with these settings to find the best balance for your system. Remember, the goal is to achieve a balance between picture and sound quality that provides an immersive viewing experience.
Another important factor to consider when configuring your cable box is the audio settings. Make sure that your cable box is set to output audio in the highest quality possible, such as Dolby Digital or DTS. This will ensure that you are getting the best possible sound quality from your home theater system.
Syncing Your Home Theater System to Your Cable Box Step by Step
With both your home theater system and cable box properly configured, it’s time to sync the two systems together. First, connect your cable box to your home theater system using an HDMI cable. Make sure to use the HDMI input labeled “ARC” (Audio Return Channel) on your home theater system.
Next, turn on your TV, cable box, and home theater system. On your home theater system, select the HDMI input that your cable box is connected to. This should automatically switch your TV to the correct input as well. If not, select the appropriate input on your TV manually.
Finally, ensure that audio is being outputted through your home theater system and not your TV. This can be done by accessing the audio settings on your cable box and selecting “Optical Out” or “HDMI Out” as the audio output format.
It is important to note that some cable boxes may require additional settings to be adjusted in order to properly sync with your home theater system. For example, some cable boxes may have a “Dolby Digital” or “DTS” setting that needs to be enabled in order for the audio to be properly outputted through your home theater system. Be sure to consult your cable box’s user manual or contact your cable provider for assistance with any additional settings that may need to be adjusted.
Troubleshooting Common Issues When Syncing a Home Theater System to Cable
Despite our best efforts, issues may arise when syncing a home theater system to cable. Some common issues include no sound or picture, poor audio or video quality, incorrect settings, and compatibility issues.
If you encounter any of these issues, consult the troubleshooting section of your system’s manual or contact the manufacturer’s technical support. Common solutions include resetting your system, checking your connections, adjusting your settings, and updating your software.
Another common issue that may arise when syncing a home theater system to cable is the presence of interference from other electronic devices. This can cause disruptions in the audio or video quality, or even result in a complete loss of signal. To avoid this, try moving your system away from other electronic devices or using shielded cables.
In some cases, the issue may not be with your home theater system or cable, but with the cable provider itself. If you have ruled out all other possible causes, contact your cable provider to see if there are any known outages or issues in your area. They may be able to provide a solution or schedule a technician to come and investigate the problem.
Tips and Tricks to Enhance Your Home Theater Viewing Experience
Now that your home theater system is synced to cable, it’s time to sit back and enjoy your favorite shows and movies in immersive audio and video quality. Here are a few tips and tricks to enhance your viewing experience:
- Use a universal remote to control all of your devices in one place
- Invest in a soundbar or additional speakers for superior audio quality
- Create a dedicated viewing space, free from distractions and ambient light
- Adjust your seating position and angle for optimal viewing comfort
- Upgrade to a 4K TV and HDR-compatible devices for the ultimate viewing experience
Another way to enhance your home theater viewing experience is to invest in a streaming device, such as a Roku or Amazon Fire Stick. These devices allow you to access a wide variety of streaming services, including Netflix, Hulu, and Amazon Prime Video, all in one place.
Additionally, consider adding some ambiance to your viewing space with dimmable lighting or even a projector for a true movie theater experience. You can also experiment with different types of seating, such as a recliner or bean bag chair, to find the most comfortable option for your viewing pleasure.
Maximizing Your Audio Experience with Surround Sound Setup
Home theater systems are designed to create a surround sound experience, with audio coming from multiple directions to immerse you in the on-screen action. To maximize your audio experience, consider upgrading your home theater system to include a 5.1 or 7.1 surround sound setup.
This includes additional speakers placed behind and to the sides of your viewing area. Consult your system’s manual or a professional installer to determine the best placement for your speakers and how to configure them for optimal performance.
Another important factor to consider when setting up your surround sound system is the quality of your audio source. Make sure you are using high-quality audio files or streaming services that support surround sound. Additionally, some home theater systems come with built-in audio calibration tools that can help you fine-tune your system for the best possible sound. Take advantage of these tools to ensure that your surround sound system is performing at its best.
Future-Proofing Your Home Theater System: Preparing for 4K and HDR Technologies
As technology advances, new audio and video technologies will emerge, requiring upgraded devices to take full advantage of them. To future-proof your home theater system, consider investing in devices that are compatible with 4K and HDR technologies.
4K (also known as Ultra HD) provides four times the resolution of standard 1080p HD, resulting in a sharper and more detailed picture. HDR (High Dynamic Range) technology creates a wider range of colors and brightness levels, resulting in a more vibrant and realistic picture.
When purchasing new devices, look for labels indicating compatibility with these technologies. Additionally, consider upgrading your HDMI cables to support the higher data rates required for 4K and HDR content.
Conclusion
Syncing your home theater system to cable can seem daunting at first, but with a little patience and the right equipment, it can be a straightforward process that enhances your viewing experience. By understanding the basic connections, choosing the right cables and settings, and troubleshooting common issues, you can enjoy high-quality audio and video from the comfort of your own home.