Sony 5.1 Home Theater System is a popular choice for those who love to enjoy immersive sound and picture quality while watching their favorite movies, shows, or playing games. If you have recently purchased this system and are wondering how to set it up, then you have come to the right place. In this step-by-step guide, we will cover everything you need to know about setting up your Sony 5.1 Home Theater System for the ultimate viewing experience.
Understanding the Components
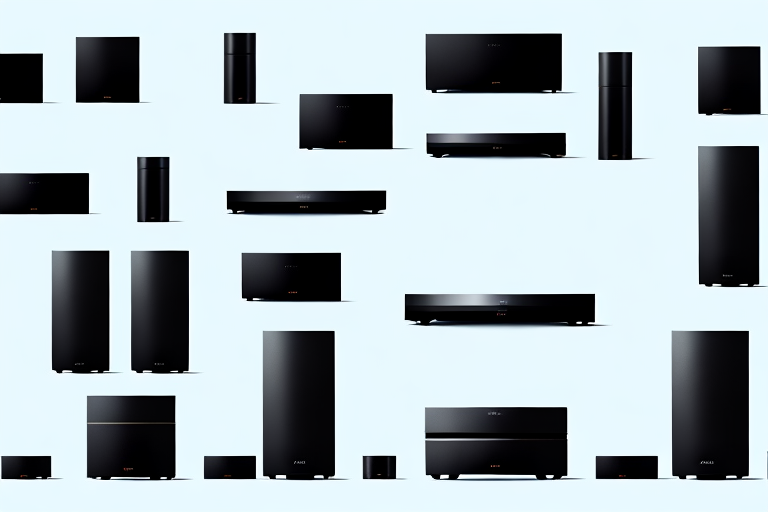
Before we dive into the setup process, let’s take a closer look at the components that make up your Sony 5.1 Home Theater System. The system includes a receiver, front left, center, and right speakers, surround left and right speakers, a subwoofer, and connecting cables. Each component has a specific purpose, and understanding them will help you set up your system correctly.
The receiver is the central hub of your system, and it receives and amplifies audio and video signals from your TV, Blu-ray player, or gaming console. The front, center, and right speakers are responsible for delivering clear dialogue, vocals, and sound effects, while the surround left and right speakers create an immersive soundstage that surrounds you. The subwoofer, on the other hand, produces low-frequency bass sounds that add depth and impact to the overall sound.
It’s important to note that the placement of each component is crucial to achieving the best sound quality. The front speakers should be placed at ear level and equidistant from the TV or screen, while the center speaker should be placed directly above or below the TV. The surround speakers should be placed behind or to the side of the listening area, and the subwoofer can be placed anywhere in the room, as it is not directional.
Additionally, some Sony 5.1 Home Theater Systems come with additional features, such as Bluetooth connectivity, Wi-Fi, and streaming capabilities. These features allow you to connect your system to your smartphone, tablet, or computer, and stream music or movies directly to your home theater system. Make sure to check the specifications of your system to take advantage of these features.
Choosing the Right Room
Now that you understand the components let’s move on to choosing the right room for your Sony 5.1 Home Theater System. Ideally, you should set up your system in a room with minimal echo and ambient noise. A dedicated home theater room with acoustic panels and soundproof walls is ideal, but if that’s not possible, choose a room that has minimal outside noise and ambient lighting.
It’s also essential to place your seating and speakers in the right position for optimal sound quality. The front left, center, and right speakers should be at ear level, while the surround left and right speakers should be placed slightly above ear level and facing each other.
Another important factor to consider when choosing the right room for your Sony 5.1 Home Theater System is the size of the room. A room that is too small can result in a cramped and uncomfortable viewing experience, while a room that is too large can make it difficult to achieve optimal sound quality. As a general rule, a room that is between 200 and 400 square feet is ideal for a home theater system.
Setting up Your System
Now that you have chosen the right room, let’s move on to the setup process. Start by placing the front, center, and right speakers in the correct position, as we mentioned earlier. Then, place the surround left and right speakers at ear-level, facing each other.
Next, connect the speakers to the receiver using the provided cables. Make sure to match the color-coded terminals on the receiver and speakers. The front and center speakers should be connected to the corresponding terminals on the receiver, while the surround left and right speakers should be connected to the surround terminals.
Once all the speakers are connected, connect the subwoofer to the receiver using a subwoofer cable. The subwoofer cable is a single RCA cable with one end connected to the subwoofer and the other end connected to the “Subwoofer Out” port on the receiver.
After connecting all the speakers and subwoofer, it’s time to turn on the system and test the sound. Start by playing a test tone from the receiver to ensure that all the speakers are working properly and are in the correct position. If you notice any issues, adjust the speaker placement or check the connections. Once you are satisfied with the sound, you can start enjoying your home theater system!
Connecting Your System To Your TV
Now that your speakers are connected, it’s time to connect your system to your TV. There are two ways to do this: HDMI or digital audio. HDMI is the preferred method because it transmits both audio and video signals in one cable. Simply connect an HDMI cable to the HDMI port on your TV and the HDMI OUT port on the receiver, and you’re ready to go.
If your TV doesn’t have an HDMI port, you can use a digital audio cable to connect your TV to the receiver. Connect the cable to the digital audio out port on your TV and the corresponding port on the receiver.
It’s important to note that if you’re using a soundbar or other external audio device, you’ll need to connect it to your TV first before connecting your TV to the receiver. This will ensure that the audio from your TV is properly routed through your external audio device and into your receiver.
Additionally, if you’re experiencing any issues with your audio or video quality, make sure to check your TV’s settings and ensure that it’s set to output audio and video through the correct ports. You may also need to adjust the settings on your receiver to ensure that it’s properly receiving and processing the audio and video signals from your TV.
Adjusting Audio and Video Settings
Now that your system is set up, it’s time to adjust the audio and video settings to your liking. Start by accessing the settings menu on your TV and receiver and enabling surround sound. Then, adjust the speaker levels to balance the volume of each speaker and eliminate any sound distortion.
It’s also essential to adjust the video settings for optimal picture quality. Use your TV’s calibration settings to adjust the brightness, contrast, and color temperature to match your room’s lighting conditions.
Another important aspect to consider when adjusting your audio and video settings is the room’s acoustics. The size and shape of your room can affect the sound quality, so it’s recommended to experiment with speaker placement to find the best position for each speaker. Additionally, you can use acoustic panels or curtains to absorb any unwanted echoes or reverberations.
Troubleshooting Common Issues
If you encounter any issues during the setup process, don’t worry. Check the connections and make sure everything is properly connected. If you’re still experiencing issues, consult the troubleshooting section of your user manual or contact Sony customer support for assistance.
One common issue that users may encounter is a poor Wi-Fi connection. If you’re experiencing slow or intermittent internet connectivity, try moving your device closer to your router or resetting your router. You can also try connecting your device to the internet using an Ethernet cable for a more stable connection.
Another issue that may arise is a frozen or unresponsive device. If your device is not responding to your commands, try restarting it by holding down the power button for a few seconds. If this doesn’t work, consult your user manual for additional troubleshooting steps or contact Sony customer support for assistance.
Adding Additional Components
One of the best things about the Sony 5.1 Home Theater System is the ability to add additional components for an even more immersive experience. You can add a Blu-ray player, a gaming console, or even a streaming device to your system. Simply connect the device to the receiver using the provided cables, and you’re ready to go.
Another great feature of the Sony 5.1 Home Theater System is the ability to customize your sound settings. The system comes with various sound modes, such as cinema, music, and sports, but you can also adjust the bass, treble, and balance to your liking. This allows you to create a personalized audio experience that suits your preferences.
Additionally, the Sony 5.1 Home Theater System is designed to be easy to set up and use. The receiver has a user-friendly interface that allows you to navigate through the different settings and options with ease. The system also comes with a remote control that lets you adjust the volume, switch between inputs, and control playback from the comfort of your couch.
Tips and Tricks
To get the most out of your Sony 5.1 Home Theater System, here are some tips and tricks to keep in mind:
- Regularly clean the speakers and subwoofer to prevent dust and debris buildup that can affect the sound quality.
- Use a surge protector to protect your system from power surges or voltage spikes.
- Upgrade your speakers for even better sound quality.
- Experiment with different audio and video settings to find the perfect balance for your room.
- Don’t place your system in a corner, as it can cause distortion in the sound.
With these tips and tricks, you’re sure to get the most out of your Sony 5.1 Home Theater System!
Setting up your Sony 5.1 Home Theater System may seem daunting at first, but it’s well worth the effort. With its immersive sound quality and crystal-clear picture, you’re sure to enjoy an unparalleled viewing experience. Follow this guide, and you’ll be well on your way to enjoying movies, shows, and games like never before. Happy viewing!
Another important tip to keep in mind is to ensure that your system is properly calibrated. This means adjusting the speaker levels, distance, and crossover settings to optimize the sound quality for your specific room and setup. Many home theater systems come with a calibration tool or you can hire a professional to do it for you. Proper calibration can make a significant difference in the overall sound quality of your system.