Are you in the process of setting up your own DVD home theater system? With so many components and wires, it can be a daunting task. But don’t worry, we’ve got you covered. In this guide, we will walk you through everything you need to know about setting up your DVD home theater system, from understanding the components to troubleshooting common issues.
Getting Started: Understanding the Components of a DVD Home Theater System
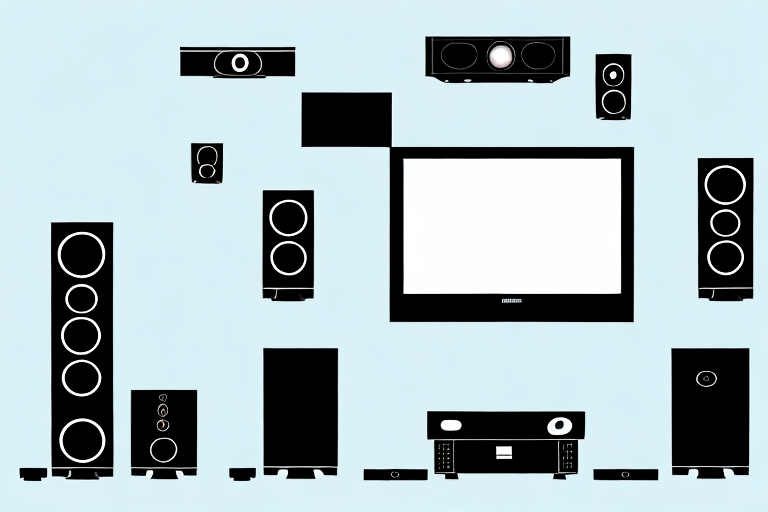
The first step to setting up your DVD home theater system is understanding the various components. These typically include a DVD player or Blu-ray player, speakers, a subwoofer, a receiver, and various cables to connect everything together. Before you get started, make sure you have all the necessary components and cables ready.
Once you have all the necessary components, it’s important to consider the placement of each item. The receiver should be placed in a central location, while the speakers should be positioned around the room for optimal sound quality. The subwoofer should be placed on the floor, preferably in a corner, to enhance the bass sound.
Another important factor to consider is the type of cables you use to connect your components. HDMI cables are the best option for connecting your DVD player or Blu-ray player to your TV, as they provide high-quality audio and video. For connecting your speakers to the receiver, you can use either speaker wire or RCA cables, depending on your preference.
Choosing the Right Location for Your Home Theater System
When selecting a location for your home theater system, it’s important to consider factors such as room size, lighting, and acoustics. Your home theater system should be placed in a room with minimal outside noise and distractions. Additionally, consider the placement of your furniture and speakers for optimal sound and viewing angles.
Another important factor to consider when choosing the right location for your home theater system is the availability of power outlets and wiring. Make sure the room you choose has enough power outlets to accommodate all of your devices and that the wiring is properly installed to avoid any safety hazards. It’s also a good idea to consult with a professional electrician to ensure that your home theater system is properly wired and grounded.
Preparing Your Space: Tips for Properly Setting Up Your Home Theater System
Before you start connecting your DVD home theater system, it’s important to properly prepare your space. This includes organizing your wires and cables, testing your speakers, and ensuring your equipment is properly grounded. Taking the time to properly prepare your space will ensure a seamless setup process.
One important aspect of preparing your space for a home theater system is to consider the lighting in the room. You want to avoid any glare or reflections on the screen, so it’s best to have the room as dark as possible. You can achieve this by using blackout curtains or blinds, or by installing dimmer switches on your lights.
Another factor to consider is the placement of your speakers. It’s important to position them correctly to get the best sound quality. Generally, the front speakers should be at ear level and angled towards the seating area, while the rear speakers should be placed behind the seating area and angled towards the front of the room. Experiment with different placements to find the optimal setup for your space.
Connecting Your DVD Home Theater System: A Step-by-Step Guide
Now it’s time to connect your DVD home theater system. Follow these steps:
- Connect the HDMI cable from your DVD player to your television.
- Connect the speaker wire from each speaker to the receiver.
- Plug the power cord into each component and into the wall.
- Connect any additional components (such as a gaming system or cable box) to the appropriate inputs on the back of the receiver.
It’s important to note that some DVD home theater systems may require additional setup steps, such as configuring the audio settings or connecting to a Wi-Fi network for streaming capabilities. Refer to the user manual for your specific system to ensure all necessary steps are taken for optimal performance.
Setting Up Your Speakers: Best Practices for Optimal Sound Quality
When setting up your speakers, it’s important to consider the placement and distance from your seating area. Make sure your speakers are angled towards your seating area, and adjust the sound levels for each speaker in the receiver settings for optimal sound quality.
Another important factor to consider when setting up your speakers is the type of room you are in. If you have a large, open room with high ceilings, you may need larger speakers or additional subwoofers to fill the space with sound. On the other hand, if you have a smaller, enclosed room, smaller speakers may be more appropriate to avoid overwhelming the space with too much sound. It’s also important to consider any furniture or objects in the room that may affect the acoustics, such as curtains, rugs, or bookshelves. Adjusting the placement of your speakers and adding acoustic treatments can help optimize the sound quality in your specific room.
Adjusting Picture and Sound Settings on Your DVD Home Theater System
Once your system is connected and your speakers are properly set up, you may want to adjust your picture and sound settings for the best viewing experience. This can include adjusting the picture quality, sound mode, and equalizer settings to your liking.
To adjust the picture quality, you can access the video settings menu on your DVD home theater system. From there, you can adjust the brightness, contrast, and color settings to your preference. You may also have the option to choose between different picture modes, such as cinema or sports mode, which can enhance the picture quality for specific types of content.
When it comes to sound settings, you can adjust the sound mode to match the type of content you are watching. For example, if you are watching a movie, you may want to choose the surround sound mode to fully immerse yourself in the audio experience. You can also adjust the equalizer settings to fine-tune the sound to your liking, such as boosting the bass or treble.
Troubleshooting Common Issues When Setting Up a DVD Home Theater System
If you encounter any issues during the setup process, don’t panic. Common issues include incorrect connections, faulty equipment, and poor sound quality. Reference your equipment’s manual or consult with a professional to resolve any issues.
One common issue that people face when setting up a DVD home theater system is compatibility issues. Make sure that all of your equipment is compatible with each other and that they are all designed to work together. If you are unsure, consult with a professional or contact the manufacturer for assistance.
Another issue that can arise is interference from other electronic devices. Make sure that your home theater system is not placed near other electronic devices that may cause interference. Additionally, check that all cables are properly shielded to prevent interference from outside sources.
Enhancing Your Viewing Experience: Tips for Improving Picture and Sound Quality
There are many ways to enhance your viewing experience. Consider investing in a soundbar or subwoofer for improved sound quality, or adding a universal remote for convenience. Additionally, positioning your furniture and decor for optimal viewing angles can greatly improve your overall experience.
Another way to improve your viewing experience is by adjusting the picture settings on your TV. Most TVs come with preset picture modes, but these may not always be the best option for your specific viewing environment. Experiment with adjusting the brightness, contrast, and color settings to find the optimal picture quality for your space. You can also consider investing in a calibration tool or hiring a professional to calibrate your TV for the best possible picture quality.
Maintaining and Cleaning Your DVD Home Theater System for Longevity and Optimal Performance
Finally, maintaining and cleaning your DVD home theater system is essential for longevity and optimal performance. Regularly dust your equipment and clean your speakers to prevent buildup that can affect sound quality. Additionally, follow any recommended maintenance guidelines for your specific equipment to ensure it lasts for years to come.
By following these steps and tips, you can set up your own DVD home theater system for an incredible viewing and sound experience. With a little patience and effort, your home will become the go-to spot for movie night and entertainment.
It is also important to keep your DVD home theater system away from any sources of heat or moisture. Exposure to extreme temperatures or humidity can damage the equipment and affect its performance. Make sure to place your system in a well-ventilated area and avoid storing it in a damp basement or attic.