If you’re looking to take your home entertainment system to the next level, you may be considering a Denon home theater system. These high-quality systems are designed to deliver incredible sound and picture quality, but setting them up can be a bit intimidating if you don’t know what you’re doing. Here is a step-by-step guide to properly hook up your Denon home theater system to maximize your viewing experience.
Understanding Your Denon Home Theater System
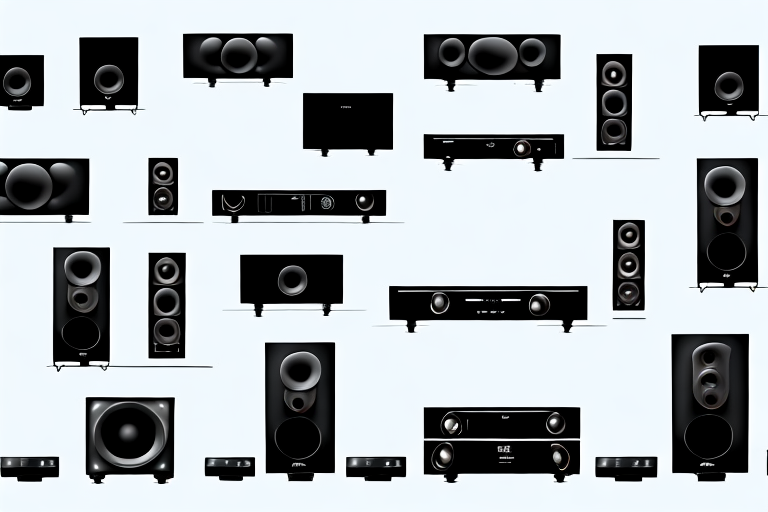
The first step in setting up your Denon home theater system is to understand the components that make up the system. The system typically includes a receiver, speakers, and a subwoofer. The receiver is the heart of the system and is responsible for decoding and amplifying the audio and video signals from your input devices. The speakers and subwoofer are responsible for producing crystal clear sound quality and enhancing the overall audio experience.
It is important to note that when setting up your Denon home theater system, proper placement of the speakers and subwoofer can greatly impact the quality of sound produced. The speakers should be placed at ear level and equidistant from the listening area, while the subwoofer should be placed in a corner or against a wall for optimal bass response. Additionally, it is recommended to use high-quality speaker wire and HDMI cables to ensure the best possible audio and video performance.
Preparing Your Space for Your New Home Theater System
Before you begin setting up your Denon system, you’ll need to ensure that your space is properly prepared for the installation. This includes selecting an appropriate location for your TV, speakers, and receiver, as well as ensuring that you have all necessary cables and connections. Additionally, you’ll need to ensure that your input devices, such as your cable box or Blu-ray player, are compatible with your Denon system.
Another important consideration when preparing your space for your new home theater system is the lighting in the room. Ideally, you want to minimize any sources of glare or reflection on your TV screen, which can detract from your viewing experience. This may involve adjusting the placement of lamps or curtains, or even installing blackout shades or curtains to completely eliminate any unwanted light. Additionally, you may want to consider adding some ambient lighting to the room, such as dimmable sconces or LED strips, to create a more immersive viewing environment.
Finding the Right Cables and Connections for Your Denon System
One of the most important steps in setting up your Denon system is finding the right cables and connections for your input devices. This will ensure that you’re able to enjoy optimal sound and picture quality. Some important things to look for when selecting cables include choosing the right type of cable (HDMI, optical, etc.), ensuring that the cable is long enough to reach your devices, and selecting a cable that is capable of transmitting data at the necessary speed.
Another important factor to consider when selecting cables for your Denon system is the quality of the cable. Higher quality cables can provide better signal transmission and reduce the risk of interference or signal loss. It’s also important to consider the durability of the cable, especially if you plan on frequently unplugging and re-plugging your devices. Additionally, it’s a good idea to label your cables and connections to make it easier to identify which cable goes where, especially if you have a complex setup with multiple input devices.
Setting Up Your Denon Receiver and Speakers
The next step in setting up your Denon system is connecting your receiver and speakers. This involves securely attaching your speakers to the receiver and connecting the receiver to your TV. You’ll also need to ensure that the audio and video settings on your receiver are properly configured to provide optimal sound and picture quality.
It’s important to note that the placement of your speakers can greatly impact the overall sound quality of your system. For the best listening experience, it’s recommended to position your speakers at ear level and at an equal distance from your listening area. Additionally, consider using speaker stands or wall mounts to further optimize the placement of your speakers.
Adjusting Audio Settings for Optimal Sound Quality
Once your receiver and speakers are set up, you’ll need to adjust the audio settings on your receiver to ensure that you’re getting the best possible sound quality. This may involve tweaking settings such as bass and treble levels, adjusting the audio output levels on your input devices, and fine-tuning settings such as surround sound, equalization, and room correction.
It’s important to note that the optimal audio settings may vary depending on the type of content you’re listening to. For example, music may require different settings than movies or video games. Additionally, the size and layout of your room can also affect the sound quality, so it’s a good idea to experiment with different settings to find what works best for your specific setup.
Configuring Video Settings for the Best Picture Quality
After you’ve configured your audio settings, you’ll need to adjust your video settings to ensure that you’re getting the best picture quality possible. This may involve adjusting settings such as color temperature, contrast, brightness, and sharpness on your TV or input devices. Additionally, you’ll need to configure your receiver’s video settings to ensure that the image is properly scaled and displayed on your TV.
One important factor to consider when configuring your video settings is the lighting in your viewing environment. If you’re watching TV in a brightly lit room, you may need to adjust your TV’s brightness and contrast settings to compensate for the ambient light. On the other hand, if you’re watching TV in a dark room, you may want to reduce the brightness and increase the contrast to avoid eye strain.
Another important consideration is the type of content you’re watching. For example, if you’re watching a movie with a lot of dark scenes, you may want to adjust the black level setting on your TV to ensure that you’re able to see all the details in the shadows. Similarly, if you’re watching sports or other fast-paced content, you may want to adjust the motion smoothing settings on your TV to reduce motion blur and improve the clarity of the image.
Connecting External Devices to Your Denon System, like a Blu-ray Player or Gaming Console
If you have external devices that you’d like to connect to your Denon system, such as a Blu-ray player or gaming console, you’ll need to ensure that these devices are properly connected to your receiver. This usually involves connecting the device to the appropriate input on your receiver and selecting the correct input on your receiver to activate the device.
It’s important to note that some external devices may require additional setup or configuration in order to work properly with your Denon system. For example, if you’re connecting a gaming console, you may need to adjust the audio and video settings on both the console and your receiver to ensure that you’re getting the best possible performance.
Troubleshooting Common Issues with Your Denon System
Even if you’ve followed all the steps above, you may encounter common issues such as poor sound quality or connectivity problems. Fortunately, most common issues can be easily resolved by checking your connections, adjusting your settings, or consulting your Denon system’s user manual.
If you’re still experiencing issues after trying these solutions, it may be helpful to contact Denon’s customer support team. They can provide additional troubleshooting steps or arrange for a repair if necessary. It’s important to address any issues promptly to ensure that you’re getting the best possible performance from your Denon system.
Tips for Maintaining and Upgrading Your Home Theater System
Finally, it’s important to keep your Denon home theater system in good condition to ensure optimal performance. This may involve things such as regularly cleaning your speakers and receiver, upgrading components or cables, and staying up-to-date on the latest software updates. By following these tips, you can ensure that your Denon system is always performing at its best, delivering incredible sound and picture quality for years to come.
Another important aspect of maintaining and upgrading your home theater system is to ensure that it is properly calibrated. This involves adjusting the settings on your TV, receiver, and speakers to ensure that they are all working together to deliver the best possible audio and video experience. You can either do this yourself using calibration tools or hire a professional to do it for you. Proper calibration can make a significant difference in the quality of your home theater system, so it’s definitely worth considering.