Watching movies and TV shows at home has never been more enjoyable than with a high-quality 5.1 home theater system. With its immersive surround sound technology, it can provide you with an unparalleled experience that makes you feel as though you are right there in the middle of the action. However, connecting your 5.1 home theater system to your TV can be confusing and overwhelming, especially if you’re new to the world of home audio and video. That’s why we created this comprehensive guide that will walk you through everything you need to know to set up your 5.1 home theater system and start enjoying your favorite movies and shows like never before.
Understanding the Components of a 5.1 Home Theater System
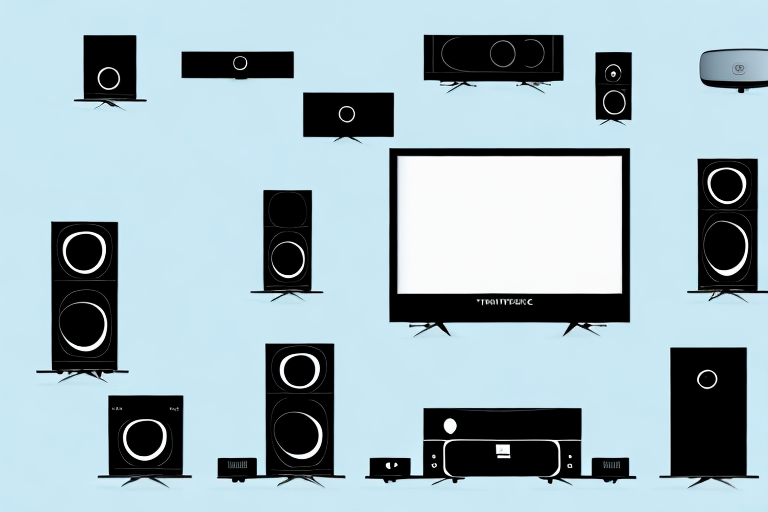
Before we dive into the process of connecting your 5.1 home theater system to your TV, it’s essential to understand the various components that make up the system. A 5.1 home theater system consists of a center channel speaker, four satellite speakers, a subwoofer, and an amplifier or receiver. The center channel speaker is responsible for producing dialogue and other central sounds while the four satellite speakers deliver surround sound effects. The subwoofer handles the low-frequency sounds like explosions and rumbling, while the amplifier or receiver powers and controls the system.
It’s important to note that not all 5.1 home theater systems are created equal. Some systems may have additional speakers or features, such as wireless connectivity or Bluetooth compatibility. When choosing a 5.1 home theater system, it’s essential to consider your specific needs and preferences, as well as the size and layout of your room. Additionally, it’s crucial to ensure that all components are compatible with each other and with your TV or other devices.
Choosing the Right Cables and Connectors for Your Home Theater System
To connect your 5.1 home theater system to your TV, you’ll need several cables and connectors. The required cables include power cords for the amplifier or receiver and speakers, speaker wires to connect your speakers to the amplifier or receiver, and an HDMI, optical, or RCA cable to connect your TV to the amplifier or receiver. It’s crucial to select cables of appropriate length and quality to minimize signal loss and interference.
When selecting speaker wires, it’s important to consider the gauge or thickness of the wire. Thicker wires have less resistance and can carry more power, resulting in better sound quality. Additionally, it’s recommended to use wires with a higher gauge number for longer distances to prevent signal loss.
Another factor to consider when choosing cables and connectors is compatibility with your devices. For example, some older TVs may not have an HDMI port, so you’ll need to use a different type of cable. It’s also important to ensure that the connectors on your cables match the input and output ports on your devices.
Connecting Your Home Theater System to Your TV: Step-by-Step Guide
Connecting your 5.1 home theater system involves several steps, but don’t worry; it’s simpler than you think. The first step is to connect the amplifier or receiver to your TV, begin by powering off all devices, and locate the HDMI or optical input on your TV. Connect one end of the HDMI or optical cable to the corresponding output port on the amplifier or receiver; then, connect the other end to the TV’s input. Turn on the amplifier or receiver, and select the corresponding input on your TV.
Next, connect the speakers to the amplifier or receiver. Begin by checking the owner’s manual to identify the location of the positive and negative terminals on your speakers. Cut the speaker wires to appropriate lengths and strip off the insulation. Connect the negative wire to the negative terminal and the positive wire to the positive terminal on your speakers and the amplifier or receiver. Repeat the process for all speakers.
Finally, plug in your subwoofer and turn it on. Most subwoofers require an AC power outlet to perform correctly. Once you have completed all these steps, power on all devices and test the system to ensure everything is working correctly.
It’s important to note that some home theater systems may require additional cables or adapters, depending on the specific components you are using. For example, if your amplifier or receiver does not have an HDMI or optical output, you may need to use RCA cables instead. Additionally, if your TV does not have an HDMI or optical input, you may need to use a different type of cable or adapter to connect your devices. Always refer to the owner’s manual for each component and consult with a professional if you are unsure about the best way to connect your home theater system.
How to Configure Your TV Settings for Optimal Home Theater Experience
Now that your home theater system is connected to your TV, it’s time to adjust your TV settings for optimal sound and visual quality. Begin by selecting the appropriate audio output in your TV settings. Select “Audio Out,” then choose “Home Theater” or “External Speaker” to produce sound via external audio devices like your 5.1 home theater system. Adjust the volume of your TV speakers to zero to ensure sound only comes through your home theater speakers.
You can also adjust your TV’s picture settings to enhance your home theater experience. The settings include brightness, contrast, color, and sharpness. Adjust each setting to your liking and ensure it complements your home theater system’s capabilities.
Another important setting to consider is the aspect ratio. This determines the size and shape of the image on your TV screen. For a true home theater experience, select the aspect ratio that matches the format of the movie or TV show you are watching. This will ensure that the image fills the entire screen and is not distorted or cut off.
Finally, consider enabling any additional features that your TV may offer, such as motion smoothing or HDR. These features can enhance the visual quality of your home theater experience, but be sure to adjust them to your liking and not overdo it, as it can sometimes result in an unnatural or artificial look.
Troubleshooting Common Issues When Connecting a 5.1 Home Theater System to Tv
While setting up your 5.1 home theater system, you may encounter some common issues such as no sound, distorted sound, or connectivity issues. Here are some troubleshooting tips:
- Ensure that all cables are correctly connected to the right ports;
- Make sure your TV is set to the appropriate input channel for your home theater system;
- Adjust the volume up on your amplifier or receiver;
- Verify your speakers’ polarity and wiring
- Update your home theater system’s firmware to the latest version;
- Check that your subwoofer is powered on and connected correctly;
- Ensure that your home theater system is not on mute or in a low volume setting.
If you have tried all the troubleshooting tips and still cannot get your 5.1 home theater system to work, it may be time to seek professional help. Contact the manufacturer’s customer support or a professional audio technician to diagnose and fix the issue. It is important to ensure that your home theater system is set up correctly to enjoy the best audio and visual experience.
Tips and Tricks for Enhancing Your Home Audio Experience with a 5.1 Home Theater System
Getting the best out of your 5.1 home theater system requires more than just a basic setup. Here are some tips and tricks to help you enhance your home audio experience:
- Position your speakers correctly for optimal sound. Your front speakers should be at ear level, while your center speaker should sit on top of your TV or several inches above or below it;
- Use high-quality speaker wire and cables. This will help minimize signal loss and interference;
- Ensure your home theater system is correctly calibrated for your room’s size and shape;
- Reduce background noise to improve your listening experience;
- Experiment with different sound modes and equalizer settings to see what sounds best for different content types.
Another important factor to consider when enhancing your home audio experience is the placement of your subwoofer. The subwoofer is responsible for producing low-frequency sounds, and its placement can greatly affect the overall sound quality. Ideally, the subwoofer should be placed in a corner or against a wall to maximize bass response. However, if you notice any distortion or boominess in the sound, try moving the subwoofer to a different location until you find the sweet spot.
Exploring Advanced Features of your 5.1 Home Theater System
As you become more accustomed to your 5.1 home theater system, you may want to explore some of its advanced features. These advanced features may include multi-room audio playback, smart features, wireless capabilities, and more. Consult your owner’s manual to learn more about these features and how to setup and use them.
One of the advanced features of your 5.1 home theater system is the ability to customize the sound settings to your liking. You can adjust the bass, treble, and other audio settings to create a personalized listening experience. Experiment with these settings to find the perfect balance for your favorite movies and music.
Another advanced feature of your 5.1 home theater system is the ability to connect it to other devices, such as gaming consoles and streaming devices. This allows you to enjoy your favorite games and shows with immersive surround sound. Check your owner’s manual for instructions on how to connect your system to other devices.
How to Maintain and Clean your 5.1 Home Theater System
Maintaining your 5.1 home theater system is crucial to ensuring that it lasts longer and performs better. Regular cleaning not only enhances the performance but also boosts sound quality. Begin by unplugging your system and wiping it down with a soft and dry cloth to remove any dust or dirt. Avoid using water or cleaning agents to clean your system. Also, ensure that your amplifier or receiver has sufficient space to ventilate and dissipate heat as it can get warm when in use.
Another important aspect of maintaining your 5.1 home theater system is to regularly check and replace any faulty cables or connectors. Faulty cables can cause distortion in sound quality and can even damage your system. It is recommended to use high-quality cables and connectors to ensure optimal performance.
Additionally, it is important to keep your system updated with the latest firmware and software updates. These updates not only improve the performance but also fix any bugs or issues that may arise. Check the manufacturer’s website regularly for any updates and follow the instructions carefully to update your system.
Comparing Different Types of Home Theater Systems: Which is Best for You?
5.1 home theater systems are not the only types of home theater systems on the market. Some other popular types include 2.1, 7.1, multi-channel soundbars, and home theater in a box (HTiB) systems. Each type has its advantages and disadvantages, and selecting one that suits your needs can be challenging. Consider your budget, room size, and desired sound quality when selecting your next home theater system. We suggest you do your due diligence before making a purchase and consult professional advice if required.
There you have it: connecting your 5.1 home theater system to your TV is not rocket science. Follow this guide, and you’ll be enjoying your favorite movies with bigger, better, and immersive sound in no time.