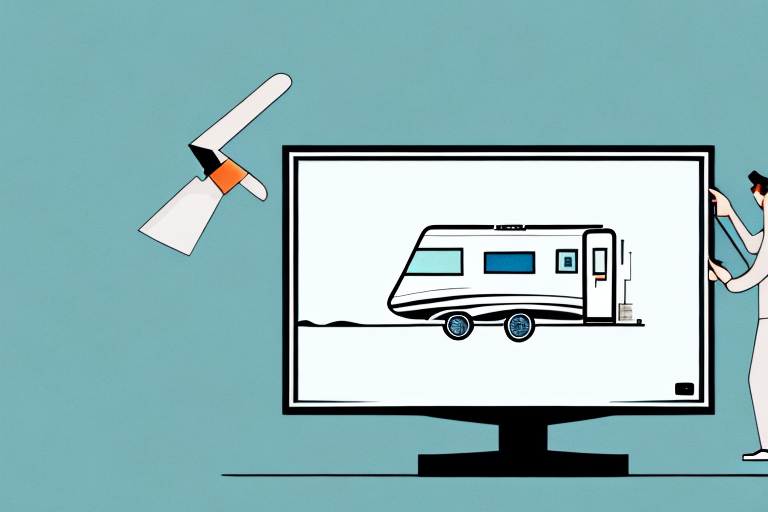
If you’re planning a road trip and want to enjoy your favorite TV shows during your travels, mounting your TV on the RV ceiling can be a great solution. But before you get started, you need to make sure you have everything you need to complete the installation. In this article, we’ll walk you through all the steps you need to take to mount your TV on the RV ceiling, including determining the best location, choosing the right hardware, measuring and marking the position, preparing the ceiling for installation, and more.
Determining the Best Location for Your TV Mount
The first step in mounting your TV on the RV ceiling is to determine the best location for the mount. This will depend on factors like the size of your RV, the location of the furniture you’ll be viewing from, and the angle of the mount. Take some time to measure and take note of the available space and angles in your RV, and consult your TV manual to see what the recommended viewing angles are. Once you have a good idea of the best location, you can move on to choosing the right mount.
Another important factor to consider when determining the best location for your TV mount is the weight of your TV. Make sure that the location you choose can support the weight of your TV and the mount. You may need to reinforce the ceiling or use a specialized mount to ensure that your TV stays securely in place while you’re on the road.
It’s also a good idea to consider the location of other electronics and wiring when choosing the best location for your TV mount. Make sure that you have easy access to power outlets and that your wiring is neatly organized and out of the way. This will help to prevent any potential hazards or damage to your electronics while you’re traveling.
Understanding the Different Types of RV Ceiling Mounts
RV ceiling mounts come in a variety of types, such as fixed mounts, tilting mounts, and full-motion mounts. Fixed mounts are the most basic type and are designed to hold the TV in a fixed position. Tilting mounts can tilt the TV up or down to improve viewing angles, while full-motion mounts allow for more flexibility and movement. Consider the type of mount that best suits your needs and budget.
When choosing an RV ceiling mount, it’s important to consider the weight and size of your TV. Make sure the mount you choose can support the weight of your TV and is compatible with its size. Additionally, consider the installation process and whether you have the necessary tools and skills to install the mount yourself or if you need to hire a professional.
Another factor to consider is the material of the mount. Some mounts are made of plastic, while others are made of metal. Metal mounts tend to be more durable and long-lasting, but they may also be heavier and more expensive. Plastic mounts may be more affordable and lightweight, but they may not be as sturdy as metal mounts.
Choosing the Right Mounting Hardware for Your TV and RV Ceiling
Before you finalize your TV mount, make sure you have all the necessary hardware to properly install it. This includes screws, bolts, washers, and any other mounting hardware to secure the mount in place. Be sure to choose hardware that is strong enough to support the weight of your TV. It’s also important to consider the type of ceiling material you’ll be mounting the TV on and choose hardware that’s designed for that material.
Another important factor to consider when choosing mounting hardware for your TV and RV ceiling is the location of the mount. If you plan to travel frequently with your RV, it’s important to choose hardware that can withstand the vibrations and movements of the vehicle. Additionally, if you plan to mount your TV in a location that is exposed to moisture or humidity, such as in a bathroom or kitchen area, it’s important to choose hardware that is resistant to rust and corrosion. Taking these factors into consideration can help ensure that your TV mount is secure and long-lasting.
Measuring and Marking the Position for Your TV Mount
Using a tape measure and a pencil, mark the position on the RV ceiling where you want to install the mount. Make sure the position is level and centered, and double-check your measurements before beginning installation. Depending on the type of mount, you may need to mark additional points for securing the mount in place.
It is important to consider the weight and size of your TV when choosing the location for your mount. Make sure the ceiling can support the weight of the TV and that the mount is appropriate for the size of your TV. If you are unsure, consult the manufacturer’s instructions or seek professional advice.
Before drilling any holes, it is also important to check for any electrical or plumbing lines that may be hidden in the ceiling. Use a stud finder or consult a professional to ensure that you do not accidentally damage any important systems while installing your TV mount.
Preparing the Ceiling for Installation: Tools and Materials You Will Need
Before you begin installing your TV mount, make sure you have all the necessary tools on hand. This may include a drill, screws, screwdriver, level, and stud finder. You may also need additional materials depending on the type of mount and the condition of your ceiling.
If you have a popcorn ceiling, you may need to remove the texture before installing the mount. This can be done using a scraper and sandpaper. Additionally, if your ceiling is made of concrete or brick, you will need special drill bits to make holes for the screws. It’s important to have all the necessary tools and materials before starting the installation process to ensure a smooth and successful project.
Step-by-Step Guide to Installing Your RV Ceiling TV Mount
With all the necessary tools and materials in hand, it’s time to start the installation process. Follow the manufacturer’s instructions carefully, but generally, the installation process will involve locating a stud in the RV ceiling, drilling pilot holes for the screws, and then screwing in the mount itself. Make sure the mount is securely attached and level before moving on.
It’s important to note that the weight of your TV should also be taken into consideration when installing the ceiling mount. Make sure the mount you choose is rated to hold the weight of your TV. Additionally, it’s a good idea to have a second person assist with the installation to ensure safety and accuracy. Once the mount is installed, test it out by hanging your TV and adjusting the angle to your desired viewing position.
Testing Your Installation: Ensuring Proper Stability and Security of Your TV Mount
Once your TV mount is installed, it’s important to test it to ensure it’s stable and secure enough to hold your TV safely. Test the mount by shaking it gently and making sure it’s held firmly in place. Once you’re confident that the mount is secure, it’s time to mount your TV.
It’s also important to consider the weight and size of your TV when choosing a mount. Make sure the mount you select is rated to hold the weight of your TV and is compatible with its size. Additionally, be sure to follow the manufacturer’s instructions carefully when installing the mount to ensure proper stability and security. Taking these precautions will help prevent any accidents or damage to your TV.
Tips and Tricks to Hide Wires and Cables After Installation
After mounting the TV, you may find that the wires and cables are visible and cluttering up your RV space. To fix this, consider using cable ties or a cable raceway to hide the wires and keep them organized. You can also use a surge protector or power conditioner to protect your TV and other electronics.
Another option to consider is using a cord cover. Cord covers are available in various sizes and colors to match your RV’s interior. They are easy to install and can be painted to blend in with the wall. Additionally, you can use a cord hider to conceal the cords running along the floor. This will not only make your RV look neater but also prevent tripping hazards.
Troubleshooting Common Issues with RV Ceiling TV Mounts
If you encounter any issues during the installation process, such as a wobbly mount or insufficient support, consult the manufacturer’s instructions or reach out to their customer service for assistance. Common issues can often be easily resolved with some troubleshooting and adjustments.
It is important to note that the weight and size of your TV should be taken into consideration when selecting a ceiling mount. If the mount is not designed to support the weight of your TV, it can lead to instability and potential damage to both the mount and the TV. Be sure to check the weight and size specifications of the mount before making a purchase to ensure it is compatible with your TV.
How to Safely Remove or Replace Your RV Ceiling TV Mount
If you need to remove or replace your TV mount in the future, make sure to follow the manufacturer’s instructions carefully to avoid damaging your RV ceiling. Use caution when removing the mount and avoid damaging any surrounding materials. If you’re unsure about the process, consider hiring a professional to avoid any mishaps.
Before removing the TV mount, make sure to unplug all cables and wires connected to the TV. This will prevent any damage to the TV or other electronic devices. Additionally, it’s important to have a helper to assist you in safely removing the mount from the ceiling.
When replacing the TV mount, make sure to choose a mount that is compatible with your RV’s ceiling and the size and weight of your TV. It’s also important to properly secure the new mount to the ceiling to prevent any accidents while driving. If you’re unsure about the compatibility or installation process, consult with a professional or the manufacturer for guidance.
Recommendations for Selecting the Best TV for Your RV Setup
Finally, when selecting a TV for your RV, make sure to choose one that’s compatible with your mount and has the features you want for your travels. Consider factors like screen size, resolution, built-in apps, and more to find the perfect TV for your RV setup.
Maintenance and Care Tips to Extend the Life of Your RV Ceiling TV Mount
With your TV mounted, it’s important to take care of your mount to keep it working properly for years to come. Avoid overloading the mount with too much weight or stress, and clean it regularly to keep it free of dust and debris.
Adding Additional Accessories to Your RV Ceiling TV Setup
Finally, consider adding additional accessories to your RV ceiling TV setup, such as a soundbar or extra speakers for better audio quality. With the right setup, you can enjoy all the comforts of home while exploring the great outdoors.