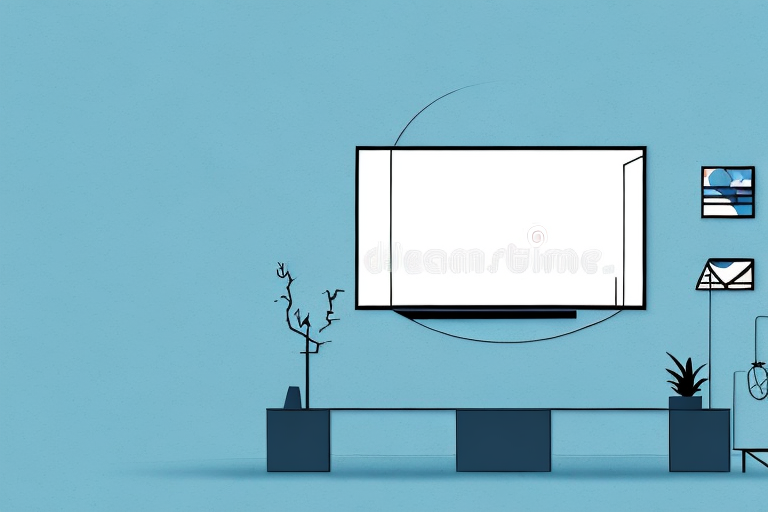
Mounting a TV on the wall is a great way to save space and enhance the style of your living room. However, it requires proper planning and execution to avoid damaging your TV or wall. In this article, we will guide you through the steps to mount your TV safely and effectively. Whether you are a DIYer or a first-timer, these tips and tricks will help you get professional results at home.
Tools Required for Mounting a TV on the Wall
Before getting started, you will need some essential tools to mount your TV on the wall. These may include:
- Wall mount
- Drill and drill bits
- Screwdriver
- Tape measure
- Pencil
- Level
- Stud finder
- Cable ties
Make sure that you have all the necessary tools at hand before proceeding with the installation.
It is also important to consider the weight and size of your TV when selecting a wall mount. Make sure that the wall mount you choose is compatible with your TV’s weight and size specifications. Additionally, it is recommended to have a second person assist you with the installation to ensure safety and accuracy.
Choosing the Right Wall Mount for Your TV
The first step in mounting your TV is to choose the right wall mount. There are different types of wall mounts available, such as fixed, tilting, full-motion, and ceiling mounts. Choose a mount that is compatible with your TV size and weight. You can check the specifications of your TV in the user manual or on the manufacturer’s website. Additionally, you should choose a mount that is rated to handle the weight of your TV.
Another important factor to consider when choosing a wall mount for your TV is the viewing angle. If you plan on mounting your TV in a room where you will be sitting directly in front of it, a fixed mount may be the best option. However, if you want the flexibility to adjust the viewing angle, a tilting or full-motion mount may be a better choice.
It’s also important to consider the location of the wall mount. Make sure the mount is installed on a sturdy wall that can support the weight of your TV. Avoid mounting your TV on a wall that is prone to vibrations or movement, such as a wall near a busy street or a room with heavy foot traffic. Additionally, make sure the mount is installed at a height that is comfortable for viewing, and that there is enough clearance around the TV to allow for proper ventilation.
Preparing Your TV and Wall for Installation
Before mounting your TV, you should prepare both your TV and wall for installation. Start by turning off your TV and unplugging all cables. Remove the TV stand if it has one. Next, use a stud finder to locate the studs in the wall where you want to mount your TV. Mark the center of each stud with a pencil. This will help you to attach the wall mount to the studs for added stability.
After marking the studs, you should also consider the height at which you want to mount your TV. The ideal height for a TV is at eye level when seated, so measure the distance from the floor to your eye level and mark that spot on the wall. This will ensure that you have a comfortable viewing experience.
Additionally, before mounting your TV, make sure that the wall is clean and free of any debris or dust. This will help the wall mount to adhere properly and prevent any damage to your TV or wall. You can use a damp cloth to wipe down the wall and remove any dirt or dust.
How to Find the Perfect Height for Your TV
One of the most common questions people have when mounting a TV is how high to mount it. The perfect height for your TV depends on your viewing habits and the size of your room. As a general rule, the center of the TV screen should be at eye level when you are seated. You can use a tape measure and a pencil to mark the desired height on the wall.
Another factor to consider when determining the perfect height for your TV is the distance between the TV and your seating area. If you have a larger room and sit farther away from the TV, you may want to mount it slightly higher to ensure optimal viewing. On the other hand, if you have a smaller room and sit closer to the TV, you may want to mount it slightly lower to avoid neck strain. It’s important to find a balance between comfort and optimal viewing angle.
Marking and Drilling Holes in the Wall
Now that you have located the studs and marked the desired height for your TV, you can start drilling holes in the wall. Use a drill bit that is slightly smaller than the screws you will use to attach the wall mount to the wall. Drill holes at the center of each stud, where you have marked with a pencil. Make sure that the holes are level and at the same height. If you are mounting the TV on a drywall, you should use anchors to support the weight of the TV.
It is important to note that before drilling any holes in the wall, you should turn off the power supply to any electrical outlets or switches in the area. This will ensure your safety and prevent any damage to electrical wiring. Additionally, if you are unsure about drilling into the wall or handling electrical wiring, it is recommended to seek the assistance of a professional.
Installing the Wall Bracket for Your TV
Next, you can start installing the wall bracket for your TV. Attach the wall bracket to the wall using the screws and washers provided. Make sure that the bracket is level and securely attached to the studs. You can use a level to check the bracket’s alignment.
Once the bracket is securely attached to the wall, you can then attach the mounting plate to the back of your TV. Make sure to use the appropriate screws and washers for your TV’s mounting holes. It’s important to have someone assist you in holding the TV while you attach the mounting plate to the bracket.
After the mounting plate is attached to the TV, carefully lift the TV and mount it onto the bracket. Double-check that the TV is level and securely attached to the bracket before letting go. Finally, tidy up any loose cables and cords to complete the installation process.
Mounting Your TV on the Wall Bracket
Now comes the exciting part — mounting your TV on the wall bracket. Depending on the type of wall mount you have chosen, this step may vary. Generally, you will need to attach the mounting plate to the back of your TV using the screws provided. Then, lift the TV and hang it on the wall bracket. Make sure that the TV is level and centered on the bracket. Secure the TV to the bracket using the locking mechanism.
Before mounting your TV on the wall bracket, it is important to consider the height and viewing angle. The ideal height for your TV should be at eye level when seated. This will ensure a comfortable viewing experience and prevent neck strain. Additionally, make sure that the TV is not placed in direct sunlight or in a location where there is a lot of glare, as this can affect the picture quality.
After mounting your TV, it is important to test the stability of the bracket and ensure that it is securely attached to the wall. You can do this by gently pushing and pulling on the TV to see if it wobbles or moves. If it does, you may need to adjust the bracket or seek professional help to ensure that it is properly installed. Once you are satisfied with the stability of the bracket, you can sit back, relax, and enjoy your favorite shows and movies on your newly mounted TV.
Connecting Cables and Hiding Wires
After you have mounted your TV on the wall, you can connect the cables and power cords. Make sure that the cables are long enough to reach the TV and the power outlet. You can use cable ties or raceways to hide the cables for a cleaner look.
It is important to ensure that the cables are connected correctly to avoid any damage to your TV or other devices. Refer to the user manual or seek professional help if you are unsure about the connections. Additionally, if you have multiple devices connected to your TV, consider using a universal remote to simplify the control of your entertainment system.
Testing Your Mounted TV for Stability and Functionality
Before you start watching your favorite TV shows, you should test your mounted TV for stability and functionality. Check that the TV is level and securely attached to the bracket. Some wall mounts come with tilt or swivel features, so make sure that they are working correctly. Finally, turn on your TV and check that the picture and sound are working correctly.
Troubleshooting Common Issues During Installation
If you encounter any issues during the installation, such as the TV being too heavy or the wall not strong enough to support the weight, you should stop the installation immediately and seek professional advice. Safety should always come first when mounting a TV on the wall.
Safety Precautions to Keep in Mind While Mounting a TV
Mounting a TV on the wall can be dangerous if you don’t take safety precautions. Always use a sturdy wall mount, and avoid using cheap or low-quality mounts. Be aware of the weight of your TV and make sure that the wall can support it. Never mount your TV on a plasterboard or a weak wall. Always use a stud finder to locate the studs in the wall. Finally, ask a friend or family member to assist you during the installation.
Tips and Tricks to Get Professional Results at Home
Mounting a TV on the wall can be an easy task if you follow these tips and tricks:
- Use a level to ensure that the TV is mounted straight.
- Hide the cables for a cleaner look using cable ties or raceways.
- Choose a wall mount that allows you to adjust the angle of your TV.
- Make sure that the wall mount is compatible with your TV size and weight.
- Seek professional advice if you encounter any issues during the installation.
By following these tips, you can mount your TV on the wall like a pro.
We hope that this guide has helped you to mount your TV safely and effectively. Remember to take the necessary precautions and seek professional advice if you encounter any issues during the installation. Now sit back, relax, and enjoy your new TV mounted on the wall!