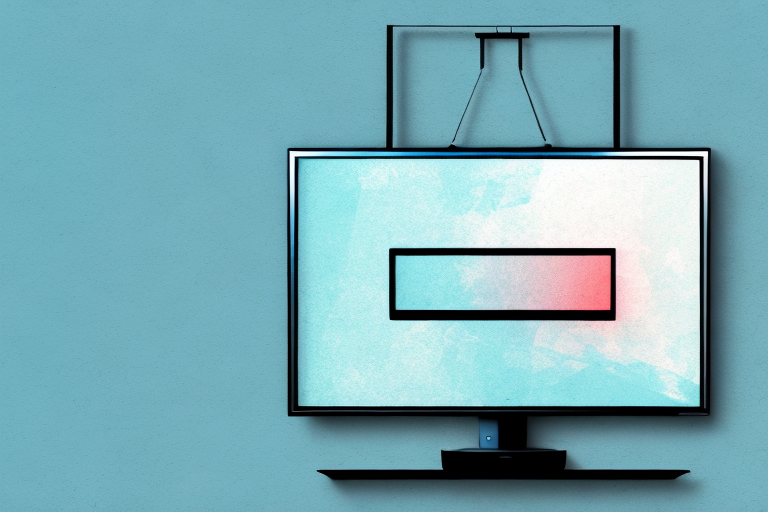
Are you looking to mount a TV bracket in your Jayco RV but don’t know where to start? You’re not alone. Many RV owners struggle with mounting a TV bracket, but it’s not as difficult as it seems. In this guide, we’ll walk you through all the steps required to mount a TV bracket in your Jayco RV.
Tools and Materials Required for Mounting a TV Bracket in Jayco
Before we start with the installation process, let’s take a look at the tools and materials you’ll need:
- Drill with drill bits
- Screwdriver (manual or power)
- Pencil or Grease pencil
- Stud finder
- Mounting hardware (provided with TV bracket or purchased separately)
Aside from the tools and materials mentioned above, there are a few other things you might want to consider before mounting your TV bracket in your Jayco. Firstly, it’s important to ensure that the bracket you choose is compatible with your TV. This can usually be found in the product specifications or by contacting the manufacturer.
Secondly, you’ll want to think about the placement of your TV. Consider the viewing angle and whether you’ll need to adjust the bracket to achieve the desired position. It’s also important to ensure that the bracket is mounted securely and can support the weight of your TV.
Understanding the Construction of Your Jayco RV Before Mounting a TV Bracket
It’s essential to understand the construction of your Jayco RV before mounting a TV bracket. You don’t want to drill into a part of your RV that can’t support the TV bracket and cause damage. The walls and ceilings of your RV are likely made of thin materials, and some parts have no studs.
When you’re working on your RV walls, be careful not to drill into any wiring, plumbing, or other crucial components. For this reason, it’s vital to know what’s behind the wall you’re drilling into. If in doubt, consult your RV’s owner’s manual or a professional RV technician.
Additionally, it’s important to consider the weight of the TV you plan to mount. Most RV walls are not designed to support heavy loads, so it’s crucial to choose a TV bracket that can handle the weight of your TV. You may also want to consider using additional support, such as a backing plate or reinforcement, to ensure the TV bracket is securely mounted.
Preparing the Area for TV Bracket Installation in Your Jayco
Before you begin your installation, clear the area you’ll be working on to give yourself enough space to work comfortably. Remove any furnishings or items that may be in the way of the TV bracket area.
Also, make sure to switch off any power sources near the installation area, computers, TVs, etc., to avoid damaging them or yourself while working.
Next, gather all the necessary tools and equipment you’ll need for the installation. This may include a drill, screws, a level, a stud finder, and a measuring tape. Having everything you need on hand will make the installation process smoother and more efficient.
Finally, it’s important to consider the weight and size of the TV you’ll be mounting. Make sure the bracket you choose is compatible with your TV’s weight and size, and that it’s securely attached to a stud in the wall to prevent any accidents or damage to your TV.
Measuring and Marking the Location for Your TV Bracket in Jayco
With your area cleared, it’s time to measure and mark the location for your TV bracket. You’ll want to choose a sturdy place to mount the bracket, such as a stud or anchor. Starting with the wall or ceiling closest to your desired area.
Use the stud finder to locate the stud in your RV wall or ceiling, then mark its position with a pencil or grease pencil. Next, use a plumb line to confirm the location of the stud. Repeat this process at least two more times around the area you’d like to mount your TV bracket until you find the perfect spot.
It’s important to consider the viewing angle when choosing the location for your TV bracket. You want to make sure that the TV is at a comfortable height and angle for viewing. If you plan on watching TV from your bed, for example, you’ll want to mount the bracket higher on the wall. If you’ll be watching TV from a seating area, you’ll want to mount the bracket at eye level. Take some time to consider the best viewing angle for your TV before finalizing the location for your bracket.
Drilling Holes for Your TV Bracket in Jayco
Using a drill and a drill bit just smaller than the screws you plan to use, drill pilot holes into the locations you’ve chosen to mount the TV bracket. Be sure to drill directly into the studs in your Jayco RV walls or ceiling.
Before drilling, it’s important to measure and mark the exact location where you want to mount the TV bracket. Use a level to ensure that the bracket will be straight and even. You may also want to use painter’s tape to mark the spot and prevent the drill bit from slipping.
After drilling the pilot holes, insert wall anchors if necessary to provide extra support for the screws. Then, attach the TV bracket to the wall or ceiling using the appropriate screws and a screwdriver or drill. Make sure the bracket is securely fastened before mounting the TV.
Securing the TV Bracket to Your Jayco Wall or Ceiling
Once you’ve drilled your pilot holes, hold the bracket up to the wall, aligning the screw holes with the pilot holes you’ve drilled. Then, using a manual or power screwdriver, screw the screws into the wall to secure the bracket to your Jayco RV.
It’s important to ensure that the screws you use are appropriate for the weight of your TV and the type of wall or ceiling you are attaching the bracket to. If you’re unsure, consult the manufacturer’s instructions or seek advice from a professional. Additionally, consider using wall anchors or toggle bolts for added support and stability.
Installing the TV onto the Mounted Bracket in Your Jayco RV
Now that your TV bracket is securely mounted onto your RV’s wall or ceiling, it’s time to install the TV onto the bracket. Fix your TV onto the mounting bracket per the manufacturer’s instruction manual, ensuring that the TV is securely fastened and level with the bracket.
Before installing the TV onto the bracket, it’s important to check the weight capacity of the bracket and ensure that your TV does not exceed it. If your TV is too heavy for the bracket, it can cause damage to both the bracket and the RV’s wall or ceiling.
Once you have confirmed that your TV is compatible with the bracket, carefully lift the TV and align it with the bracket. Use the screws provided in the manufacturer’s instruction manual to secure the TV onto the bracket. Make sure that the screws are tightened properly, but be careful not to over-tighten them as this can damage the TV or the bracket.
Testing the Stability and Adjusting Your TV Bracket in Jayco
With your TV mounted onto the bracket, it’s essential to test the stability of your installation to ensure your TV is secure and doesn’t move. Gently shake the TV to make sure it’s well-fastened and isn’t in danger of falling off.
If the TV is not level or is at an awkward angle, you may need to adjust the TV bracket positioning. Loosen the screws that hold the TV bracket to the wall and adjust the angle accordingly.
It’s also important to consider the weight of your TV when choosing a bracket. Make sure the bracket you select can support the weight of your TV to avoid any accidents or damage to your TV or wall.
Additionally, if you plan on traveling with your Jayco, it’s a good idea to secure your TV with straps or bungee cords to prevent it from moving during transit. This will also help to protect your TV from any potential damage while on the road.
Tips and Tricks for Maintaining Your Mounted TV Bracket in Jayco RV
Congratulations! You’ve successfully mounted your TV bracket onto your Jayco RV, but it’s not over yet. Here are a few tips to ensure your installation lasts a lifetime:
- Dust off your TV bracket regularly to reduce the buildup of dirt and grime.
- Keep an eye on the screws that hold the bracket to the wall to ensure they’re tight.
- When you’re not using your TV, turn it off to save energy and prolong its lifespan.
- Refrain from hanging any objects on the mount or placing heavy items on top of the TV, as this can cause damage to the TV or bracket.
There you have it! With these instructions, you’ll be able to mount a TV bracket in your Jayco RV in no time. Always remember to take extra care and safety precautions when working on your RV, and consult an RV technician if you’re unsure.
Another important tip to keep in mind is to avoid exposing your TV bracket to extreme temperatures. If you’re camping in an area with high temperatures, make sure to keep your RV’s air conditioning on to prevent any damage to your TV or bracket.
Additionally, it’s a good idea to periodically check the cables and connections between your TV and any other devices, such as a DVD player or gaming console. Loose or damaged cables can cause issues with your TV’s performance and may even lead to permanent damage.