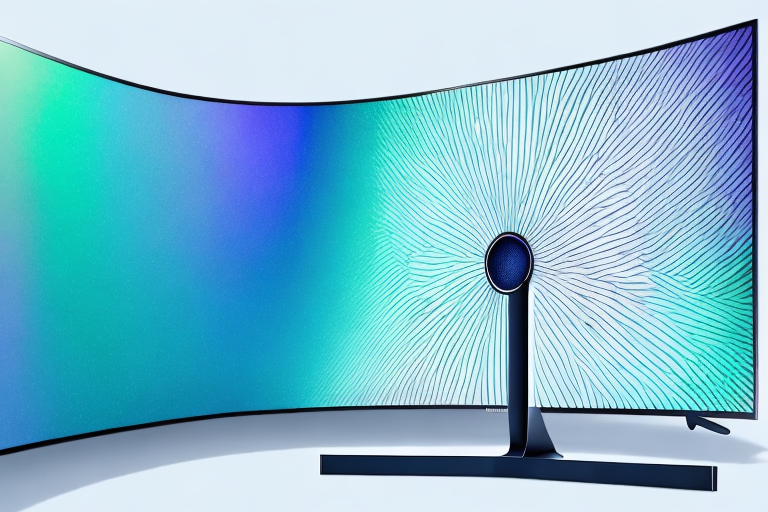
Are you tired of your sound bar taking up precious space on your entertainment center? Mounting your Samsung sound bar to your TV is a great solution to free up space and achieve optimal audio performance. In this article, we’ll explore the benefits of mounting your sound bar, the different types of mounts available, the tools needed for installation, and more.
The Benefits of Mounting Your Sound Bar
Mounting your sound bar to your TV offers several benefits. First, it saves space on your entertainment center. Additionally, by placing your sound bar closer to your screen, you can achieve clearer audio performance as the sound won’t have to travel as far. Finally, mounting your sound bar can enhance the look of your setup, giving it a sleek and polished appearance.
Another benefit of mounting your sound bar is that it can improve the overall sound quality of your home theater system. When your sound bar is mounted, it is less likely to vibrate or move, which can cause distortion in the sound. This means that you can enjoy a more immersive audio experience without any unwanted noise or interference.
Furthermore, mounting your sound bar can also help to keep your living space organized and clutter-free. By eliminating the need for additional shelves or stands, you can create a more streamlined and minimalist look in your entertainment area. This can be especially beneficial if you have a small living space or if you simply prefer a more minimalist aesthetic.
Understanding the Different Types of Mounts Available
There are several different types of mounts available for mounting your Samsung sound bar to your TV. The most common mounts are wall mounts and TV mounts. Wall mounts attach to the wall behind your TV and hold your sound bar in place, while TV mounts attach to the back of your TV and hold your sound bar directly beneath it. It’s important to consider which mount will work best for your setup and preferences.
Another type of mount that is becoming increasingly popular is the stand mount. This type of mount sits on a tabletop or entertainment center and holds your sound bar in place. Stand mounts are a great option if you don’t want to drill holes in your wall or attach anything to your TV. They also provide flexibility in terms of placement, as you can easily move the stand mount and your sound bar to different locations in your room.
Tools Needed for a Successful Installation
Before you begin the installation process, be sure to have the necessary tools on hand. You’ll need a screwdriver, a level, a pencil, a drill, drill bits, screws, and mounting brackets. Some sound bars may come with their own mounting hardware, so be sure to check the manual before purchasing any additional equipment.
It is also important to have a stud finder on hand to locate the studs in your wall. This will ensure that your sound bar is securely mounted and will not fall off the wall. Additionally, if you are mounting the sound bar above a fireplace, it is recommended to use a heat-resistant mounting bracket to prevent any damage to the sound bar from the heat.
Preparing Your Tv and Sound Bar for Mounting
Before mounting your sound bar, you’ll need to prepare both your TV and sound bar accordingly. It’s important to determine the weight and size of your sound bar and the mounting specifications of your TV before selecting a mount. Be sure to also clean your TV and sound bar to ensure a secure and clean mount.
Additionally, you may want to consider organizing your cables before mounting your TV and sound bar. This will not only make the installation process easier, but it will also create a cleaner and more organized look. You can use cable ties or cable clips to keep your cables neat and tidy. It’s also important to make sure your cables are long enough to reach the necessary ports on your TV and sound bar after mounting.
Positioning Your Sound Bar for Optimal Audio Performance
Once you have your mount and tools ready, it’s time to position your sound bar for optimal audio performance. Aim to position your sound bar just below the TV, ensuring that the sound won’t be blocked by the TV. Additionally, aim to place your sound bar at ear level for the ultimate listening experience.
Another important factor to consider when positioning your sound bar is the room layout. If your room is large or has high ceilings, you may need to adjust the placement of your sound bar to ensure that the sound is evenly distributed throughout the space. Experiment with different positions and angles to find the sweet spot that delivers the best audio performance for your specific room.
Securing Your Sound Bar to the Wall or Tv
Attach the mounting brackets to the wall or the back of the TV, depending on which type of mount you are using. Position the sound bar in the brackets and secure it with the screws provided. Use a level to ensure that your sound bar is straight and properly aligned. Always double-check to ensure that your sound bar is securely mounted before testing it.
It is important to note that the weight of your sound bar should be taken into consideration when choosing a mounting location. Make sure that the wall or TV can support the weight of the sound bar and the mounting brackets. If you are unsure, consult the manufacturer’s guidelines or seek professional installation assistance. Additionally, be sure to route any cables or wires neatly and securely to avoid any potential hazards or damage to your sound bar or other equipment.
Concealing Cords and Wires for a Cleaner Look
After mounting your sound bar, consider concealing cords and wires for a clean and polished look. Run cables through a cable conduit or cord cover, ideally in the same color as your wall or entertainment center. Additionally, make sure to leave enough slack in the cables to ensure that they won’t become disconnected when moving your sound bar or TV.
Another option for concealing cords and wires is to use a wireless sound bar. This eliminates the need for cords and wires altogether, creating an even cleaner look. However, keep in mind that wireless sound bars may require a power source, so you may still need to hide one cord. Additionally, make sure to check the compatibility of your TV and sound bar before purchasing a wireless option.
Troubleshooting Common Mounting Issues
If you encounter any issues while mounting your sound bar, don’t panic. Always refer to the manufacturer’s manual for specific troubleshooting instructions. Additionally, make sure that your sound bar and mount are compatible before beginning installation to avoid common mounting issues.
One common mounting issue is the sound bar not being level. To fix this, use a level tool to ensure that the mount is straight before tightening the screws. Another issue is the sound bar being too heavy for the mount, causing it to sag or fall. In this case, it’s important to use a mount that can support the weight of your sound bar. If you’re unsure, consult with a professional installer or the manufacturer for recommendations.
Maintaining Your Mounted Sound Bar for Longevity
With the successful installation of your Samsung sound bar, it’s important to maintain it for longevity. Clean your sound bar regularly and avoid any strong impacts or vibrations that could dislodge your mount. Additionally, keep your sound bar up to date with firmware updates and regularly test your audio performance to ensure optimal functionality.
By following these steps, you can successfully mount your Samsung sound bar to your TV and achieve optimal audio performance while retaining a sleek and polished look. Happy mounting!
Another important factor to consider when maintaining your mounted sound bar is the placement of the sound bar. It’s important to ensure that the sound bar is not placed too close to any heat sources, such as a fireplace or radiator, as this can cause damage to the sound bar over time. Additionally, make sure that the sound bar is not exposed to direct sunlight for extended periods of time, as this can also cause damage to the device.
Lastly, it’s important to regularly check the cables and connections of your sound bar to ensure that they are secure and functioning properly. Loose or damaged cables can cause audio issues and potentially damage your sound bar. By regularly checking and maintaining your sound bar, you can ensure that it will last for years to come.