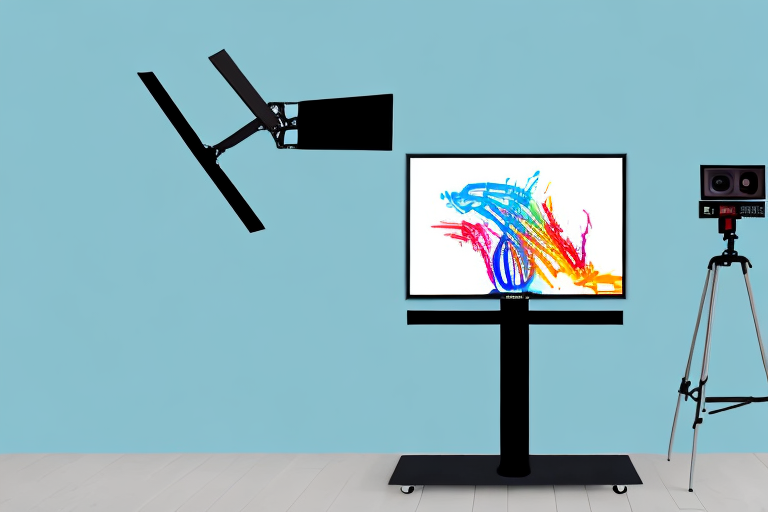
If you’re looking to mount your TV to the wall, a Sanus tv mount is a great option to consider. With its sturdy construction, easy assembly, and cable management solutions, Sanus tv mounts are reliable and will give you peace of mind. In this article, we’ll guide you through every step of the installation process to give you a clear idea of what you’ll need to do to install a Sanus tv mount successfully.
Why Choose Sanus Tv Mount
There are many reasons why you should choose Sanus tv mount. First, Sanus tv mounts are made of high-quality materials that are known for their durability and strength. Second, they’re incredibly easy to assemble, and you don’t need any special skills or tools. Third, Sanus tv mounts are designed with cable management solutions that help you keep cables neat and organized. Finally, Sanus tv mounts offer flexible viewing options and can be adjusted to the perfect viewing angle.
Moreover, Sanus tv mounts come with a comprehensive warranty that covers any defects or damages. This means that you can have peace of mind knowing that your investment is protected. Additionally, Sanus tv mounts are compatible with a wide range of TV brands and sizes, making them a versatile choice for any home or office. Lastly, Sanus is a trusted brand in the industry, with a reputation for delivering high-quality products and exceptional customer service. Choosing Sanus tv mount is a smart choice that will enhance your viewing experience and provide long-lasting value.
Tools Required for Sanus Tv Mount Installation
The following is a list of tools that you’ll need to have to install a Sanus tv mount.
- Stud finder
- Level
- Drill
- Screwdriver
- Tape measure
- Pencil
It’s important to note that the size and weight of your TV will also determine the type of Sanus tv mount you’ll need. For larger and heavier TVs, you may need a mount with a higher weight capacity and additional hardware such as lag bolts and washers. It’s always a good idea to check the specifications of your TV and the mount before beginning the installation process.
Preparing Your Wall for Sanus Tv Mount Installation
Before you begin the installation process, you must prepare your wall by finding a suitable position for the mount. The first thing you should do is choose a location that’s at a comfortable viewing height and provides the best viewing angle. After doing so, you should use a stud finder to locate the studs in the wall to ensure that the mount is anchored securely.
Once you have located the studs, mark their positions on the wall using a pencil. This will help you to align the mount correctly and ensure that it is level. You should also check the condition of the wall to make sure that it is strong enough to support the weight of the TV and the mount.
If you find that the wall is not strong enough, you may need to reinforce it by adding additional support. This can be done by installing a piece of plywood or a mounting plate between the studs. Alternatively, you can use toggle bolts or other types of anchors to secure the mount to the wall.
Measuring and Marking Your Wall for Sanus Tv Mount Installation
After finding the ideal location, it’s time to measure and mark the wall to ensure that the mount is level. First, measure the distance from the floor to the center of the mount and make a mark. Next, measure the distance between the studs and transfer those measurements onto the mount. Finally, mark the spot where you’ll drill the holes for the mount.
It’s important to note that before drilling any holes, you should use a stud finder to locate the studs in the wall. This will ensure that the mount is securely attached to the wall and can support the weight of your TV. If you’re unsure how to use a stud finder, consult the instructions or seek assistance from a professional. Additionally, make sure to use the appropriate size drill bit for the mount’s screws to ensure a secure fit.
Assembling the Sanus Tv Mount
The next step is to assemble the Sanus tv mount. Start by laying out all of the components and following the instructions provided in the manual. The components should be straightforward to assemble, and you’ll need a screwdriver and drill to complete the process. Follow the instructions carefully and double-check that everything is connected securely.
It’s important to note that the weight of your TV should be taken into consideration when assembling the Sanus tv mount. Make sure to check the weight limit of the mount and ensure that your TV falls within that range. If your TV is too heavy for the mount, it could result in damage to both the mount and your TV. Additionally, if you’re unsure about any part of the assembly process, don’t hesitate to reach out to Sanus customer support for assistance.
Tips on Wiring and Cable Management with Sanus Tv Mount
Once the mount is assembled, it’s time to take care of the wiring and cable management. The easiest way to do this is to use cable ties to secure the cables to the mount and keep them tidy. Sanus tv mounts also have built-in cable management solutions that help keep cables neat and organized, so don’t hesitate to use them to keep everything together.
Another important tip for wiring and cable management with Sanus Tv Mount is to plan ahead and measure the length of the cables before installation. This will help you determine the best route for the cables and avoid any unnecessary twists or bends that could damage the cables or affect the signal quality. Additionally, it’s important to use high-quality cables that are designed for the specific purpose and length needed to ensure optimal performance and longevity.
Attaching the Sanus Tv Mount to the Wall
The next step is to attach the Sanus tv mount to the wall. Using the drill, make holes where you previously marked the wall. After that, attach the mount to the wall using screws and make sure it’s level. We recommend that you use a level to ensure that the mount is perfectly straight so that you can achieve a comfortable viewing angle.
It’s important to note that the type of wall you’re attaching the mount to will affect the type of screws and anchors you’ll need. For example, if you’re attaching the mount to a drywall, you’ll need to use drywall anchors to ensure that the mount is securely attached to the wall. On the other hand, if you’re attaching the mount to a concrete wall, you’ll need to use concrete screws and anchors.
Before attaching the mount to the wall, it’s also a good idea to check the weight capacity of the mount and ensure that it can support the weight of your TV. This information can usually be found in the product manual or on the manufacturer’s website. If you’re unsure about the weight capacity or have any other questions, it’s always best to consult with a professional or contact the manufacturer for guidance.
Securing Your TV to the Sanus Tv Mount
After attaching the mount to the wall, it’s now time to secure your TV to the mount. Depending on your Sanus tv mount model, this can be accomplished by using either brackets or clamps. Follow the instructions provided by the manufacturer and make sure to double-check that everything is secure before releasing the TV onto the mount.
It’s important to note that the weight of your TV should not exceed the weight limit specified by the mount. Exceeding the weight limit can cause the mount to fail and potentially damage your TV or injure someone. Additionally, make sure that the cables and cords are properly organized and not pulling on the TV, as this can also cause the mount to fail. By taking these precautions, you can ensure a safe and secure installation of your TV on the Sanus tv mount.
Adjusting the Viewing Angle of Your TV on Sanus Tv Mount
After securing the TV, it’s time to adjust the viewing angle to your liking. You should do this by adjusting the bolts or screws that control the tilt and swivel mechanisms on the mount. Take your time and find the perfect angle that meets your requirements. The great thing about Sanus tv mounts is that they offer a lot of flexibility in viewing angles, so you can adjust it to your preferred position comfortably.
It’s important to note that the viewing angle of your TV can greatly affect your viewing experience. If the angle is too high or too low, it can cause discomfort and strain on your neck and eyes. Additionally, if the angle is off-center, it can affect the overall picture quality. Therefore, it’s recommended to adjust the viewing angle of your TV on a Sanus tv mount to ensure a comfortable and optimal viewing experience.
Troubleshooting Common Issues During Sanus Tv Mount Installation
If you experience any issues during the installation process, such as difficulty finding studs or uneven mounting, refer to the troubleshooting section of the manual. You can also reach out to Sanus customer service for assistance.
One common issue that may arise during Sanus TV mount installation is the incorrect size of screws or bolts. It is important to ensure that you are using the correct size and type of hardware for your specific TV and mount. Using the wrong size or type of hardware can result in an unstable or unsafe installation. Always double-check the manual or contact Sanus customer service if you are unsure about the correct hardware to use.
Safety Measures to Consider When Installing a Sanus Tv Mount
Before you start the installation, make sure that you consider safety first. Always use safety equipment like safety goggles, gloves, and a helmet (if necessary). Make sure that you read and understand the instructions before proceeding and that the wall mount can safely hold the weight of your TV. Above all, be patient and take your time to do things right.
Congratulations! You’ve just accomplished the installation of your Sanus tv mount. You can now sit back, relax, and enjoy your favorite TV shows and movies in style. While the installation process might seem daunting at first, following this guide will help you accomplish the task smoothly and correctly. With the help of a Sanus tv mount, nothing can stop you from enjoying the best viewing experience possible.
However, it’s important to note that the installation process is just the beginning. You should regularly check the mount and ensure that it’s still securely attached to the wall. Also, make sure that the cables are properly organized and not tangled, as this can cause damage to your TV and the mount. Regular maintenance will ensure that your TV mount lasts for a long time and that you can continue to enjoy your favorite shows and movies without any interruptions.
Another important consideration is the placement of the TV mount. Make sure that it’s installed at a comfortable viewing height and angle, and that it’s not obstructed by any furniture or other objects. This will not only enhance your viewing experience but also prevent any accidents or injuries that may occur due to an improperly placed TV mount.