Setting up a home theater system can sound like a daunting task, but with the right equipment and a little know-how, anyone can have an immersive movie or gaming experience in the comfort of their own home. In this article, we will guide you through the steps to hook up your Ilive Home Theater System. From gathering the necessary equipment to troubleshooting common issues, we’ve got you covered.
Gathering the Necessary Equipment for Setting Up Your Ilive Home Theater System
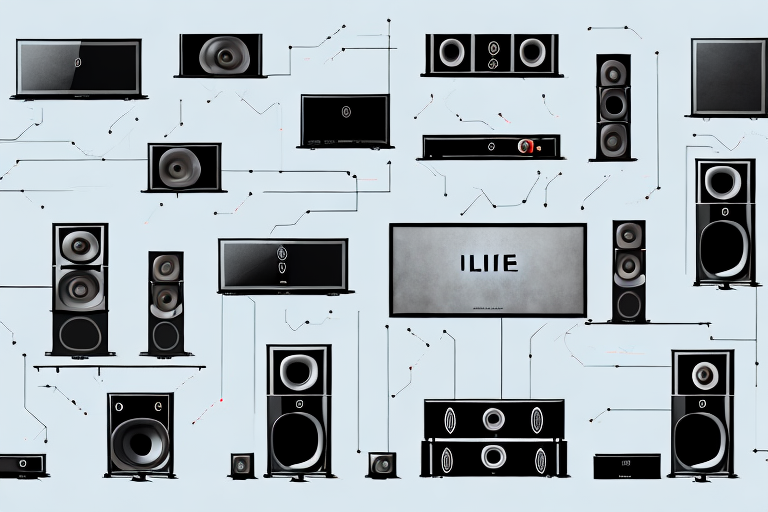
The first step in setting up your Ilive Home Theater System is making sure you have all the necessary equipment. This includes the Ilive Home Theater System itself, a TV, HDMI or RCA cables, and surround sound speakers. Additionally, having a basic understanding of the components of your Ilive Home Theater System is important for a successful setup.
It is also important to ensure that all the equipment is compatible with each other. For example, if you have an older TV, it may not have an HDMI port, which means you will need to use RCA cables instead. Similarly, if your Ilive Home Theater System has a different type of audio output than your speakers, you may need to purchase an adapter to connect them.
Understanding the Components of Your Ilive Home Theater System
Before diving into the setup process, it’s important to have a basic understanding of the components of your Ilive Home Theater System. The system typically includes a receiver, which is the central hub that connects all the components together, along with speakers and a subwoofer for surround sound. The receiver may also have additional features such as Bluetooth and a built-in DVD or Blu-ray player.
It’s important to note that the quality of your home theater system’s components can greatly impact the overall audio and visual experience. When selecting speakers, consider the size of your room and the type of sound you want to achieve. A subwoofer can add depth and richness to the low-frequency sounds, while a receiver with advanced audio processing capabilities can enhance the clarity and detail of the sound. Additionally, investing in high-quality cables and connectors can help ensure that the signal is transmitted without interference or degradation.
Choosing the Right Cables for Your Ilive Home Theater System
Once you have all the necessary equipment, it’s important to choose the right cables for your Ilive Home Theater System. HDMI cables are typically the best choice for connecting your TV to your Ilive Home Theater System, as they provide high-quality audio and video. RCA cables are a good alternative if your TV doesn’t have HDMI ports, but they may result in slightly lower quality audio and video.
It’s also important to consider the length of the cables you need. If your TV and Ilive Home Theater System are close together, a shorter cable may be sufficient. However, if they are further apart, you may need a longer cable. Keep in mind that longer cables can sometimes result in a loss of signal quality, so it’s important to choose a high-quality cable that is appropriate for the distance between your TV and Ilive Home Theater System.
Preparing Your TV for Connection to Your Ilive Home Theater System
Before connecting your Ilive Home Theater System to your TV, you’ll need to prepare your TV by making sure it has the necessary ports. Most modern TVs have HDMI ports, but if your TV is older, you may need to use RCA cables instead. Check your TV manual for specific instructions on how to prepare your TV for connection to external devices.
It’s also important to ensure that your TV is set to the correct input channel for the Ilive Home Theater System. This can usually be done by using the TV remote to navigate to the input or source menu and selecting the appropriate input option. If you’re unsure which input to select, refer to the Ilive Home Theater System manual for guidance.
Connecting Your Ilive Home Theater System to Your TV via HDMI or RCA Cables
Once your TV is ready, it’s time to connect your Ilive Home Theater System. The first step is to connect the HDMI or RCA cables from the receiver to the TV. Make sure to insert the cables into the correct ports, which are typically labeled “HDMI” or “Video In.”
If you are using HDMI cables, you will need to ensure that your TV and Ilive Home Theater System are both compatible with HDMI. HDMI cables provide high-quality audio and video signals, and they are the preferred method of connection for most home theater systems. However, if your TV or Ilive Home Theater System does not support HDMI, you can use RCA cables instead. RCA cables are a bit older and provide lower quality audio and video signals, but they are still a viable option for connecting your home theater system to your TV.
Configuring Audio Settings on Your TV for Optimal Sound Quality from Your Ilive Home Theater System
After the cables are connected, it’s time to configure the audio settings on your TV. This step is important for getting optimal sound quality from your Ilive Home Theater System. Depending on your TV, the settings may be located in a different menu, but typically you’ll need to select “Audio” or “Sound” and then choose “External Speakers” or “Home Theater System.”
It’s also important to note that some TVs have additional audio settings that can further enhance your home theater experience. For example, some TVs have a “surround sound” or “virtual surround” option that can simulate a more immersive audio experience. Additionally, some TVs have an “audio delay” setting that can help sync up the audio with the video, which is especially important for action-packed movies or sports games. Be sure to explore your TV’s audio settings to see what options are available and experiment with different configurations to find the best sound quality for your Ilive Home Theater System.
Setting Up Surround Sound Speakers with Your Ilive Home Theater System
The next step is to set up your surround sound speakers. Depending on the type of system you have, this may involve positioning the speakers around the room, running wires, and configuring the receiver to recognize and output sound from each speaker. Consult your Ilive Home Theater System manual for specific instructions on setting up surround sound.
When positioning your surround sound speakers, it’s important to consider the acoustics of the room. You want to place the speakers in a way that will provide the best sound quality and create an immersive experience. Experiment with different placements and angles to find the optimal setup for your space.
Another important factor to consider is the type of content you will be watching or listening to. Different types of media, such as movies, music, and video games, may require different speaker configurations and settings. Be sure to adjust your system accordingly to get the best possible experience for each type of content.
Adjusting Audio and Video Settings on Your Ilive Home Theater System for Optimal Performance
After your Ilive Home Theater System is connected and set up, it’s important to adjust the audio and video settings for optimal performance. This may involve adjusting the volume levels, configuring the subwoofer, and adjusting the brightness and contrast on your TV. Take some time to experiment with the settings to find the perfect setup for your viewing experience.
Additionally, it’s important to note that the placement of your speakers can also greatly impact the audio quality of your Ilive Home Theater System. Make sure to position your speakers at ear level and at equal distances from your listening area for the best sound. You may also want to consider investing in speaker stands or wall mounts to further optimize the placement of your speakers.
Troubleshooting Common Issues with Hooking Up an Ilive Home Theater System
Even with the best intentions and equipment, issues can still arise when setting up an Ilive Home Theater System. Some common issues include a lack of sound or picture, incorrect wiring, and compatibility issues with older TVs. If you encounter any issues, consult your Ilive Home Theater System manual or contact customer service for assistance.
Another common issue that can occur when hooking up an Ilive Home Theater System is the presence of interference or static in the audio or video output. This can be caused by a variety of factors, such as nearby electronic devices or poor quality cables. To troubleshoot this issue, try moving any nearby electronic devices away from the system and ensure that all cables are securely connected and of high quality. If the issue persists, contact customer service for further assistance.
Tips and Tricks for Getting the Most Out of Your Ilive Home Theater System Setup
Now that your Ilive Home Theater System is up and running, it’s time to sit back and enjoy the immersive experience. To get the most out of your setup, consider adjusting the lighting in the room, using comfortable seating, and experimenting with different viewing angles.
In conclusion, setting up an Ilive Home Theater System may seem daunting at first, but with the right equipment and a little know-how, it can be a fun and rewarding experience. Follow the steps outlined in this article and refer to your Ilive Home Theater System manual for specific instructions. Happy viewing!
Another tip for optimizing your Ilive Home Theater System is to calibrate the audio settings. This can be done by using a sound meter to adjust the volume levels and speaker placement for optimal sound quality. Additionally, consider investing in a subwoofer to enhance the bass and overall audio experience.
Lastly, don’t forget to regularly clean and maintain your Ilive Home Theater System. Dust and debris can accumulate on the speakers and other components, which can affect the sound quality and performance. Use a soft cloth to wipe down the surfaces and avoid using harsh chemicals or abrasive materials that can damage the equipment.