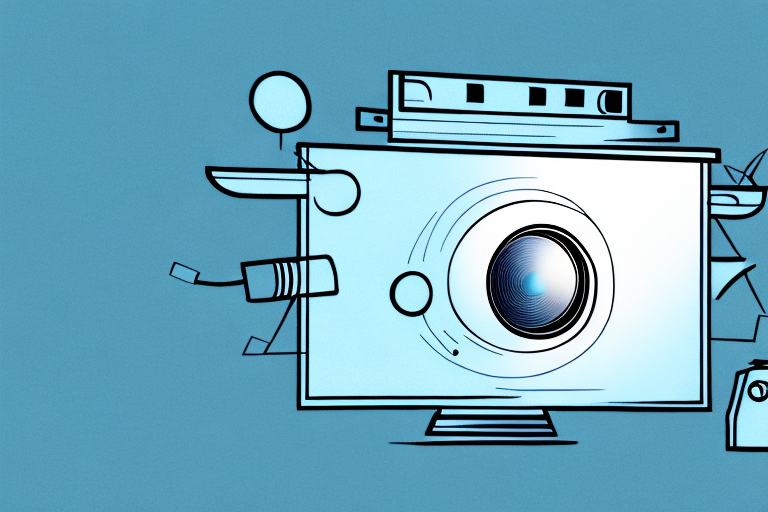
Short throw projectors have become increasingly popular in recent times. They offer numerous benefits over traditional projectors, such as a reduction in shadows and glare, and the ability to project large images from a shorter distance. However, to enjoy these benefits, the projector must be mounted correctly. In this article, we will discuss the steps involved in mounting a short throw projector, the tools required, as well as common mistakes to avoid.
The Benefits of a Short Throw Projector
Before we discuss the mounting process, let’s quickly go over the benefits of a short throw projector. As mentioned earlier, they reduce the amount of glare and shadows that traditional projectors produce. They also require less maintenance, are energy-efficient, and offer higher resolution and contrast ratios.
Another benefit of a short throw projector is that it allows for a larger image to be projected in a smaller space. This is because the projector can be placed closer to the screen or wall, which is especially useful in smaller rooms or spaces with limited projection distance. Additionally, short throw projectors are often designed with a wider angle lens, which allows for greater flexibility in placement and projection angles.
Short throw projectors are also ideal for interactive presentations or classrooms. With the projector mounted closer to the screen or wall, it reduces the chances of someone accidentally blocking the projection or casting a shadow on the screen. This makes it easier for presenters or teachers to engage with their audience and create a more immersive experience.
Choosing the Right Mount for Your Short Throw Projector
Choosing the right mount for your short throw projector is crucial. The mount must support the projector’s weight and size, and it should also come with adjustable arms that allow you to adjust the angle and distance of the projector. In addition, the mount should be durable and easy to install. When purchasing a mount, consider the material, size, and type of mount that will work best for your space.
Another important factor to consider when choosing a mount for your short throw projector is the location of the mount. You want to make sure that the mount is placed in a location that will provide the best viewing experience for your audience. This may mean mounting the projector on the ceiling or on a wall, depending on the layout of your space.
It’s also important to consider the cost of the mount when making your decision. While you want to choose a mount that is durable and high-quality, you also want to make sure that it fits within your budget. Be sure to shop around and compare prices before making your final decision.
Steps to Mounting Your Short Throw Projector
Once you have your mount, follow these steps to mount your short throw projector:
- Locate the ideal installation spot for your projector. The area should be free of obstructions and provide adequate space for the projector.
- Install the mount, ensuring that it is level and securely attached to the wall or ceiling.
- Attach the mounting plate to the projector’s base and secure it with screws.
- Attach the projector to the mount, making sure that it is level.
- Adjust the mount’s arms to achieve the desired distance and angle between the projector and the screen.
- Connect the cables from the projector to the appropriate input sources, such as your laptop or DVD player.
- Test the projector to make sure it is functioning correctly.
It is important to note that the weight of your projector should be taken into consideration when selecting a mount. Make sure that the mount you choose can support the weight of your projector to avoid any accidents or damage to your equipment.
Additionally, it is recommended to use a surge protector to protect your projector from power surges and voltage spikes. This will help to prolong the life of your projector and prevent any potential damage to your equipment.
Tools Needed for Mounting a Short Throw Projector
You will need the following tools for mounting your short throw projector:
- Phillips screwdriver
- Socket wrench
- Drill and appropriate drill bit
- Level
- Stud finder
- Pencil
- Tape measure
It is important to note that the specific tools needed may vary depending on the type of wall or ceiling you are mounting the projector on. For example, if you are mounting the projector on a concrete wall, you may need a hammer drill and masonry bit instead of a regular drill and bit. Additionally, if you are mounting the projector on a drop ceiling, you may need additional hardware such as a ceiling plate and toggle bolts. Always consult the manufacturer’s instructions and guidelines for the specific tools and hardware needed for your particular installation.
Where to Mount Your Short Throw Projector for Optimal Viewing Experience
When selecting the installation spot for your short throw projector, consider the room’s lighting and layout. You want the projector to be positioned in such a way that it can project an image that is free of shadows and glare. Ensure that the distance between the projector and the screen is ideal for the size of the screen and room size. It’s also essential to ensure that the projector is pointed directly at the screen.
Another important factor to consider when mounting your short throw projector is the height at which it is installed. The projector should be mounted at a height that allows for easy access to the controls and ports. Additionally, it should be at a height that is comfortable for viewers to watch without straining their necks.
Lastly, it’s important to consider the type of surface on which the projector will be mounted. A sturdy and stable surface is necessary to ensure that the projector remains in place and doesn’t vibrate or move during use. It’s also important to ensure that the surface is level to prevent distortion in the projected image.
Tips for Achieving the Perfect Angle When Mounting Your Short Throw Projector
When mounting your short throw projector, ensure that it is level and that the angle is correct. The ideal angle is a 90-degree angle between the projector and the screen. You can adjust the mount’s arms to achieve this angle. Use a level to ensure that the angle is correct.
Another important factor to consider when mounting your short throw projector is the distance between the projector and the screen. The distance will affect the size of the projected image and the clarity of the image. It is recommended to consult the manufacturer’s guidelines for the optimal distance for your specific projector model.
Additionally, it is important to consider the ambient light in the room where the projector will be used. If the room is too bright, it may affect the quality of the projected image. Consider using blackout curtains or blinds to reduce the amount of ambient light in the room. Alternatively, you can also invest in a projector screen with a high gain, which will reflect more light and produce a brighter image.
Common Mistakes to Avoid When Mounting a Short Throw Projector
When mounting a short throw projector, there are some common mistakes you should avoid. These include not finding the ideal installation spot, not using the right mount, not using the right tools, not connecting the cables correctly, and not testing the projector before use.
Another common mistake to avoid when mounting a short throw projector is not considering the ambient light in the room. Short throw projectors work best in low-light environments, so it’s important to choose a location that is not exposed to direct sunlight or bright artificial light. Additionally, you may want to invest in ambient light rejecting screens or curtains to further enhance the image quality.
How to Troubleshoot Common Issues with Mounting a Short Throw Projector
If you experience any issues when mounting your short throw projector, such as an uneven image, distorted colors, or a blank screen, there are some things you can try to troubleshoot the issue. These include adjusting the angle of the projector, using a different screen or changing the input source.
Another common issue that can occur when mounting a short throw projector is keystone distortion. Keystone distortion is when the image appears trapezoidal instead of rectangular. To fix this issue, you can adjust the keystone correction feature on your projector or physically adjust the placement of the projector to create a rectangular image.
The Cost of Mounting a Short Throw Projector: Is It Worth It?
Mounting a short throw projector can be expensive, and the cost will vary depending on the type of mount and the installation fees. However, the benefits of mounting a short throw projector, such as improved image quality and reduced glare, make it a worthwhile investment.
Additionally, mounting a short throw projector can also save space in your room. Unlike traditional projectors, short throw projectors can be placed closer to the screen, allowing for a larger image to be projected in a smaller space. This can be especially beneficial for those with limited room size or for those who want to create a more streamlined and modern look in their home or office.
The Future of Short Throw Projectors and Their Potential Impact on the Market
Short throw projectors are a growing trend in the market, and we can expect to see more innovations in this space. With more people working from home and looking for flexible entertainment options, short throw projectors are becoming an increasingly popular choice. As such, we can expect the market for short throw projectors to continue to grow in the future.
One of the potential impacts of the growing popularity of short throw projectors is the shift in the way we consume media. With the ability to project large images onto any surface, short throw projectors are changing the way we watch movies, play video games, and even attend virtual events. As more people adopt this technology, we may see a decline in traditional TV and movie theater attendance, as people opt for the convenience and flexibility of short throw projectors.
Comparison Between Mounting a Traditional Projector and a Short Throw Projector
Compared to traditional projectors, mounting a short throw projector is easier, as they require less distance between the projector and the screen. This saves on installation costs and allows for more flexibility in choosing an installation spot. Short throw projectors also produce fewer shadows and a clearer image, making them a better choice for home theaters and presentations.
Best Practices for Maintaining Your Mounted Short Throw Projector
To ensure that your short throw projector remains in good working condition, it’s essential to keep it clean and well-maintained. You can use a soft cloth to wipe down the projector’s lenses and vents regularly. Additionally, you should replace the lamps occasionally and keep the cables organized to prevent damage.
How to Enhance Your Viewing Experience with Additional Accessories for Your Mounted Short Throw Projector
You can enhance your viewing experience with additional accessories for your short throw projector. For example, you can install a soundbar for improved audio quality or black-out curtains to reduce outside light. Additionally, you can invest in a projector screen for a better viewing experience.
In conclusion, mounting a short throw projector requires careful consideration to ensure that it is installed correctly and at the ideal location for optimal viewing. By following the steps outlined in this article, using the right tools, and avoiding common mistakes, you can enjoy high-quality images and an enjoyable viewing experience with your short throw projector.