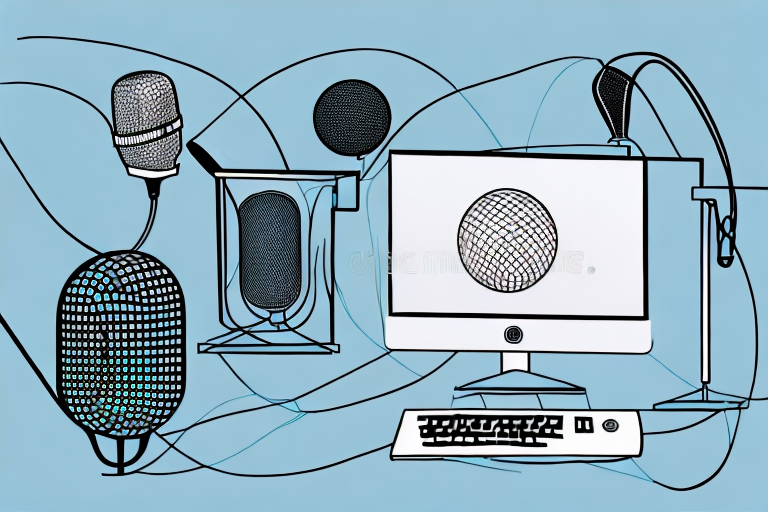
If you’re interested in recording audio on your computer, having a good microphone is essential. But with so many options available, it can be daunting to know where to start. In this article, we’ll guide you through everything you need to know about connecting a microphone to your computer for recording, from understanding the different types of microphones to troubleshooting common issues. By the end of this article, you’ll be well on your way to achieving high-quality audio recordings.
Understanding the types of microphones available for computer recording
Before you connect a microphone to your computer, it’s important to understand the different types of microphones available for recording. There are three main types of microphones: condenser, dynamic, and ribbon. Condenser microphones are sensitive and typically used for recording vocals and acoustic instruments. Dynamic microphones are less sensitive and commonly used for recording electric guitars and drums. Ribbon microphones are the most delicate and expensive, but also produce the highest quality sound.
It’s also important to consider the polar pattern of a microphone when choosing one for computer recording. The polar pattern refers to the directionality of the microphone and can affect the quality of the recording. Some common polar patterns include cardioid, omnidirectional, and figure-eight. Cardioid microphones are directional and ideal for recording a single sound source, while omnidirectional microphones pick up sound from all directions and are great for recording ambient noise. Figure-eight microphones pick up sound from the front and back, but not the sides.
Another factor to consider when choosing a microphone for computer recording is the frequency response. The frequency response refers to the range of frequencies that a microphone can pick up. Some microphones are designed to emphasize certain frequencies, such as those in the high or low range, while others have a more balanced response. It’s important to choose a microphone with a frequency response that is appropriate for the type of recording you plan to do.
What to look for in a microphone for computer recording
When choosing a microphone for computer recording, there are several factors to consider. First, think about the type of recording you’ll be doing and choose a microphone accordingly. Second, consider the microphone’s frequency response range, which will determine the range of frequencies that the microphone can accurately capture. Additionally, look for a microphone with a high signal-to-noise ratio (SNR) to minimize unwanted background noise. Finally, consider the microphone’s polar pattern, which will determine the directionality of the microphone and its sensitivity to sounds from various angles.
Another important factor to consider when choosing a microphone for computer recording is the microphone’s connectivity options. Some microphones connect to your computer via USB, while others require an audio interface. USB microphones are generally easier to set up and use, but they may not offer the same level of audio quality as microphones that require an audio interface. On the other hand, microphones that require an audio interface may offer better sound quality, but they can be more complex to set up and use. Consider your needs and preferences when choosing a microphone with the right connectivity options for your computer recording setup.
Step-by-step guide to connecting a microphone to your computer
Now that you have a better understanding of microphones, let’s walk through the steps of connecting a microphone to your computer for recording:
- Plug the microphone into the appropriate port on your computer. This might be a USB port, an audio jack, or a specialized port depending on the type of microphone you’re using.
- Open your computer’s sound settings and ensure that the microphone is selected as the input device.
- Adjust the microphone’s input level to ensure that the recording is not too quiet or too loud.
- Start recording!
It’s important to note that different types of microphones may require different steps for connecting to your computer. For example, a USB microphone may simply require plugging it into a USB port, while a condenser microphone may require additional power from an audio interface.
Additionally, it’s a good idea to test your microphone before recording to ensure that it’s working properly. You can do this by recording a short test clip and playing it back to check for any issues with the sound quality or volume.
Common problems when connecting a microphone to your computer and how to solve them
Even if you’re careful about following the steps above, you may still encounter some common issues when connecting a microphone to your computer. For example, you may experience low volume, distortion, or background noise. To solve these problems, consider adjusting the microphone’s input level, moving the microphone closer to your recording source, or using a noise gate plugin to minimize background noise.
Another common problem that you may encounter when connecting a microphone to your computer is interference from other electronic devices. This can cause unwanted buzzing or humming sounds in your recordings. To avoid this, try to keep your microphone away from other electronic devices, such as speakers or cell phones. You can also try using a shielded cable or a ground loop isolator to reduce interference.
How to choose the best location for setting up your microphone for recording
The location of your microphone can have a big impact on the quality of your recordings. When setting up your microphone, consider factors such as room acoustics, the directionality of the microphone, and the placement of other potential sources of noise. It’s also important to ensure that the microphone is positioned at the correct height and angle relative to the recording source.
Another important factor to consider when choosing the location for your microphone is the type of microphone you are using. Different microphones have different polar patterns, which determine the directionality of the microphone and how it picks up sound. For example, a cardioid microphone is most sensitive to sound coming from the front, while rejecting sound from the sides and rear. Understanding the polar pattern of your microphone can help you choose the best location for optimal sound quality.
Additionally, the placement of your microphone can also affect the overall tone and character of your recordings. Placing the microphone closer to the sound source can result in a more intimate and detailed sound, while placing it further away can create a more spacious and ambient sound. Experimenting with different microphone placements can help you achieve the desired sound for your recordings.
Configuring audio settings on your computer for optimal recording quality
To achieve the best possible recording quality, you’ll need to configure your computer’s audio settings. This might include adjusting the sample rate and bit depth, choosing an appropriate buffer size, and selecting a recording format that is well-suited to your needs. Be sure to experiment with different settings to find the configuration that works best for you.
Additionally, it’s important to consider the environment in which you’ll be recording. If you’re in a noisy room, you may need to adjust your microphone sensitivity or use a noise-cancelling feature. If you’re recording vocals, you may want to use a pop filter to reduce plosives and sibilance. Taking these extra steps can greatly improve the overall quality of your recordings.
Tips and tricks for achieving professional-quality audio recordings
To take your recordings to the next level, consider implementing some professional tips and tricks. For example, using a pop filter can help minimize plosive sounds, and applying EQ and compression can help enhance the overall balance and volume of your recordings. Additionally, consider using a reference track to ensure that your recordings are hitting the right levels and frequencies.
Another important factor to consider when recording audio is the environment in which you are recording. A quiet and acoustically treated room can make a huge difference in the quality of your recordings. If you don’t have access to a professional recording studio, try recording in a room with minimal background noise and use sound-absorbing materials such as blankets or foam panels to reduce echoes and reverberation.
It’s also important to pay attention to microphone placement. Experiment with different microphone positions to find the sweet spot that captures the best sound. For example, placing the microphone closer to the sound source can help capture more detail and clarity, while moving it further away can create a more ambient sound. Don’t be afraid to try different techniques and find what works best for your specific recording needs.
How to troubleshoot common audio issues during recording sessions
Even if you’ve taken all the necessary steps to set up your microphone and computer for recording, you may still encounter issues during recording sessions. To troubleshoot issues such as latency, buffering, and dropouts, consider adjusting your buffer size, closing unnecessary programs, and experimenting with different recording software.
Another common audio issue that may arise during recording sessions is background noise. This can be caused by a variety of factors, such as electrical interference, room acoustics, or even the microphone itself. To reduce background noise, try using a noise gate or noise reduction plugin, positioning the microphone closer to the sound source, or recording in a quieter environment. It’s also important to regularly clean and maintain your equipment to ensure optimal performance.
Utilizing software tools and plugins to enhance your audio recordings
There are countless software tools and plugins available that can help enhance the quality of your audio recordings. For example, you might use a reverb plugin to create a more spacious sound or a noise reduction plugin to remove unwanted background noise. Other useful tools include equalizers, compressors, and virtual instruments.
When selecting software tools and plugins, it’s important to consider compatibility with your recording software and operating system. Some plugins may only work with certain programs or require specific hardware configurations. Additionally, it’s important to choose plugins that are appropriate for the type of audio you are recording. For example, a vocal recording may require different plugins than a guitar recording.
Another factor to consider is the cost of software tools and plugins. While there are many free options available, some of the more advanced plugins can be quite expensive. It’s important to weigh the benefits of a particular plugin against its cost to determine if it’s worth the investment.
Best practices for maintaining your microphone and audio equipment
Maintaining your microphone and audio equipment is key to ensuring that they continue to function properly and produce high-quality recordings. Be sure to clean your microphone regularly, avoid exposing it to extreme temperatures or humid environments, and store it in a safe and secure location. Additionally, consider investing in a high-quality microphone stand and shock mount to protect your microphone from vibrations and other potential damage.
Advanced techniques for improving the sound quality of your recordings
Finally, if you’re looking to take your audio recordings to the absolute highest level, consider experimenting with advanced techniques such as multi-mic recordings, stereo mixing, and mastering. These techniques require more specialized knowledge and equipment, but can help give your recordings a truly professional sound.
In conclusion, connecting a microphone to your computer for recording may seem intimidating, but with a little bit of knowledge and practice, it’s a skill that can be easily mastered. Whether you’re a podcaster, musician, or aspiring audio engineer, with the right equipment and techniques, you can achieve high-quality audio recordings that will truly stand out.