Mounting a TV on your wall not only saves space but also offers an improved viewing experience by setting your screen at the perfect height. However, the process can be daunting for those unfamiliar with the various steps and tools involved. This comprehensive guide will take you through each step, ensuring a safe and secure installation.
Why Mount Your TV?
Mounting your TV on the wall provides numerous benefits:
- Space Saving: Free up valuable floor space for other furniture or décor.
- Enhanced Aesthetics: Create a sleek and modern look in your living space.
- Improved Viewing Angles: Adjust the positioning to reduce glare and improve visibility.
- Safety: Keep your TV out of reach of children and pets, reducing the risk of accidental damage.
Tools and Materials You’ll Need
Before you start, gather all the necessary tools and materials:
- TV wall mount kit (ensure it’s compatible with your TV’s size and weight)
- Stud finder
- Drill and appropriate drill bits
- Screwdriver
- Level
- Tape measure
- Pencil
- Lag bolts and wall anchors
- Socket wrench
Step 1: Choose the Right Mount
Types of Mounts
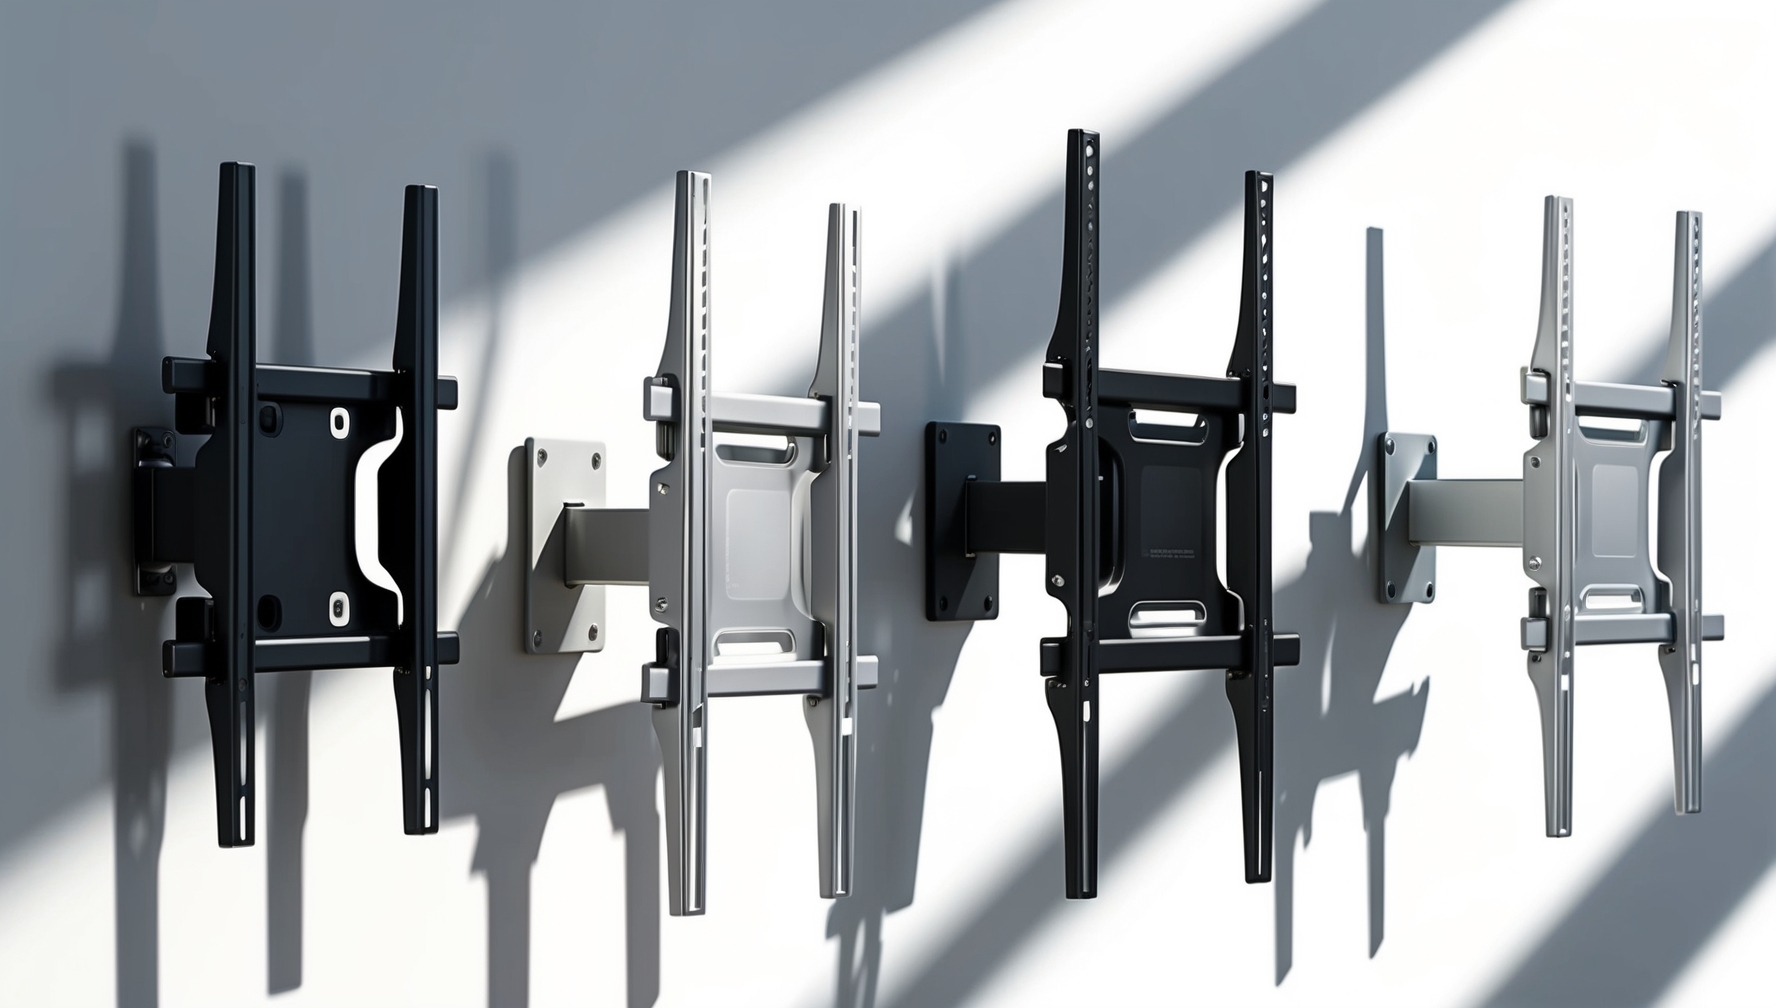
Various types of TV wall mounts are available, depending on your needs:
- Fixed Mounts: These keep the TV close to the wall and are ideal for straightforward installations.
- Tilting Mounts: Allows vertical movement to reduce glare.
- Swivel Mounts: Provides both tilting and side-to-side movement.
- Full-Motion Mounts: Offers the most extensive range of motion, allowing you to tilt, swivel, and extend the TV away from the wall.
Compatibility
Ensure the mount you choose is compatible with your TV by checking the VESA (Video Electronics Standards Association) pattern on the back of your TV. This standard indicates the spacing of the mounting holes.
Step 2: Locate the Studs
Using a stud finder, locate the studs in the wall where you plan to mount the TV:
- Turn on and Calibrate: Turn on your stud finder and calibrate it according to the manufacturer’s instructions.
- Move the Finder: Slowly move the stud finder across the wall.
- Mark the Edges: Mark the edges of each stud with a pencil when the stud finder indicates their location.
- Double-check: Move the stud finder from the opposite direction to confirm the edges.
Studs are typically spaced 16 to 24 inches apart, and you’ll want to attach the mount to these for the strongest support.
Step 3: Mark and Drill Pilot Holes
- Hold the Mount: Hold the mount or its template against the wall, aligning it with the stud markings.Level 3 DoK: Analyze the importance of the correct positioning of the wall mount and its impact on the overall setup. Evaluate possible long-term impacts of improper mounting on the wall’s structural integrity and how it can affect the TV’s performance.
- Use a Level: Use a level to ensure it’s straight, then mark the holes where you’ll drill. These marks should correspond with the holes in the mount that will line up with the studs.
- Drill Pilot Holes: Drill pilot holes where you’ve marked. The pilot holes should be slightly smaller in diameter than the lag bolts you’ll use to secure the mount.
Tip: Keep the drill at a right angle to ensure straight and aligned holes.
Step 4: Attach the Mount to the Wall
- Position the Mount: Position the mount on the wall, aligning it with the pilot holes.
- Secure with Lag Bolts: Secure it using lag bolts, tightening them with a socket wrench.Level 3 DoK: Assess the structural integrity of the wall and studs before fastening the lag bolts. Critique the strength and suitability of different types of fasteners in various wall conditions to ensure maximum holding power.
- Check the Alignment: Double-check the alignment with a level before fully tightening the bolts to ensure the mount is perfectly straight.
Tip: Ask someone to help hold the mount in place while you secure it.
Step 5: Attach Mounting Brackets to the TV
- Locate Mounting Holes: On the back of your TV, locate the mounting holes.
- Align Brackets: Align the mounting brackets from your wall mount kit with these holes.
- Secure Brackets: Secure the brackets using the screws provided in the kit. Ensure the screws are tight enough to hold the brackets firmly, but not too tight that they could damage the TV.
Step 6: Connect Cables
- Pre-attach Cables: Before hanging the TV on the wall, connect necessary cables (HDMI, power, etc.) to the back of the TV. This step is easier to do while the TV is still accessible.
- Check Length: Ensure the cables are long enough to reach the intended sockets without being too taut.Level 3 DoK: Analyze the potential signal loss and performance issues from different cable lengths and types. Investigate the role of cable management in both aesthetics and functionality, determining best practices for long-term cable health.
Tip: Label your cables for easier identification.
Step 7: Mount the TV
- Lift TV Carefully: With the help of another person, lift the TV and align the brackets on the TV with the mount on the wall.
- Engage Locking Mechanism: Most mounts have a locking mechanism that will click into place when the TV is securely attached.
Step 8: Test the Setup
- Gently Test TV: Once mounted, gently test the TV to ensure it’s securely fastened.
- Check Movement: Check that it can tilt, swivel, or extend as intended without coming loose.
- Verify Level: Confirm that all connections are working and the TV is level.
Step 9: Organize Cables
- Use Management Systems: Use cord management systems like cable covers or raceways to organize and hide the cables.
- Ensure Flexibility: Leave a little slack to allow for movement without straining the cables.
This step will give your setup a clean, professional look.
Troubleshooting Common Issues
TV Not Level
- Adjust Bracket or Bolts: Slightly adjust the bracket or the bolts holding the mount.
- Built-in Level Adjustments: Some mounts come with built-in level adjustments.
Cables Too Short
- Purchase Longer Versions or Extenders: If the cables are too short, consider purchasing longer versions or using cable extenders.
- Correct Standards: Ensure that the new cables support the necessary standards for your TV and connected devices.Level 3 DoK: Assess the impact of cable length on signal quality and performance. Evaluate the importance of adhering to cable standards and certifications for optimal performance.
TV Mount Feels Loose
- Secure Bolts and Screws: Ensure that all bolts and screws are tightened securely.
- Check Wall Bolts: If the mount still feels loose, it may be an issue with the wall bolts not being properly secured to the studs.
TV is Leaning Forward or Back
- Recheck Bracket Installation: This issue can arise if the brackets are not aligned correctly.
- Secure Wall Mount: Recheck the bracket installation on the TV and ensure that it’s properly secured to the wall mount.
Best Practices for TV Mounting
Follow Manufacturer Instructions
Always follow the mounting instructions provided by the manufacturer of both the TV and the mount. These guidelines are designed to ensure the safety and security of the installation.
Check Weight Capacity
Ensure that both the wall mount and the wall can support the weight of your TV. Mounts come with specified weight limits, and exceeding these can result in damage or accidents.
Consider Viewing Height
Mount your TV at a height that provides comfort for extended viewing. Generally, the center of the TV should be eye level when seated. This height can vary based on the average height of the viewers and the size of the TV.
Maintain Ventilation
Ensure that there’s enough space around the TV for proper ventilation. Overheating can reduce the lifespan of your TV and impact performance.
Accessibility
If you frequently use external devices (gaming consoles, DVD players, etc.), consider their placement and accessibility. Ensure that ports are easily reachable even after mounting.
Conclusion
Mounting a TV on the wall can greatly enhance your viewing experience and free up space. By following this step-by-step guide, you can achieve a secure and aesthetically pleasing setup. Remember to gather all necessary tools and materials, follow each step carefully, and double-check your work to ensure the best results. With a bit of patience and attention to detail, you’ll enjoy your newly mounted TV in no time.
For more tips and product recommendations, consider checking out additional resources or contacting customer support for specific questions related to your TV model or wall mount.
Happy viewing!