Installing a TV mount rail can be a tricky task, but if done correctly, it can transform the way you watch television. Tv mount rails provide a secure and convenient way to mount your TV, saving you space and providing optimal viewing angles. In this article, we will show you the different types of tv mount rails, what materials you need, and a step-by-step guide to mounting them. We will also provide tips to ensure a secure installation of tv rails, how to measure and mark the wall for the rails, how to find the studs in your wall for a sturdy mounting and the optimal viewing height for your TV. So, let’s dive in and learn how to tv mount rails!
What Materials Do You Need to Install Tv Mount Rails?
The first step to installing tv mount rails is to gather all the necessary materials. Here is a list of items that you will need:
- Drill
- Screwdriver
- Level
- Stud finder
- Measuring tape
- Pencil
- Mounting brackets
- Screws, nuts and bolts
It is important to note that the size and weight of your TV will determine the type of mounting brackets and screws you will need. For larger and heavier TVs, you will need stronger and more durable brackets and screws. Additionally, if you are mounting your TV on a brick or concrete wall, you will need special drill bits and anchors to ensure a secure installation. Always make sure to read the manufacturer’s instructions and consult with a professional if you are unsure about the materials needed for your specific TV and wall type.
Step-by-Step Guide to Mounting Tv Rails
Once you have all the materials, you can begin mounting your tv rails. Here’s a step-by-step guide:
- Locate the studs in the wall using a stud finder. You want to mount your rails directly into the studs to ensure that they are stable.
- Measure and mark the wall where you want to mount the rails.
- Attach the mounting brackets to the back of your TV using the screws provided with the kit.
- Position the rails over the mounting brackets and attach them to the wall using the screws, nuts, and bolts. Use a level to ensure the rails are straight.
- Once the rails are secured to the wall, hang your TV onto the rails.
It’s important to note that the weight of your TV should be taken into consideration when mounting the rails. Make sure to check the weight limit of the rails and ensure that your TV falls within that limit. If your TV is too heavy, it may cause the rails to become unstable and potentially fall off the wall. It’s always better to err on the side of caution and choose rails with a higher weight limit than you think you’ll need.
Tips to Ensure a Secure Installation of Tv Rails
Here are some tips to ensure a secure installation of tv rails:
- Always use a level to ensure that the rails are straight.
- Mount the rails into the studs to ensure they are stable.
- Make sure to use the correct size screws, nuts, and bolts for your mounting brackets and tv rails.
- If you have any doubts about the stability of your installation, seek the help of a professional.
It is also important to consider the weight of your TV when installing tv rails. Make sure that the rails and mounting brackets can support the weight of your TV to prevent any accidents or damage to your equipment.
Another tip is to check the location of your electrical outlets and cable connections before installing tv rails. Make sure that the rails do not obstruct these connections and that you have easy access to them for any necessary adjustments or repairs.
How to Measure and Mark the Wall for the Tv Rails
Before mounting the rails, you need to measure and mark the wall. Follow these steps:
- Decide on the height that you want to mount your TV. A good rule of thumb is to mount the TV at eye level when you are seated.
- Use a measuring tape and mark the desired height on the wall with a pencil.
- Measure the distance between the rails and mark the same distance on the wall to ensure the rails are aligned.
It is important to also consider the weight of your TV when measuring and marking the wall. Make sure to use a stud finder to locate the studs in the wall and mount the rails onto them for added support.
Additionally, if you plan on hiding the cables behind the wall, make sure to mark the location of the power outlet and any other necessary connections before mounting the rails. This will ensure that the cables are hidden and easily accessible once the TV is mounted.
Different Types of Tv Mount Rails and Their Pros and Cons
There are different types of tv mount rails that you can choose from:
- Fixed mount rails: They are affordable but don’t allow for any adjustments once mounted.
- Tilting mount rails: They offer some flexibility in adjusting the viewing angle for the TV.
- Full-motion mount rails: They allow for maximum flexibility in adjusting the viewing angle but can be expensive.
When choosing a tv mount rail, it’s important to consider the weight and size of your TV. Some mount rails are designed to support larger and heavier TVs, while others are better suited for smaller and lighter ones.
Another factor to consider is the installation process. Fixed mount rails are generally easier to install, while full-motion mount rails can be more complicated and require professional installation. It’s important to read the instructions carefully and ensure that you have the necessary tools and equipment before attempting to install the mount rail.
How to Find the Studs in Your Wall for a Sturdy Mounting
It is essential to mount the rails into the studs to ensure they are sturdy. Here’s how to find the studs in your wall:
- Use a stud finder and move it along the wall until it beeps or lights up, indicating the presence of a stud.
- Mark the location of the stud on the wall using a pencil and measure the distance to the adjacent studs.
- Mount the rails into the studs using screws, nuts and bolts.
It is important to note that not all walls have studs in the same spacing. Some walls may have studs spaced 16 inches apart, while others may have them spaced 24 inches apart. It is important to measure the distance between the studs before mounting anything on the wall to ensure that the rails are mounted securely. Additionally, if you are unable to locate a stud, it is recommended to use wall anchors to ensure a secure mount.
How High Should You Mount Your Tv? A Guide to Optimal Viewing Height
The optimal height for your TV depends on the size of the TV and the distance between the TV and the seating area. A good rule of thumb is to mount the center of the TV at eye level when you are seated. For example, if you have a 55-inch TV and sit 10 feet away from it, the center of your TV should be at 56 inches from the floor.
However, there are some other factors to consider when determining the optimal height for your TV. If you have a fireplace or other focal point in the room, you may want to mount the TV slightly higher or lower to avoid visual competition. Additionally, if you have a lot of windows in the room, you may need to mount the TV higher to avoid glare.
Another important consideration is the type of mount you use. A fixed mount will keep your TV in a fixed position, while a tilting mount will allow you to adjust the angle of the TV. If you plan to mount your TV above a fireplace or in a high-ceilinged room, a tilting mount may be a better option to ensure optimal viewing angle.
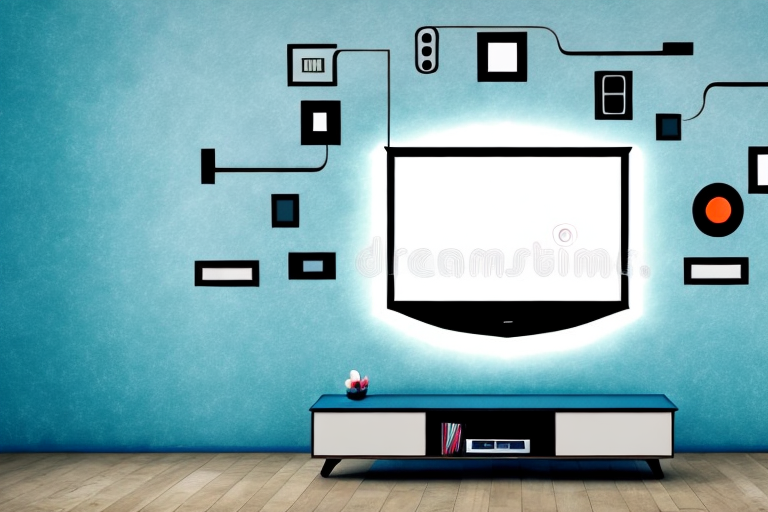
The Importance of Cable Management When Installing Tv Rails
When installing tv rails, cable management is essential to keep the cables and wires neat and tidy. Here are some tips for cable management:
- Use cable ties to keep cables organized.
- Hide cables behind wall-mounted cable covers or conduit.
- Use a power strip with a surge protector to keep all cables together.
Proper cable management not only keeps your space looking clean and organized, but it also helps to prevent potential hazards. Loose cables can be a tripping hazard, and tangled cables can cause damage to the wires themselves. By taking the time to properly manage your cables, you can avoid these issues.
Another benefit of cable management is that it can make future maintenance and upgrades easier. When cables are organized and labeled, it is much easier to identify which cable goes where and to make changes as needed. This can save time and frustration in the long run.
Troubleshooting Common Problems During Tv Rail Installation
Here are some common problems you may encounter during tv rail installation:
- The rail is not straight: Use a level to ensure the rails are straight before attaching them to the wall.
- The rails are too far apart: Measure and mark the distance between the rails to ensure they are aligned.
- The TV is not level: Adjust the rails until the TV is level.
- The TV is too high or too low: Measure and mark the height before mounting the rails.
How to Remove and Replace Old or Damaged Tv Rails
If you need to remove or replace old or damaged tv rails, follow these steps:
- Remove the TV from the rails by lifting it off the rails.
- Use a screwdriver to unscrew the bolts that attach the rails to the wall.
- Once the rails are removed, fill any holes in the wall with spackle.
- Attach the new rails to the wall, following the same steps as before.
- Hang the TV onto the new rails.
Decorative Options for Hiding Unsightly TV Cords and Wires
If you want to hide the cords and wires from your TV, here are some decorative options:
- Use wall-mounted cable covers or conduit to conceal the cords and wires.
- Paint the cords and wires the same color as the wall to make them less noticeable.
- Use a TV stand with built-in cable management to keep all cables together.
- Use decorative tape or washi tape to add color or texture to the cords and wires.
Now that you know how to tv mount rails, you can enjoy watching your TV without any clutter or messy cables. Remember to take your time and follow all the steps to ensure a secure and sturdy installation. Happy mounting!