Home theater systems can deliver an immersive and cinematic viewing experience right in the comfort of your own home. However, to truly enjoy the full potential of your home theater system, it’s important to tune it properly. In this article, we will discuss the basics of home theater system tuning and guide you through the necessary steps to achieve optimal sound and picture quality.
Understanding the Basics of Home Theater System Tuning
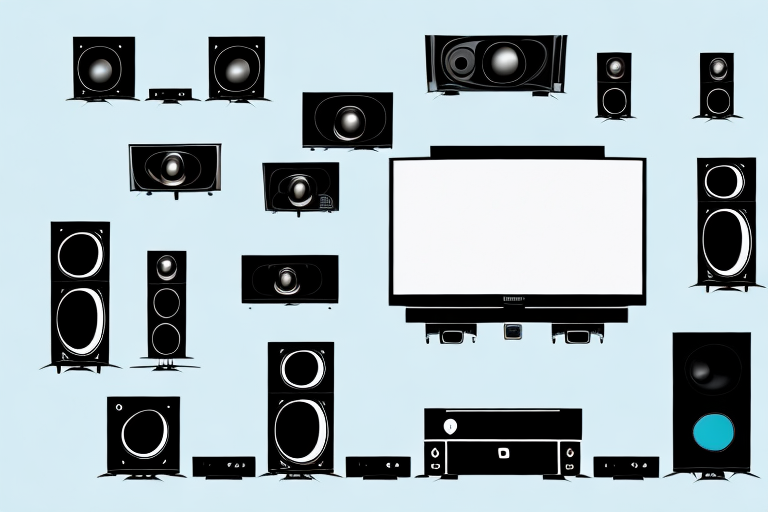
Before we dive into the specific tuning techniques, it’s important to understand the basics. Home theater systems consist of a combination of speakers, an audio/video receiver, and a video display. To get the best possible viewing experience, it’s essential to ensure that each component is optimized for performance and correctly calibrated. Tuning is all about making adjustments to each component to achieve the right balance between audio and video elements.
One important aspect of home theater system tuning is room acoustics. The way sound travels and bounces off walls, floors, and ceilings can greatly affect the overall audio quality. Factors such as room size, shape, and furnishings can all impact the acoustics. To optimize the sound, it may be necessary to add acoustic treatments such as sound-absorbing panels or diffusers.
Another key consideration is the source material. Different types of media, such as movies, TV shows, and music, have varying audio and video characteristics. Tuning your home theater system to match the specific source material can greatly enhance the overall experience. For example, adjusting the audio settings for a movie with a lot of action scenes may require different settings than a quiet drama.
The Importance of Proper Home Theater System Tuning
Proper tuning can make all the difference when it comes to the overall effectiveness of your home theater system. A well-tuned system can deliver clear, detailed and accurate sound, as well as vibrant and rich picture quality for a more immersive viewing experience. Moreover, tuning can also prevent potential problems related to improper speaker placement, incorrect audio/video settings, and poor calibration.
One of the key benefits of proper home theater system tuning is that it can help to reduce listener fatigue. When a system is not properly tuned, it can cause discomfort and fatigue due to excessive volume, harsh treble, or boomy bass. However, with proper tuning, the sound can be adjusted to a comfortable level that is easy on the ears, allowing you to enjoy your favorite movies and TV shows for longer periods of time.
In addition, proper tuning can also help to extend the lifespan of your home theater system. When a system is not properly calibrated, it can cause unnecessary wear and tear on the components, leading to premature failure. However, with regular tuning and maintenance, you can ensure that your system is operating at peak performance, which can help to prolong its lifespan and save you money in the long run.
Common Problems You Can Solve with Home Theater System Tuning
There are several common problems you can solve with home theater system tuning. These include poor sound quality, distorted audio, weak bass, inconsistent sound levels, and poor image quality. Tuning can also help you address issues related to speaker placement, such as unwanted echoes or dead spots. In short, tuning your home theater system can help you get the most out of your equipment and enhance your viewing experience.
Another common problem that can be solved with home theater system tuning is the issue of audio delay. This occurs when the sound from your speakers is out of sync with the video on your screen, resulting in a distracting and frustrating viewing experience. Tuning can help you adjust the audio delay settings on your system to ensure that the sound and video are perfectly synchronized. This is especially important when watching fast-paced action scenes or live events.
Tools You Need to Tune Your Home Theater System
Before you begin tuning your home theater system, you’ll need some essential tools. These include a sound level meter, a calibration microphone, an HDMI cable, a Blu-ray or DVD disc with test tones, and a USB stick for firmware updates if applicable. Also, make sure you have access to your system’s owner’s manual, as it will guide you through the steps involved in tuning your particular model.
Another important tool to have is a colorimeter or spectrophotometer, which can help you calibrate the colors on your TV or projector. This is especially important if you want to achieve accurate and consistent colors across different types of content.
Additionally, you may want to invest in a power conditioner or surge protector to protect your equipment from power surges and voltage fluctuations. This can help prevent damage to your system and ensure that it operates at its best.
Step-by-Step Guide to Tuning Your Home Theater System
Now that you have all the necessary tools let’s dive into the steps you need to take to tune your home theater system:
Step 1: Adjusting Speaker Placement for Optimal Sound Quality
The first step in tuning your home theater system is to ensure that your speakers are optimally placed. Sound waves bounce off of walls and other surfaces, so aim to place your speakers in areas where the sound will reflect appropriately. Follow the guidelines outlined in your owner’s manual to position each speaker at the correct height, distance from the wall and angle based on your room’s shape and size.
Step 2: Setting Up and Calibrating Your Audio Receiver
The next step is to set up and calibrate your audio receiver. Follow the manufacturer’s directions included in your owner’s manual to set the correct audio settings, such as speaker size, crossover frequency, channel levels, and audio delay. Use a test tone disc to confirm that each speaker is emitting sound and that the levels are balanced with the help of a sound level meter. Use the setup microphone provided with your receiver to achieve the optimal calibration, or use an audio calibration app if you don’t have one.
Step 3: Tweaking Your Subwoofer for Deep, Resonant Bass
The subwoofer is responsible for delivering deep bass sounds that add an extra layer of depth to your audio. Position your subwoofer in an optimal location, away from walls and corners, and adjust the volume level and crossover frequency. Use a test tone disc to confirm the subwoofer is calibrated to the right settings.
Step 4: Fine-Tuning Your Surround Sound Speakers for Immersive Audio
Once you’ve calibrated your audio receiver and subwoofer, it’s time to fine-tune your surround sound speakers. Follow the guidelines provided in your owner’s manual to balance the volume levels, adjust the sound delay, and fine-tune the settings for each speaker to achieve the optimal audio experience.
Step 5: Optimizing Your Video Display for Picture Quality
The final step in tuning your home theater system is to optimize your video display. Use the instructions provided on-screen menu to adjust the brightness, contrast, sharpness, and color palette for your specific display type. Ensure your display is set to the correct aspect ratio and resolution, based on the media you’ll be watching.
It’s important to note that tuning your home theater system is not a one-time process. As you add new components or change the layout of your room, you may need to recalibrate your system to ensure optimal performance. It’s also a good idea to periodically check your system’s settings to make sure they haven’t been accidentally changed. By regularly tuning your home theater system, you can enjoy a high-quality audio and visual experience every time you use it.
Using Room Correction Software to Enhance Sound Quality
If your home theater system comes with room correction software, you can use it to help optimize your audio system to adapt to your room’s acoustics. Calibration microphones will identify your room’s specific acoustic challenges and adjust speaker output to create a more consistent sound quality throughout the space.
One of the benefits of using room correction software is that it can help to eliminate unwanted echoes and reverberations in your room. This can be particularly useful if you have a large, open space with hard surfaces that tend to reflect sound waves. By adjusting the speaker output, the software can help to reduce these reflections and create a more natural, balanced sound.
Another advantage of using room correction software is that it can help to compensate for the placement of your speakers. If your speakers are not positioned optimally, the software can adjust the output to compensate for this and create a more accurate soundstage. This can be particularly useful if you have limited space or are unable to position your speakers in the ideal location.
Troubleshooting Tips for When Things Go Wrong During Tuning
Even with all the precautions in place, things can go wrong during the tuning process. To troubleshoot your system, refer back to your user manual, or reach out to the manufacturer for assistance or a professional installer if necessary.
Some common issues that may arise during tuning include poor signal quality, interference from other devices, or incorrect settings. It’s important to double-check all connections and settings before beginning the tuning process, and to make sure that all equipment is functioning properly. If you encounter any issues, don’t hesitate to seek help from a professional or the manufacturer to ensure that your system is properly tuned and optimized for the best performance.
Advanced Techniques for Expert-Level Home Theater System Tuning
If you’re an advanced user and want to take your home theater system tuning to the next level, you can make use of some advanced techniques. This may include installing acoustic panels in your room to further improve and adjust acoustics, upgrading speakers to higher quality models to improve sound quality, or using external devices to further enhance sound quality beyond the built-in features provided by your receiver. Some manufacturers also provide additional software or smartphone applications to help achieve the perfect sound in specific environments.
Another advanced technique for home theater system tuning is to use room correction software. This software analyzes the acoustics of your room and adjusts the sound output accordingly, resulting in a more accurate and balanced sound. Some popular room correction software options include Dirac Live, Audyssey MultEQ, and Anthem Room Correction.
Additionally, advanced users may want to consider using a separate amplifier for their speakers instead of relying on the built-in amplifier in their receiver. This can provide more power and control over the sound output, resulting in a clearer and more dynamic sound. However, it’s important to ensure that the amplifier is compatible with your speakers and receiver before making this upgrade.
Conclusion: Enjoying the Fruits of Your Labor after Tuning your Home Theater System
Congratulations! With this tutorial, you should now understand how to tune a home theater system for optimal performance. By giving your home theater system the attention it deserves, you can enjoy the fruits of your labor with a more immersive and cinema-like viewing experience right in the comfort of your own home.