If you are looking to disassemble your Regent Home Theater System, you have come to the right place. This step-by-step guide will provide you with all the information you need to take apart your system safely and efficiently. Before you begin disassembling, it is essential to understand the tools you will need, the safety precautions to keep in mind, and the anatomy of your home theater system. Let’s get started!
Tools You Need to Disassemble Regent Home Theater System
Before you begin disassembling your Regent Home Theater System, make sure you have the following tools:
- Screwdriver set
- Needle-nose pliers
- Cotton swabs
- Soft-bristled brush
- Clean cloth
It is important to note that not all Regent Home Theater Systems are the same, so it is recommended to consult the user manual or online resources for specific instructions on how to disassemble your particular model. Additionally, it is recommended to wear gloves and safety glasses to protect yourself from any sharp edges or debris that may be present during disassembly.
Once you have gathered the necessary tools and taken necessary safety precautions, you can begin disassembling your Regent Home Theater System. It is important to work slowly and carefully, taking note of the location and orientation of each component as you remove it. This will make reassembly much easier and ensure that everything is put back in its proper place.
The Step-by-Step Guide to Taking Apart Regent Home Theater System
Follow these steps to disassemble your Regent Home Theater System:
Safety Precautions to Keep in Mind While Disassembling Regent Home Theater System
Before you start taking apart your Regent Home Theater System, it is essential to keep the following safety precautions in mind:
- Disconnect all power sources
- Wear protective gloves and glasses
- Avoid touching any electrical components
Understanding the Anatomy of Regent Home Theater System Before Disassembly
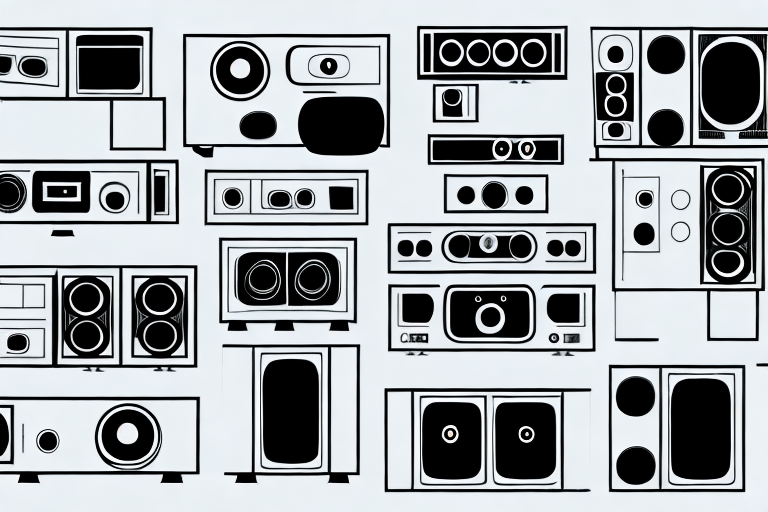
Before disassembling your home theater system, it is essential to understand its anatomy. Regent Home Theater System comprises several components which include:
- Speakers
- Amplifiers
- Power cords and plugs
- Control board
- Outer cover
It is crucial to have a clear idea of these components to avoid any confusion while disassembling. Ensure you have the user manual to understand each component’s location.
How to Locate and Remove Screws in Regent Home Theater System
The screws are crucial components of your home theater system and help keep it secure. To locate and remove these screws, follow these steps:
- Remove the outer cover using the screwdriver and set it aside
- Identify all the screws and use the screwdriver to unscrew them from their respective locations
- Place these screws in a safe and secure location to avoid losing any of them
Removing the Outer Cover of Regent Home Theater System: A Detailed Guide
The outer cover of your home theater system is the first component you need to remove. Follow these steps to remove the cover:
- Locate the screws at the rear and sides of the cover
- Using the screwdriver, unscrew these screws and set them aside
- Gently remove the cover and set it aside
Removing the Internal Parts of Regent Home Theater System: Speakers, Amplifiers, and More
Once you have removed the outer cover, you can continue to remove the internal parts of your Regent Home Theater System. These components may include the following:
- Speakers
- Amplifiers
- Control board
- Power cords and plugs
Remove these internal components one by one while keeping track of the screws and unplugging any wires that may be connected to them. Store any screws you remove in a safe place to avoid losing them.
Cleaning and Maintaining the Internal Components of Regent Home Theater System
While disassembling your home theater system, take the opportunity to clean each component thoroughly. Use a soft-bristled brush, cotton swabs, and a clean cloth to remove any dust or other debris that may have accumulated. Your home theater system will work better with proper maintenance and cleaning.
Reassembling Regent Home Theater System: Tips and Tricks for a Smooth Process
Once you have finished cleaning and maintaining all internal components, it is time to reassemble the Regent Home Theater System. Follow these tips for a smooth process:
- Refer to the user manual to ensure you are placing each component in its correct position
- Check to ensure all wires and cables are properly connected before screwing them down
- Screw all parts back together, starting with the internal components and ending with the outer cover
Common Issues with Regent Home Theater System and How to Fix Them While Disassembling
While disassembling your Regent Home Theater System, keep an eye out for any common issues that may need fixing. These include:
- Speaker or amplifier issues – make sure they are connected correctly and functioning correctly
- Loose wires – check for any loose wires that may need to be reconnected
- Dust buildup – clean any dust or debris that may have accumulated on the components
Following these steps should help you in disassembling your Regent Home Theater System safely and efficiently. Remember to be careful while working with electrical components and to keep all the screws and connectors organized.