Having a home theater system can greatly enhance your viewing experience when watching movies, TV shows, and playing video games. But setting up a home theater system can be a daunting task, especially if you’re not familiar with all the components and the technical jargon involved. Fortunately, with the Aspire Digital Home Theater System, setting up your own home theater has never been easier. In this article, we’ll guide you through the process of setting up your Aspire Digital Home Theater System and provide you with tips and tricks to optimize your viewing experience.
Understanding the Aspire Digital Home Theater System
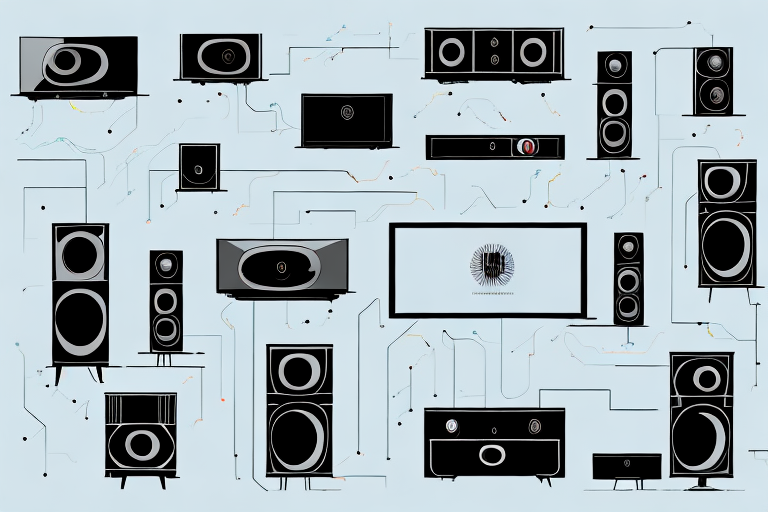
The Aspire Digital Home Theater System is a collection of audio and video components designed to replicate the cinema experience in your own home. The system includes a TV or projector, speakers, a soundbar, and an audio receiver. The audio receiver is the heart of the system, connecting all the components together and providing a central hub for controlling the audio and video settings.
One of the key features of the Aspire Digital Home Theater System is its ability to support various audio and video formats. This means that you can enjoy your favorite movies, TV shows, and music in high-quality sound and picture. Additionally, the system comes with a remote control that allows you to adjust the volume, bass, treble, and other settings from the comfort of your couch. With the Aspire Digital Home Theater System, you can transform your living room into a cinema and enjoy an immersive entertainment experience.
Essential Components for Setting up a Home Theater System
Before you begin setting up your Aspire Digital Home Theater System, you’ll need to purchase some essential components. These include a TV or projector, an audio receiver, speakers, and a soundbar. The TV or projector should have a high resolution and support HDR for maximum visual impact. For the audio receiver, choose one that has at least six HDMI inputs, which will enable you to connect all your components, including your gaming console and Blu-ray player. Finally, for the speakers, opt for a set with a minimum of 5.1 channels, which means it includes five speakers and a subwoofer.
Another important component to consider when setting up your home theater system is a streaming device. This will allow you to access popular streaming services such as Netflix, Hulu, and Amazon Prime Video directly from your TV or projector. Some popular streaming devices include Roku, Amazon Fire TV, and Apple TV. Additionally, you may want to invest in a universal remote control to simplify the process of switching between different components and adjusting settings.
Choosing the Right Room for your Aspire Digital Home Theater System
The room in which you set up your Aspire Digital Home Theater System plays a crucial role in determining the quality of your audio and visual experience. Look for a room that is large enough to accommodate all your components, as well as your family and friends. Avoid rooms with windows that can cause glare on the TV screen, and choose a room that has thick curtains or blinds to block out outside light. Furthermore, ensure that the room has good acoustics by adding sound-absorbing materials such as carpets, rugs, and curtains.
Another important factor to consider when choosing a room for your Aspire Digital Home Theater System is the layout of the room. Ideally, the room should be rectangular in shape, as this will help to distribute sound evenly throughout the space. Additionally, consider the placement of your speakers and subwoofer. It is recommended that you place your speakers at ear level and at equal distances from the listening area to create a balanced soundstage.
Finally, think about the overall ambiance of the room. You want to create a comfortable and inviting space that will enhance your viewing experience. Consider adding comfortable seating, such as a sectional sofa or recliners, and dimmable lighting to create a cozy atmosphere. With the right room and setup, you can enjoy a truly immersive home theater experience with your Aspire Digital Home Theater System.
Best Placement for Speakers and Soundbars in a Home Theater Setup
The placement of your speakers and soundbars plays a crucial role in determining the quality of your audio experience. Place the center speaker directly underneath the TV or projector, and the front left and right speakers on either side of the TV or projector at ear level. The rear left and right speakers should be placed behind the seating area, and the subwoofer should be placed on the floor. Additionally, the soundbar should be mounted directly below the TV or projector and should be angled upwards slightly for maximum impact.
It is important to note that the size and shape of your room can also affect the placement of your speakers and soundbars. If your room is small, it may be better to use smaller speakers and place them closer to the seating area. On the other hand, if your room is large, you may need larger speakers and additional subwoofers to fill the space with sound.
Another factor to consider is the type of content you will be watching or listening to. For example, if you frequently watch movies with surround sound, it may be beneficial to invest in additional speakers and place them strategically around the room to create a more immersive experience. Alternatively, if you primarily listen to music, you may want to focus on optimizing the placement of your front speakers and subwoofer for the best possible sound quality.
How to Connect and Configure Your TV with Aspire Digital Home Theater System
Connecting your TV to your Aspire Digital Home Theater System is a straightforward process. Connect the HDMI output from your audio receiver to the HDMI input on your TV or projector. Additionally, connect your gaming console and Blu-ray player to the HDMI inputs on your audio receiver. When all the components are connected, configure your TV to use the HDMI input that you’ve connected to your audio receiver.
It is important to note that some TVs may require additional settings adjustments to ensure optimal audio and video quality. Check your TV’s user manual for instructions on how to adjust settings such as resolution, aspect ratio, and audio output. Additionally, if you experience any issues with the audio or video quality, double-check that all cables are securely connected and that the correct input is selected on your audio receiver and TV.
Setting up the Audio Receiver in an Aspire Digital Home Theater System
The audio receiver is the heart of your Aspire Digital Home Theater System. Here are the basic steps for setting up the audio receiver:
- Connect all your components to the HDMI inputs on your audio receiver.
- Connect your speakers and subwoofer to the audio receiver using the appropriate cables.
- Check the audio settings on the receiver to ensure that the speakers are assigned to the right channels, and that the audio format is set to the correct mode.
- Calibrate the speakers using the audio receiver’s automatic calibration feature to ensure that the sound is evenly distributed throughout the room.
Once you have completed the basic setup of your audio receiver, you can further customize your audio experience by adjusting the equalizer settings. The equalizer allows you to adjust the levels of different frequencies, such as bass and treble, to suit your personal preferences.
Another important aspect of setting up your Aspire Digital Home Theater System is ensuring that all your components are compatible with each other. Before purchasing any new components, make sure to check their compatibility with your existing system to avoid any issues with connectivity or performance.
Understanding Different Audio Formats and How to Set them Up in Your System
The Aspire Digital Home Theater System supports a wide range of audio formats, including Dolby Atmos, DTS:X, and THX. These audio formats offer an immersive audio experience that places you right in the middle of the action. To set up these audio formats on your system, ensure that your Blu-ray player or streaming device is set to output the correct audio format, and that your audio receiver is configured to decode the audio format.
How to Calibrate Your Aspire Digital Home Theater System for Optimum Performance
Calibrating your Aspire Digital Home Theater System is an essential step to ensure that the audio and video are optimized for your viewing experience. Here are some steps to calibrate your home theater system.
- Place the calibration microphone at your seating position.
- Using the built-in calibration tool on your audio receiver, play a test tone through each speaker in turn, adjusting the volume levels to match the ideal listening level.
- After completing the calibration, test your system with a movie or TV show, making any additional adjustments to the audio and video settings as needed.
Tips and Tricks for Enhancing Your Viewing Experience with an Aspire Digital Home Theater System
Here are some tips and tricks to enhance your viewing experience with the Aspire Digital Home Theater System:
- Optimize your video settings for each type of content you watch.
- Get a universal remote to control all your devices easily.
- Use black-out curtains or shades to darken the room during daytime viewing.
- Invest in a power conditioner to help protect your equipment from electrical surges and fluctuations.
- Add seating and furniture in your home theater room to create a comfortable viewing space.
Troubleshooting Common Issues with Aspire Digital Home Theater Systems
Even with the best setup, you may encounter issues with your Aspire Digital Home Theater System. Here are some common problems and solutions:
- No audio or video: Check that all connections are securely made, and that the correct input source is selected on the audio receiver.
- Low-quality audio or video: Make sure the source material is in high-quality format, and that the audio and video settings are optimized for the type of content you are watching.
- No surround sound: Ensure that all the speakers are connected correctly, and that the audio receiver is set to the correct audio format.
DIY Repairs and Maintenance Tips for Your Aspire Digital Home Theater System
Finally, maintaining your Aspire Digital Home Theater System is essential for its longevity and optimal performance. Here are some DIY repairs and maintenance tips:
- Clean your equipment regularly with a soft, dry cloth to remove dust and fingerprints.
- Invest in cooling solutions to prevent overheating of your components.
- Check the firmware updates for your equipment and update when necessary.
- Replace any faulty or worn-out cables as needed.
Comparing the Aspire Digital Home Theater System with other Leading Brands on the Market
Overall, the Aspire Digital Home Theater System offers excellent value for its price, with powerful audio components and top-grade image quality. When compared to other leading brands, it provides a robust and reliable option that is easy to set up and use. Whether you’re a movie buff, a gamer, or a sports fan, the Aspire Digital Home Theater System is an excellent choice for enhancing your viewing experience.