If you’re looking to upgrade your home theater system, you may need to rewire your entire setup. This might sound daunting, but with a little planning and the right tools, the process can be relatively simple. In this article, we’ll guide you through the steps you need to take to rewire your home theater system and get it up and running again.
Understanding the Basics of Home Theater Wiring
Before you start rewiring, it’s important to understand the basics of home theater wiring. The cables that connect your audio and video devices carry both analog and digital signals. Analog signals are sent through wires that change voltage over time, while digital signals are sent as binary code, transmitted through a series of 1s and 0s. Different cables are used for different applications, including HDMI, coaxial, and RCA cables.
When it comes to home theater wiring, it’s also important to consider the distance between your devices and the length of the cables you’ll need. Longer cables can result in signal loss, which can affect the quality of your audio and video. To avoid this, it’s recommended to measure the distance between your devices and purchase cables that are just the right length.
Another important factor to consider is cable management. With multiple cables running from your devices to your TV or projector, it’s easy for things to get messy. To keep things organized, consider using cable ties or a cable management system to keep your wires neatly bundled and out of sight.
Tools and Equipment You Need for Home Theater Wiring
Before you start rewiring, you’ll need to gather some tools and equipment. These may include wire cutters, cable strippers, a label maker, and cable ties. You may also need new wiring, depending on the age and quality of your existing cables. Having these tools on hand will make the process easier and help ensure that your new wiring is properly installed.
It’s important to note that when selecting new wiring, you should consider the type of cable you need for your specific home theater setup. For example, if you’re running cables through walls or ceilings, you’ll need in-wall rated cables that meet local building codes. Additionally, you may want to consider using higher quality cables, such as HDMI 2.1, to ensure the best possible audio and video performance. Taking the time to select the right wiring and equipment will help you achieve the best possible home theater experience.
Different Types of Wires Used in Home Theater Wiring
There are many different types of wires used in home theater wiring, each with its own specific purpose. For example, HDMI cables are used to transmit high-quality digital audio and video signals, while coaxial cables are used for analog video signals. It’s important to choose the right cables for your setup to ensure a high-quality viewing and listening experience.
In addition to HDMI and coaxial cables, there are other types of wires that are commonly used in home theater wiring. Speaker wires, for instance, are used to connect the speakers to the amplifier or receiver. These wires come in different gauges, with thicker wires being able to handle more power and produce better sound quality.
Another type of wire that is often used in home theater wiring is Ethernet cables. These cables are used to connect devices to the internet or to a local network. They are essential for streaming content from online sources or accessing media files stored on a networked device.
Planning Your Home Theater Wiring Setup
Before you start rewiring, you’ll want to plan out your new setup. This includes deciding where to place your various components, such as your TV, speakers, and AV receiver. You’ll also need to decide which cables to use and how to route them through your walls and ceiling. This planning process will help ensure that your new setup is organized and aesthetically pleasing.
Another important factor to consider when planning your home theater wiring setup is the type of room you have. If you have a dedicated home theater room, you may want to consider installing in-wall speakers and running cables through the walls for a cleaner look. However, if your home theater is in a multi-purpose room, you may need to be more creative with your wiring setup to accommodate other activities in the room.
It’s also important to think about future upgrades and changes to your home theater system. You may want to leave extra conduit or wiring in place for future upgrades, or consider using wireless technology for certain components to make upgrades easier. By planning ahead, you can save yourself time and money in the long run.
Steps to Safely Disconnecting Your Existing Audio System
Once you have your new setup planned out, it’s time to disconnect your existing audio system. Be sure to turn off all components before unplugging any cables. Labeling your existing cables as you disconnect them will make it easier to connect your new setup later on.
Before you start unplugging cables, take a picture of the back of your existing audio system. This will help you remember how everything was connected and make it easier to set up your new system. Additionally, if you have any speakers mounted on the wall or ceiling, be sure to remove them carefully to avoid damaging the mounting hardware or the wall/ceiling surface.
Once you have disconnected all the cables and removed any mounted speakers, it’s a good idea to clean your existing audio system. Use a soft cloth to wipe down the components and remove any dust or debris. This will not only make your old system look better, but it will also help prevent any dust or debris from getting into your new system when you set it up.
How to Label and Organize Your Cables Before Rewiring
Before you start rewiring, it’s important to make sure you know which cables go where. Labeling your existing cables as you disconnect them can help you remember where they should be connected in your new setup. You may also want to organize your cables using cable ties to prevent tangling and make it easier to manage them during the rewiring process.
Another helpful tip is to take a photo of your current cable setup before you start disconnecting anything. This can serve as a visual reference for how everything was connected and can help you troubleshoot any issues that may arise during the rewiring process.
Additionally, it’s a good idea to use color-coded labels or markers to differentiate between different types of cables. This can be especially useful if you have a lot of cables that look similar, such as HDMI and DisplayPort cables. By using different colors, you can quickly and easily identify which cable is which, saving you time and frustration in the long run.
How to Remove Old Wires from Your Home Theater System
Once all of your cables are labeled and organized, it’s time to remove your old wires. Use wire cutters or cable strippers to remove any old wires that are still connected to your components. Be careful when removing wires from your speakers, as they may be held in place by clips or screws.
It’s important to properly dispose of your old wires. Don’t just throw them in the trash, as they can be hazardous to the environment. Look for local electronic recycling programs or drop-off locations where you can safely dispose of your old wires. Some retailers may also offer recycling programs for electronics and wires.
How to Choose the Right Wires for Your New Home Theater System
When choosing new wires for your home theater system, it’s important to consider the quality of the cables you’re buying. Higher quality cables will generally provide better audio and video quality, but may also be more expensive. It’s also important to choose cables that are long enough to reach your components without being too long, as excess cable can create clutter.
Another important factor to consider when choosing wires for your home theater system is the type of connectors they have. Different components may require different types of connectors, such as HDMI, RCA, or optical. Make sure to check the specifications of your components and choose wires with the appropriate connectors to ensure compatibility and optimal performance.
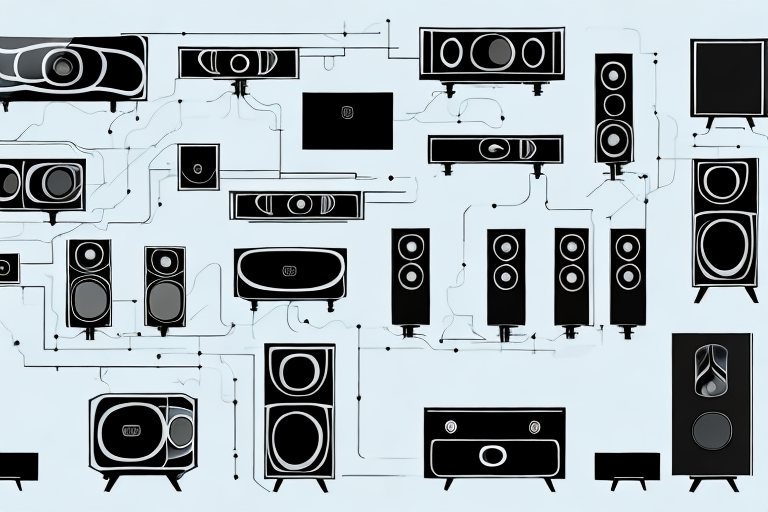
Understanding Speaker Placement and Wiring
Proper speaker placement is essential for getting the most out of your home theater system. Speakers should be placed at ear-level and at equal distances from the listener. When wiring your speakers, it’s important to ensure that each speaker is connected to the right channel on your receiver. This will help create a balanced audio experience.
Another important factor to consider when placing your speakers is the room’s acoustics. The size and shape of the room can greatly affect the sound quality. For example, a room with hard surfaces like tile or hardwood floors can create echoes and reverberations, while a room with soft surfaces like carpet and curtains can absorb sound. It’s important to take these factors into account when deciding where to place your speakers.
In addition to proper placement and wiring, it’s also important to choose the right type of speakers for your home theater system. There are a variety of speaker types, including floor-standing, bookshelf, and in-wall speakers. Each type has its own advantages and disadvantages, so it’s important to do your research and choose the type that best fits your needs and budget.
How to Connect Audio and Video Devices to Your Home Theater System
Once all of your wires are in place, it’s time to connect your audio and video devices. This will likely involve connecting your TV, AV receiver, and other components using HDMI or RCA cables. Follow the manufacturer’s instructions carefully to ensure that your devices are connected properly and that you’re getting the best possible audio and video quality.
Testing Your Newly Wired Home Theater Setup
Once everything is connected, it’s time to test your new setup. Turn on your components and check that everything is working properly. Adjust your speaker and display settings as needed to get the best possible audio and video quality. If you encounter any problems, consult the manufacturer’s instructions or contact a professional for help.
Troubleshooting Common Issues with Home Theater Wiring
If you encounter any issues with your new home theater wiring, there are a few common problems to look out for. These may include poor audio or video quality, connectivity issues, or humming or buzzing sounds from your speakers. Consult the manufacturer’s instructions or contact a professional for help troubleshooting these problems.
Tips for Maintaining and Upgrading Your Home Theater Wiring System
With the right care and maintenance, your home theater wiring system can provide years of high-quality audio and video performance. Regularly dusting your components, organizing your cables, and checking for loose connections can help prevent common issues from arising. And when it’s time to upgrade your system, following the same steps as you did for rewiring can help ensure a smooth transition to your new setup.
With these tips in mind, you should be well-equipped to rewire your home theater system and enjoy a high-quality audio and video experience.