In today’s world, projectors have become a popular choice for homes as they enable you to enjoy a cinematic experience right from the comfort of your living room. However, to make the most of your projector, you need to make sure that it is positioned correctly. In this guide, we’ll share everything you need to know about positioning your projector in the living room for the best possible viewing experience.
Why choosing the right location matters for your projector
The right location for your projector is essential as it can directly affect the quality of the image. If you place the projector in the wrong position, you may experience issues such as uneven lighting, a distorted image, or shadows being cast onto the screen. To avoid these problems, you need to choose the right spot for your projector.
When choosing the right location for your projector, it’s important to consider the distance between the projector and the screen. If the projector is too far away, the image may appear blurry or out of focus. On the other hand, if the projector is too close to the screen, the image may appear distorted or pixelated. To ensure the best image quality, it’s recommended to follow the manufacturer’s guidelines for the optimal distance between the projector and the screen.
Factors to consider when positioning your projector in the living room
Before you start positioning your projector in the living room, there are a few things to consider. Firstly, you need to think about the size of the room and the distance between the projector and the screen. Secondly, the position of windows and doors in the room can affect the lighting, which can impact the image quality. Lastly, you need to consider the material and color of the walls as they can reflect or absorb light, influencing the image quality.
Another important factor to consider when positioning your projector in the living room is the height of the ceiling. If the ceiling is too low, it may limit the size of the screen you can use, or cause the image to appear distorted. On the other hand, if the ceiling is too high, you may need to use a longer throw projector or mount it on the ceiling to achieve the desired image size and quality.
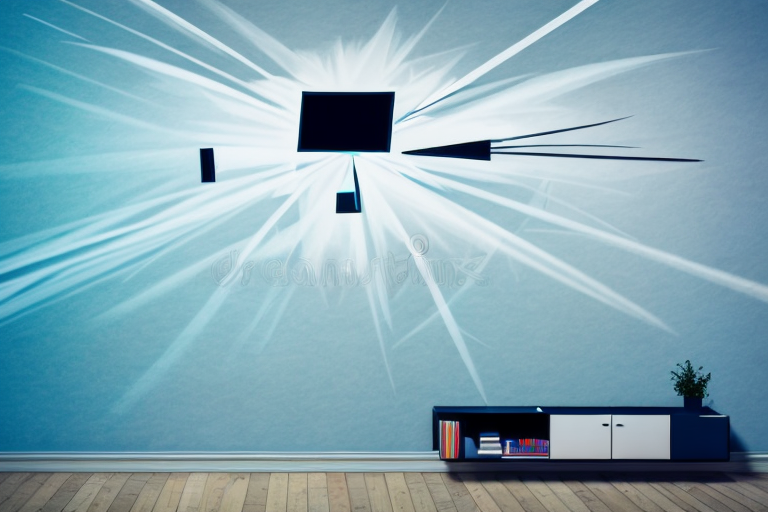
Additionally, you should also think about the placement of furniture in the room. If you have a lot of furniture or decor in the room, it may obstruct the projector’s beam and cause shadows or reflections on the screen. It’s important to ensure that the projector has a clear line of sight to the screen and that there are no obstructions in the way.
Projector placement options for small living rooms
In small living rooms, projector placement can be a bit of a challenge. You ideally want to place the projector at least 1.5 meters away from the screen to avoid distortion. Placing the projector on a table or a shelf is suitable for small living rooms, but it’s best to ensure that the table or shelf is steady and won’t move or vibrate when you watch a movie.
If you don’t have a suitable table or shelf, you can also mount the projector on the ceiling. This is a great option if you want to save space and avoid any potential tripping hazards. However, make sure to mount the projector securely and at the right angle to avoid any distortion or discomfort while watching. Additionally, consider investing in a wireless HDMI transmitter to avoid any unsightly cables running across your living room.
Best projector placement options for large living rooms
Large living rooms can be a bit more forgiving when it comes to positioning your projector. One of the best options is to mount the projector on the ceiling. Ceiling mounts allow you to adjust the height and angle of the projector, providing you with flexibility in positioning. If a ceiling mount isn’t feasible, placing the projector on a stand or on the floor can work.
Another important factor to consider when placing your projector in a large living room is the distance between the projector and the screen. The further the distance, the larger the image will be. However, if the distance is too far, the image quality may suffer. It’s important to find the right balance between distance and image quality to ensure the best viewing experience.
Tips for getting the best picture quality from your projector
To get the best picture quality from your projector, you need to consider a few things. Firstly, you need to ensure that the projector is correctly focused. Secondly, the screen or the wall where you are projecting the image needs to be white or a light-colored neutral tone to reflect the projected light effectively. Lastly, reducing ambient light, such as by dimming the room lights, can help improve image quality.
Another important factor to consider is the resolution of the projector. Higher resolution projectors will produce sharper and more detailed images. It is also important to match the aspect ratio of the projector to the content being displayed to avoid distortion or black bars on the screen.
Additionally, the distance between the projector and the screen or wall can affect the image quality. Make sure to follow the manufacturer’s recommendations for the optimal distance and adjust the zoom and focus accordingly. Regularly cleaning the projector lens and replacing the lamp when necessary can also help maintain the best picture quality.
How to avoid common mistakes when positioning your projector
Common mistakes, including placing the projector too close or too far away from the screen, can affect the image quality. To avoid making these mistakes, take your time and be patient when setting up your projector. Ensure that you have enough space to adjust the position of the projector and keep the user manual close by for reference.
Another common mistake to avoid is placing the projector in a location with too much ambient light. This can cause the image to appear washed out and difficult to see. To prevent this, choose a location with minimal ambient light or use blackout curtains to block out any excess light. Additionally, be sure to clean the projector lens regularly to maintain optimal image quality.
The importance of lighting when positioning a projector in the living room
The placement of lights in the room can affect the image quality when using a projector. You can avoid this problem by using blackout curtains or blinds to reduce the amount of light entering the room. You can also use ambient lighting, such as wall sconces, to provide enough light in the room without affecting the quality of the projected image.
Another important factor to consider when positioning a projector in the living room is the distance between the projector and the screen. The distance will affect the size and clarity of the image projected. It is important to measure the distance accurately and adjust the projector accordingly to ensure the best viewing experience.
In addition, the type of projector used can also affect the image quality. There are different types of projectors available, such as DLP, LCD, and LED projectors. Each type has its own advantages and disadvantages, and it is important to choose the right type of projector based on your specific needs and preferences.
Step-by-step guide to installing a ceiling mount for your projector in the living room
If you decide to mount your projector on the ceiling, there are specific steps you need to take to ensure that the mount is safe and secure. Firstly, you need to locate the ceiling studs to ensure that the mount is fastened securely. Secondly, use the mounting bracket to secure the projector to the ceiling mount. Lastly, run the necessary cables to connect the projector to your media device.
It is important to note that the height and angle of the projector should be adjusted to ensure that the image is projected onto the screen or wall at the correct angle and size. This can be done by adjusting the mount or using shims to level the mount. Additionally, it is recommended to use a surge protector to protect your projector from power surges and to ensure that it operates smoothly. By following these steps, you can enjoy a high-quality viewing experience in your living room.
Creative ways to conceal a projector in your living room décor
If you’re concerned about the aesthetics of your living room and want to conceal your projector, there are a few ways to do this. You can use a false ceiling to hide the projector, or you can use furniture such as cabinets or bookcases to conceal the projector. Another option is to use a projector screen that appears as artwork when not in use.
Another creative way to conceal a projector in your living room décor is to use a projector box. A projector box is a custom-made enclosure that houses your projector and blends in with your living room décor. These boxes can be made to look like a piece of furniture or a decorative item, such as a vase or sculpture. They also help to reduce noise and prevent dust from accumulating on your projector.
Best accessories to enhance your projector viewing experience in the living room
There are a few accessories that can enhance your projector viewing experience. Firstly, investing in a good set of speakers can help improve the sound quality. Secondly, using a remote control makes it easy to adjust the settings without having to get up from your seat. Lastly, a projector screen can provide a clearer and sharper image compared to projecting the image onto a wall.
Another accessory that can enhance your projector viewing experience is a soundbar. A soundbar is a long, slim speaker that can be mounted on the wall or placed on a shelf. It provides a more immersive sound experience compared to regular speakers and can also be connected to your TV or other devices.
Additionally, a universal ceiling mount can be a great investment for your projector. It allows you to mount your projector on the ceiling, which can save space and provide a better viewing angle. It also helps to prevent accidental damage to your projector and keeps it out of reach of children and pets.
How to troubleshoot common issues with your projector’s position in the living room
If you experience issues such as a blurry or distorted image, the first thing to check is the focus and positioning of the projector. Other issues such as a yellow or green tint to the image can be caused by the projector’s color settings. Taking the time to refer to the user manual and adjust the settings accordingly can help fix these common issues.
Conclusion
Positioning your projector in the living room correctly can provide you with an ultimate home theater experience. By considering factors such as the size of your living room, lighting, and accessories, you can ensure that you get the best possible viewing experience from your projector. Take your time, use the helpful tips and tricks, and enjoy your cinema experience right from the comfort of your home.