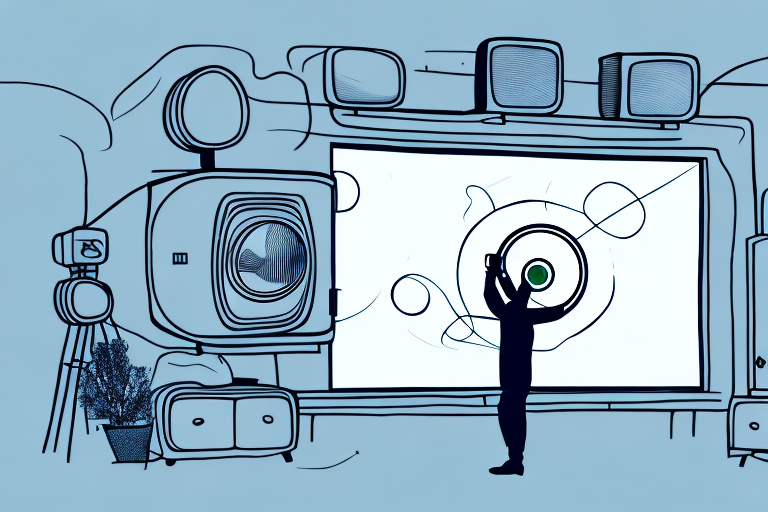
When it comes to setting up a home projector, proper positioning is crucial. Not only does it impact the quality of the image, but it also affects the overall enjoyment of your viewing experience. In this article, we’ll discuss everything you need to know about positioning your home projector to ensure optimal viewing pleasure.
The importance of proper projector positioning
The first step in positioning your home projector is understanding why it matters. Incorrect projector placement can lead to distorted images, uneven brightness, and potential eye strain. Additionally, the overall aesthetics of your home theater can be impacted by inappropriate placement of your projector.
When positioning your projector, it’s important to consider the distance between the projector and the screen. If the projector is too far away, the image may appear blurry or pixelated. On the other hand, if the projector is too close to the screen, the image may appear too bright and washed out. It’s recommended to follow the manufacturer’s guidelines for optimal distance and placement to ensure the best possible viewing experience.
Choosing the right room for your projector
The room in which you place your projector can have a significant impact on your viewing experience. Ideally, you want a room with minimal ambient light, as this will ensure the best image quality. Additionally, a room with light-colored walls will reflect less light and provide better contrast. Lastly, consider the room’s layout and seating arrangement when deciding where to place your projector.
Another important factor to consider when choosing a room for your projector is the size of the room. A larger room may require a projector with a higher brightness level to ensure a clear and bright image. On the other hand, a smaller room may not require as much brightness and can benefit from a projector with a shorter throw distance. It’s important to measure the room and consider the projector’s specifications before making a final decision on which room to use.
Factors to consider when positioning your projector
When positioning your home projector, several factors must be taken into consideration. These include the throw distance, screen size and aspect ratio, and the room’s dimensions. Properly taking these factors into account will enable you to achieve optimal picture quality and size.
Another important factor to consider when positioning your projector is the ambient light in the room. If the room is too bright, it can wash out the image and make it difficult to see. Consider using blackout curtains or shades to block out any excess light. Additionally, you may want to invest in a projector screen with a high gain, which will reflect more light back to the viewer and create a brighter image.
Optimal distance for projecting images
The optimal distance between the projector and the screen depends on the throw distance of the projector and the desired screen size. A general rule of thumb is that the throw distance needs to be 1.5 times the desired screen width. Using this guideline, the projector should be placed far enough from the screen to achieve the desired image size without distorting the image.
It is also important to consider the brightness of the projector when determining the optimal distance. If the projector is too close to the screen, the image may appear too bright and washed out. On the other hand, if the projector is too far away, the image may appear dim and difficult to see. It is recommended to test the projector at different distances to find the optimal distance for the desired image quality.
Best angle for projecting images
The angle at which the projector is pointed can affect the quality of the image projected. To avoid image distortion, the projector should be mounted at the same height as the top of the screen and in line with the center of the screen. It is generally recommended that the angle between the line of sight and the projection surface should be between 15 to 20 degrees.
However, the best angle for projecting images may vary depending on the type of projector and the environment in which it is being used. For example, if the projector is being used in a room with high ambient light, a steeper angle may be necessary to ensure a clear and bright image. On the other hand, if the projector is being used in a dark room, a shallower angle may be sufficient.
It is also important to consider the distance between the projector and the screen when determining the best angle. If the projector is too close to the screen, a steeper angle may be necessary to avoid keystoning, which is when the image appears wider at the top or bottom. If the projector is too far from the screen, a shallower angle may be necessary to ensure the image is large enough and clear.
Tips for minimizing screen glare and maximizing image quality
Screen glare can significantly reduce image quality and impact your viewing experience. To reduce glare, dim any ambient lighting in the room and avoid placing the screen opposite any windows or other sources of light. Additionally, investing in an ambient light rejection screen can help to reduce screen glare.
Another way to minimize screen glare is to adjust the brightness and contrast settings on your device. Most devices have an option to adjust these settings, which can help to reduce the amount of glare on the screen. It’s also important to clean your screen regularly, as dust and fingerprints can contribute to glare and reduce image quality.
Maximizing image quality can also be achieved by using high-quality cables and connectors. HDMI cables, for example, provide better image quality than VGA cables. It’s also important to ensure that your device is set to the correct resolution for your screen. Using a resolution that is too low or too high can result in a blurry or distorted image.
Types of mounts and stands for your projector
There are various options for mounting your home projector. Fixed mounts, ceiling mounts, and wall mounts are some of the most commonly used. It is essential to weigh the advantages and disadvantages of each option, such as viewing angle, convenience, and cost, before making your choice.
Fixed mounts are the most basic type of mount and are ideal for those who want a permanent installation. They are easy to install and provide a stable platform for your projector. However, they offer limited flexibility in terms of adjusting the viewing angle and may not be suitable for rooms with low ceilings.
Ceiling mounts are a popular choice for those who want to save space and have a more flexible viewing angle. They are ideal for rooms with high ceilings and can be adjusted to suit your needs. However, they can be more challenging to install and may require professional help. Additionally, they may not be suitable for rooms with low ceilings or sloping roofs.
How to mount your projector on the ceiling or wall
Mounting your projector on the ceiling or wall is a popular option. When mounting a projector, several factors need to be considered, such as the projector weight, ceiling or wall material, and mounting hardware. It is crucial to follow the manufacturer’s instructions and seek the advice of a professional if unsure.
One important factor to consider when mounting a projector is the distance between the projector and the screen. This distance affects the size of the projected image and the clarity of the picture. It is recommended to use a projector calculator to determine the optimal distance for your specific projector model.
Another consideration is the location of the projector in relation to other equipment, such as speakers and cables. It is important to plan the placement of all equipment before mounting the projector to ensure that everything is properly connected and organized. Additionally, it is recommended to use cable management systems to keep cables neat and tidy.
The benefits of a portable projector and how to position it
Portable projectors have become increasingly popular in recent years, and one of the significant advantages is their flexibility in positioning. Portable projectors can be easily moved to different locations in the room, depending on the desired viewing angle, and can even be used outdoors!
Another benefit of portable projectors is their compact size, making them easy to transport and store. They are perfect for business presentations, movie nights, and even gaming sessions with friends. With a portable projector, you can turn any room into a home theater or a conference room.
When positioning your portable projector, it’s essential to consider the distance between the projector and the screen. The distance will affect the size of the image projected, so make sure to measure the distance and adjust the projector accordingly. Additionally, it’s crucial to ensure that the projector is level and stable to avoid any distortion or shaking of the image.
The role of ambient light in projector positioning
The amount of ambient light in the room where the projector is positioned can significantly impact its viewing quality. The darker the room, the clearer and more vibrant the image projection will be. Use dimmers, heavy drapes, or even a separate viewing room to minimize ambient light, so your projector produces its best possible images.
It’s important to note that not all projectors are created equal when it comes to handling ambient light. Some projectors have higher brightness levels and are better equipped to handle well-lit rooms. If you plan on using your projector in a room with a lot of natural light, it’s important to choose a projector with a higher brightness level to ensure that the image quality is not compromised.
How to adjust the lens shift, zoom, and focus of your projector
Proper adjustment of the lens shift, zoom, and focus of your projector is vital for image quality. Depending on the projector, these settings could be accessed via buttons on the projector, a remote control, or the projector menu. Ensure that you follow the manufacturer’s instructions carefully to achieve the best results.
Troubleshooting common projection issues
If your projector isn’t projecting the image quality that you desire, there may be a few common issues that you can remedy. These issues include focusing problems, distorted images, and incorrect color settings. Consult the projector manual or seek professional help if you are experiencing further difficulties.
Best practices for maintaining your projector after installation
Like all electronic devices, preventing damage and prolonging lifespan through regular maintenance is essential for projectors. Some recommendations for maintaining your projector include regular cleaning, replacement of worn-out parts, and professional cleaning every few years. Follow these recommendations, and your projector will perform optimally for years.
Frequently asked questions about home projector positioning
Are you still unsure of some aspects of home projector positioning? Some of the most frequently asked questions include measuring the distance from the projector to the screen, how to mount the projector’s ceiling, and different ways to reduce screen glare. These are all valid questions, and researching the product manufacturer for support and advice may yield valuable results.
Overall, proper home projector positioning is essential for achieving the best viewing quality and experience. By following the guidelines and tips above, you can optimize your projector’s image quality and ensure that you get the most out of your home theater experience.