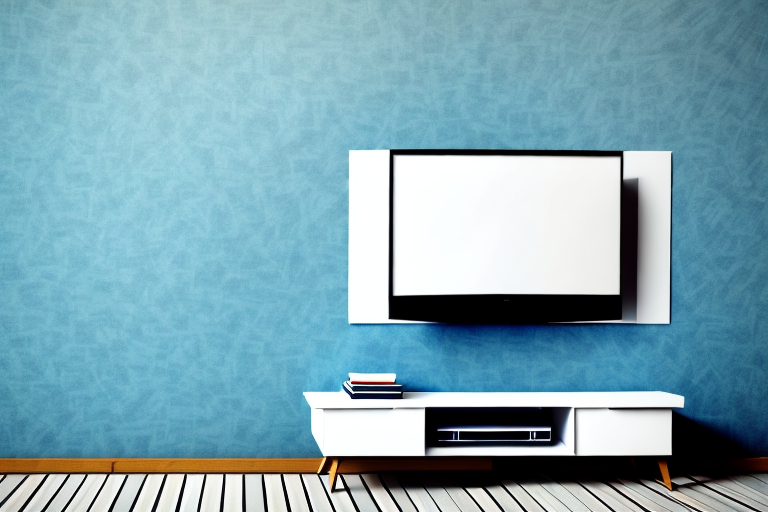
Are you looking to mount your TV on the wall, but have wide studs that are making the process difficult? Don’t worry, we’ve got you covered. In this article, we’ll provide you with a step-by-step guide on how to mount your TV with wide studs, along with some helpful tips and tricks to make the process as seamless as possible.
Understanding the Basics of Studs
Studs are vertical framing members in a wall that provide structural support. They are typically made of wood or metal, and are spaced apart at regular intervals. In most homes, the standard stud spacing is 16 inches apart. However, in newer construction, studs may be spaced 24 inches apart, commonly referred to as “wide studs.”
Studs are an important component in the construction of walls, as they provide the framework for attaching drywall, insulation, and other materials. They also play a crucial role in the overall strength and stability of a building. It is important to note that the size and spacing of studs can vary depending on the specific building code requirements and the load-bearing capacity needed for the structure. In addition, some builders may use alternative materials such as steel or engineered wood for studs, which can offer increased strength and durability.
Measuring the Width of Your Studs
Before you begin mounting your TV, it’s important to measure the width of your studs. This can be done easily with a tape measure. Simply measure the distance between the center of two adjacent studs. If the distance is 24 inches or more, you have wide studs and will need to take some extra steps to mount your TV.
However, if the distance between the center of two adjacent studs is less than 24 inches, you have standard studs and can proceed with mounting your TV using a standard wall mount. It’s important to note that if you have wide studs, you will need to use a mount specifically designed for wide studs or use additional support such as a mounting plate or plywood to distribute the weight of the TV evenly across the studs.
Choosing the Right Mounting Hardware
When it comes to mounting your TV with wide studs, it’s important to choose the right mounting hardware. Look for a mounting bracket that is specifically designed for wide stud spacing. These brackets will typically have longer mounting arms and may come with additional hardware, such as toggles, to help secure the bracket to the wall.
Another important factor to consider when choosing mounting hardware is the weight capacity of the bracket. Make sure to select a bracket that can support the weight of your TV. You can usually find this information on the packaging or in the product specifications.
It’s also a good idea to consider the adjustability of the bracket. Look for a bracket that allows you to tilt and swivel your TV for optimal viewing angles. Some brackets even have built-in cable management systems to help keep your cords organized and out of sight.
How to Find the Center of the Studs
Once you have your mounting bracket and hardware, the next step is to find the center of your studs. This can be done with a stud finder, which can be purchased at most hardware stores. Simply hold the stud finder up to the wall and move it around until it indicates the presence of a stud. Mark the center of the stud with a pencil, and repeat the process for any additional studs where you plan to mount your TV.
If you don’t have a stud finder, you can still find the center of the studs using a few other methods. One way is to look for visible signs of the studs, such as nail heads or seams in the drywall. You can also use a magnet to locate the nails or screws that attach the drywall to the studs. Once you have located the edges of the stud, measure and mark the center point.
It’s important to note that not all walls are made with studs. Some walls may be made with metal or concrete, which require different mounting techniques. If you are unsure about the type of wall you are working with, consult a professional or do some research to ensure you are using the correct mounting method.
Preparing Your Tools and Supplies
Before you start drilling holes in your wall, make sure you have all the necessary tools and supplies on hand. This includes a drill, drill bits, a level, screwdriver, and any additional hardware that came with your mounting bracket.
It’s also important to consider the type of wall you will be drilling into. If you have drywall, you may need to use anchors to ensure the bracket is securely attached. If you have a brick or concrete wall, you will need a masonry bit and possibly a hammer drill to make the necessary holes.
Additionally, it’s a good idea to have a stud finder on hand to locate the studs in your wall. Mounting your bracket directly into a stud will provide the most secure hold for your item. If you cannot find a stud in the desired location, you may need to use toggle bolts or other types of anchors to ensure a strong hold.
Marking and Drilling Holes in the Wall
With your tools and supplies at the ready, it’s time to start mounting your bracket. Use a level to ensure that your bracket is straight, and mark the spot where you will drill your first hole. Carefully drill the hole, making sure to avoid any electrical wiring or plumbing behind the wall. Repeat the process for any additional holes needed for your bracket.
It’s important to note that the type of wall you are mounting your bracket on will affect the drilling process. For example, if you are mounting on a concrete or brick wall, you will need to use a masonry bit and drill. If you are mounting on a drywall or plaster wall, you will need to use a regular drill bit and be more careful not to damage the wall.
After drilling the holes, insert wall anchors if necessary and then attach the bracket to the wall using screws. Make sure the bracket is securely attached to the wall before hanging any heavy objects on it. It’s always a good idea to double-check the level of the bracket before hanging anything on it as well.
Installing Wall Anchors and Mounting Plate
With your holes drilled, it’s time to install wall anchors and mounting plates. This will help to provide additional support for your TV mount. Insert the wall anchors into the holes, and then attach the mounting plate to the wall anchors using the screws provided.
Before installing the wall anchors, it’s important to choose the right size and type of anchor for your wall. The weight of your TV and the type of wall material will determine the size and type of anchor needed. Make sure to read the instructions carefully and choose the appropriate anchor for your specific situation.
Once you have installed the wall anchors and mounting plate, it’s important to double-check that everything is level and secure. Use a level to ensure that the mounting plate is straight, and gently tug on the mount to make sure it is firmly attached to the wall. If you notice any wobbling or instability, you may need to adjust the wall anchors or screws to ensure a secure fit.
Attaching the TV Bracket to the Mounting Plate
Once your mounting plate is securely attached to the wall, it’s time to attach the TV bracket to the mounting plate. Line up the holes on the TV bracket with the holes on the mounting plate, and secure the bracket to the plate using screws or bolts provided with your mounting hardware.
It’s important to make sure that the TV bracket is level before securing it to the mounting plate. Use a level to ensure that the bracket is straight, and make any necessary adjustments before tightening the screws or bolts. Once the bracket is securely attached, you can then mount your TV onto the bracket and adjust it to the desired viewing angle.
Securing Your TV to the Bracket
With your bracket in place, it’s time to attach your TV to the bracket. Depending on the style of your TV bracket, this may involve securing the TV to the bracket using screws or bolts. Make sure to follow the instructions provided with your bracket to ensure that your TV is securely attached.
Testing Your Mount for Stability and Safety
Once your TV has been attached to the bracket, it’s important to test the mount for stability and safety. Give your TV a gentle tug to make sure that it is securely attached to the bracket, and then take a step back to ensure that the TV is level. You may also want to consider having someone else hold the TV in place while you check for stability.
Troubleshooting Common Issues While Mounting TVs with Wide Studs
While mounting your TV with wide studs can be a straightforward process when done correctly, there are some common issues that you may encounter along the way. These can include difficulty finding the center of the studs, or issues with the weight of your TV. Be sure to consult the instructions provided with your mounting hardware, or seek out the advice of a professional if you run into any problems during the process.
Understanding Weight Limits for TVs Mounted on Wide Studs
When mounting a TV with wide studs, it’s important to understand the weight limits and load capacity of your mounting hardware. This can vary depending on the type of bracket you have, as well as the size and weight of your TV. Always consult the instructions provided with your mounting hardware to ensure that you are not exceeding any weight limits or putting your TV at risk.
Tips for Concealing Cables and Wires
One of the biggest downsides to mounting a TV on the wall can be visible cables and wires. To help conceal these, consider using cable covers or raceways to hide cables along the wall. You may also want to consider hiring a professional to run cables through the wall for a cleaner, more streamlined look.
Alternative Methods for Mounting TVs with Wide Studs
If you are unable to mount your TV with standard hardware, there are alternative methods that you can try. One of the most popular is a ceiling mount, which can be a great option for rooms with high ceilings or limited wall space. You may also want to consider a floor stand or a freestanding mount, depending on your needs and space limitations.
Now that you have a complete guide on how to mount your TV with wide studs, you can enjoy your favorite shows from the perfect viewing angle. Just remember to follow all instructions carefully, and if you are unsure at any stage of the process, it’s always best to seek the advice of a professional. Happy mounting!