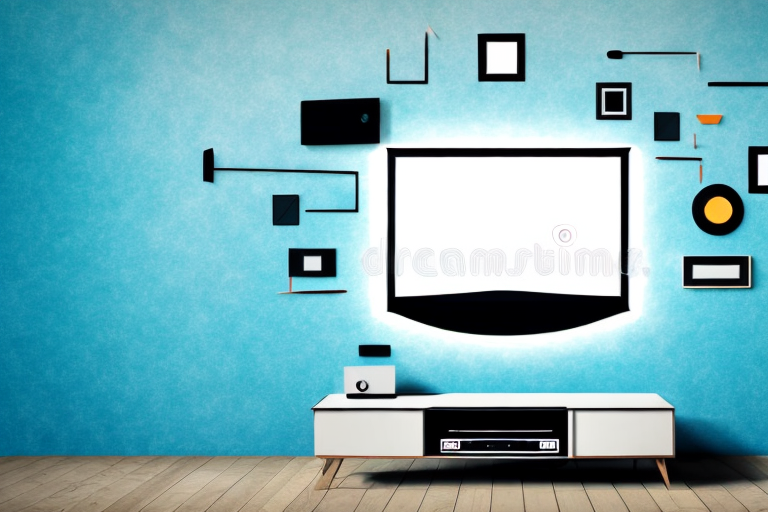
Mounting your TV on the wall is a great way to free up space in your living room and create a sleek, modern look. However, it can be a daunting task if you’ve never done it before. In this guide, we’ll take you through the entire process of mounting your Asus TV on the wall, step by step.
Why Mounting Your TV on the Wall is a Great Idea
Mounting your TV on the wall is not only aesthetically pleasing but it also frees up space in your room for other things. You can also avoid the expense of buying an entertainment center. Plus, mounting your TV on the wall provides a more immersive viewing experience as you can choose the perfect height and angle to enjoy your favorite movies and TV shows.
Another benefit of mounting your TV on the wall is that it can help to reduce neck and eye strain. When your TV is placed on a stand or table, you may have to look down or up at the screen, which can cause discomfort and fatigue. By mounting your TV at the perfect height and angle, you can ensure that your neck and eyes are in a comfortable position while watching TV for extended periods of time.
What You Need to Know Before Installing Your Asus TV on the Wall
Before you start installing your TV on the wall, there are a few things you need to consider. First, make sure the wall you are mounting it on is strong enough to hold the weight of your TV and the bracket you will be using. You also need to make sure that your TV is VESA compatible, meaning that it has the standard mounting holes on the back that correspond to the mounting bracket you plan to use.
Another important factor to consider is the viewing angle. You want to make sure that the TV is mounted at a height and angle that is comfortable for you to watch. Take into account the distance between the TV and your seating area, as well as any potential glare or reflections from windows or lights in the room.
Additionally, it’s important to plan out the cable management before you start drilling holes in your wall. Make sure you have the necessary cables and connectors to connect your TV to your cable box, streaming device, or gaming console. You may also want to consider using cable ties or a cable cover to keep the cords organized and hidden from view.
How to Choose the Right Wall Mount for Your Asus TV
Choosing the right wall mount is crucial to ensure your TV is securely mounted and positioned correctly. Your Asus TV will come with information about VESA compatibility, which you can use to choose a compatible wall mount. Additionally, consider the size and weight of your TV, as well as the type of wall you will be mounting it on. For example, if you are mounting on drywall, you will need to use toggle bolts or molly bolts instead of regular screws.
Another important factor to consider when choosing a wall mount for your Asus TV is the viewing angle. Think about where you will be sitting or standing when watching TV and choose a mount that allows for the best viewing experience. Some wall mounts also offer the ability to tilt or swivel, which can be useful if you need to adjust the angle of the TV.
It’s also important to think about cable management when choosing a wall mount. Make sure the mount you choose has a way to hide or manage cables, so they don’t become tangled or unsightly. Some wall mounts come with cable management systems built-in, while others may require additional accessories to manage cables.
Step-by-Step Guide to Mounting Your Asus TV on the Wall
Here are the steps to follow when mounting your Asus TV on the wall:
- Identify the location where you want to mount your TV and make sure it’s level.
- Locate the studs in the wall or use molly bolts to create a secure mount.
- Attach the mounting bracket to the back of your Asus TV.
- Connect the bracket to the wall mount using the screws provided.
- Adjust the angle and height of your TV to your preference.
Before you begin mounting your Asus TV on the wall, it’s important to gather all the necessary tools and equipment. You will need a drill, a stud finder, a level, a screwdriver, and the mounting kit that came with your TV. Make sure you have all these items before you start the process.
It’s also important to consider the weight of your TV and the type of wall you are mounting it on. If you have a heavy TV, you may need to use additional support or consult a professional to ensure it is mounted safely and securely. Additionally, if you are mounting your TV on a plaster or drywall, you may need to use special anchors to ensure a secure mount.
Common Mistakes to Avoid When Mounting Your Asus TV on the Wall
Even the slightest mistake when mounting your TV can result in a disaster. Here are some common mistakes to avoid:
- Mounting on a weak wall that can’t hold the TV
- Using screws that are too short or too long
- Not using a level to ensure that your TV is straight
- Not using a stud finder to locate the studs in the wall
Aside from the common mistakes mentioned above, there are other things to consider when mounting your Asus TV on the wall. One of these is the height of the TV. Make sure that the TV is mounted at a comfortable viewing height, which is usually eye level when seated. This will prevent neck strain and discomfort when watching for extended periods of time.
Another important factor to consider is the location of the TV. Avoid mounting the TV in direct sunlight or near a heat source, as this can cause damage to the TV and affect its performance. It’s also important to ensure that there is enough space around the TV for proper ventilation to prevent overheating.
How to Hide Cables and Wires When Mounting Your Asus TV on the Wall
No one wants unsightly cables and wires hanging down from their wall-mounted TV. To avoid this, you can use cable covers or raceways to hide them. Alternatively, you can drill a hole in the wall behind your TV and thread the cables through it.
Another option to consider is using a wireless HDMI transmitter. This device allows you to transmit audio and video signals from your cable box, Blu-ray player, or other devices to your TV without the need for cables. This can be a great solution if you want a clean, cable-free look for your wall-mounted TV.
Tips for Positioning Your Asus TV at the Perfect Height and Angle
The perfect height and angle for your TV is subjective and varies depending on personal preferences and the setup of your room. However, a general rule of thumb is that your TV should be at eye level when seated. Additionally, make sure that your TV is not too high or too low and that it is facing directly towards your seating area.
Another important factor to consider when positioning your Asus TV is the distance between the TV and your seating area. The ideal distance is typically 1.5 to 2 times the diagonal screen size of your TV. For example, if you have a 50-inch TV, the optimal viewing distance would be between 75 to 100 inches away. This will ensure that you have a comfortable viewing experience without straining your eyes or neck.
How to Test and Make Sure Your Asus TV is Securely Mounted on the Wall
After mounting your TV on the wall, it’s important to test it to ensure that it’s securely mounted. Give your TV a firm push and see if it wobbles or moves. If it does, it’s not securely mounted, and you should check the installation process again. You can also use a level to ensure that your TV is straight and a ruler to measure the distance between the top and bottom of the TV and the floor to make sure it’s level.
By following these steps, you can confidently mount your Asus TV on the wall and enjoy a clutter-free and immersive viewing experience.
It’s also important to consider the weight of your TV and the type of wall mount you’re using. Make sure that the wall mount is rated to hold the weight of your TV and that it’s securely attached to the wall studs. If you’re unsure about the weight or type of wall mount, consult the manufacturer’s instructions or seek professional installation help.