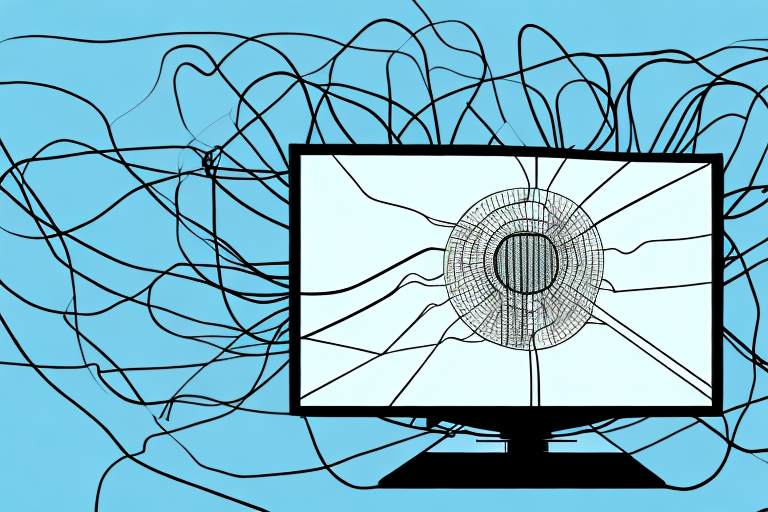
Mounting a TV on the wall has become a popular way to create a sleek look in any home. It not only saves space, but it also provides a better viewing experience. However, no one wants to deal with a clutter of wires hanging down from their TV. Hiding the wires in a safe and efficient way will give your wall-mounted TV a professional, streamlined appearance. In this article, we will guide you on how to mount your TV and hide the wires in your home.
Gathering the Necessary Tools and Supplies
Before beginning any installation work, it is essential to have all the necessary tools and supplies. This includes: a stud finder, drill, drill bits, screws, screwdriver, level, measuring tape, wire cutter/stripper, cable ties, cable clips, cable management kit or raceway, and paintable cord covers. These tools will ensure a successful installation and a clean look by hiding all of the wires.
It is also important to consider the type of wall or surface where the installation will take place. For example, if the wall is made of concrete or brick, you may need additional tools such as a hammer drill and masonry bits. Additionally, if the installation involves electrical wiring, it is crucial to turn off the power supply and follow all safety precautions to avoid any accidents or injuries.
Preparing the Wall for TV Mounting
It is important to start by preparing the wall where you plan to mount your TV. Begin by finding the studs behind the drywall using your stud finder. You want to attach the mount to the studs to ensure your TV is securely attached to the wall. Using a measuring tape, ensure the wall bracket or mount is level where you intend to mount the TV. Then, use a drill and screws to install the bracket onto the wall. If you’re not comfortable drilling into the wall, ask a professional for assistance.
After installing the bracket, it’s important to check that it is securely attached to the wall. Give it a gentle tug to ensure it doesn’t move or wobble. If it does, you may need to use longer screws or move the bracket to a different location on the wall where the studs are more secure.
Once the bracket is securely attached, you can then attach the TV to the bracket. Make sure to follow the manufacturer’s instructions for attaching the TV to the bracket, as different models may have different attachment methods. It’s also important to have someone assist you with lifting and attaching the TV to the bracket, as it can be heavy and difficult to do alone.
Selecting the Right TV Mount for Your Space
Choosing the right mount for your TV is crucial to ensure safety and secure installation. Most mounts are designed to hold TVs of specific sizes, so make sure to choose the right mount based on your TV’s dimensions and weight. A tilting or swiveling mount may also be a good option depending on your viewing preferences. Consult a professional or the manufacturer’s instructions for guidance, if necessary.
Another important factor to consider when selecting a TV mount is the type of wall you will be mounting it on. Different mounts are designed for different types of walls, such as drywall, concrete, or brick. Make sure to choose a mount that is compatible with your wall type to ensure a secure installation.
It’s also important to consider the location of the mount in your space. Will the TV be mounted at eye level or higher? Will it be in a high-traffic area where it may be bumped or knocked over? These factors can impact the type of mount you choose and the level of security needed to keep your TV in place.
Measuring and Marking for Placement of TV Mount
Once you have chosen the correct mount, you need to measure and mark the wall for the placement of the mount. Begin by measuring the spot where you have decided to place the mount, directly on the wall bracket with your measuring tape. It is essential to make sure the bracket is level, so use a level to check the horizontal and vertical measurements.
After you have marked the spot for the mount, you need to locate the studs in the wall. Use a stud finder to locate the studs and mark their position on the wall. This is important because the mount needs to be attached to the studs for stability and safety.
Once you have located the studs, you can drill pilot holes into the wall at the marked spots. Make sure the holes are the same size as the screws that came with the mount. Then, attach the mount to the wall using the screws and a screwdriver. Double-check that the mount is level and secure before attaching the TV.
Installing the TV Mount on the Wall
Now that you have placed your mount and marked the location on your wall, it is time to install it. Begin by drilling pilot holes into the marked points of the wall mount. These holes will help guide the screws into the wall as you install the bracket with the screws and a screwdriver. Make sure the bracket is securely attached to the wall with no wobbling or movement.
Next, attach the mounting plate to the back of your TV. Make sure to use the appropriate screws and washers provided with your mount. Once the plate is securely attached, carefully lift the TV and align the mounting plate with the bracket on the wall. Double-check that the plate is level and centered before tightening the screws. Finally, test the mount by gently pulling on the TV to ensure it is securely attached to the wall.
Running Wires and Cables Through the Wall
After the mount is securely attached, the next step is running the wires and cables through the wall. If you’re not comfortable doing this, get a professional to help. Use a wire cutter to strip the insulation from the cables to expose the wires for attachment. Run the wires through the holes on the mounting arms, so they are hidden behind the TV.
It’s important to plan ahead when running wires and cables through the wall. Consider the length of the cables and where they will need to be plugged in. Measure the distance from the TV to the nearest outlet or power source and ensure that your cables are long enough to reach. You may also want to consider using cable ties or clips to keep the wires organized and prevent them from becoming tangled.
Before drilling any holes in the wall, be sure to check for any electrical wiring or plumbing that may be hidden behind the wall. Use a stud finder to locate the studs in the wall and avoid drilling into them. If you’re unsure about the location of any wiring or plumbing, consult a professional before proceeding.
Hiding Wires in a Cable Management System
A cable management system can be used to hide the wires behind the TV. These systems come in various sizes and styles, and some can be painted to match the color of the wall. They are easy to install and provide a hassle-free solution to hide the cables and wires behind the TV. Just place the wires inside the channels provided by the cable management kit and snap the kit onto the wall.
Another benefit of using a cable management system is that it can help to prevent accidents caused by tripping over wires. When wires are left exposed, they can become a hazard, especially in high traffic areas. A cable management system can keep the wires organized and out of the way, reducing the risk of accidents.
Additionally, a cable management system can improve the overall appearance of a room. Exposed wires can be unsightly and can detract from the aesthetic appeal of a space. By hiding the wires behind a cable management system, the room can look neater and more organized, creating a more pleasant environment for everyone.
Concealing Wires with a Raceway or Conduit
A raceway or conduit is similar to a cable management system. Still, it is commonly used when dealing with larger or multiple wires that cannot easily fit inside a cable management system. A raceway or conduit is a tube-shaped channel that can be mounted inside the wall and run the wires through them. They provide a more extended length of coverage and an additional level of protection to the wires during installation.
When choosing between a raceway or conduit, it is essential to consider the type of wire you are dealing with. A raceway is typically used for low-voltage wires, while a conduit is used for high-voltage wires. Additionally, a conduit can be made of metal or plastic, while a raceway is typically made of plastic.
It is also important to note that installing a raceway or conduit requires some level of expertise. If you are not familiar with electrical work, it is best to hire a professional to install it for you. Improper installation can lead to electrical hazards and damage to your property.
Using Paintable Cord Covers for a Seamless Look
Paintable cord covers are another excellent option to hide unsightly cords and cables. They are easy to install and are paintable to match the wall color for an almost invisible look. Once installed, the cords can easily be inserted into the cover and snapped into place on the wall. This option allows for flexibility and customization, with the ability to add or remove cords as needed.
Securing Cords to Baseboards or Furniture with Cable Clips
If you prefer not to install anything on the wall, cable clips can be used to keep the cords neatly organized and attached to furniture or baseboards. These clips can easily be installed with screws or adhesive, and plastic varieties are available, which are less noticeable compared to other materials. Cables can easily be inserted in the clips, keeping them in place and tucked away.
Troubleshooting Tips for Common Issues During Installation
During installation, common issues that may arise include the mount not being level, the wires being too short, or the mount is not appropriately attached to the wall. If any of these issues occur, stop and assess the situation before proceeding with the installation. Make the necessary adjustments, such as relocating the mount or purchasing longer wires, to ensure safety and secure installation.
Testing and Adjusting Your Mounted TV Setup
Once everything is installed, make sure to test your mounted TV setup. Turn on the TV and check to see if everything is correctly connected and working correctly. Adjust the tilt or swivel to ensure the best viewing experience. Make any necessary adjustments, such as tightening screws or adjusting wires, until you’re satisfied with your setup.
Safety Tips to Keep in Mind While Installing Your TV
Remember, safety is the most important factor when you’re mounting a TV on the wall. Always make sure the mount is securely attached to the wall, and the wires are correctly installed and hidden from view. Before beginning any installation work, make sure to read and follow the manufacturer’s instructions carefully. If you’re not sure about anything, consult a professional for assistance.
By following these steps, you can easily mount your TV on the wall and hide all of the wires. With a neat and organized look, your wall-mounted TV will become a stylish centerpiece in your home, providing a more enjoyable viewing experience.