If you’re looking to install a TV antenna on a tile roof, there are a few things you need to consider first. Tile roofs are different than other roofing materials, and this means you’ll need a different set of tools and materials to mount your antenna. In this article, we’ll provide you with a comprehensive guide on how to properly mount your TV antenna on a tile roof.
Why Installing an Antenna on a Tile Roof is Different
Unlike other roofing materials, tile roofs can be more challenging to work with. The weight of the tiles and the way they interlock can make it more difficult to install screws, mounts, or brackets. Additionally, tiles can break or crack easily if not installed properly. Therefore, it is important that you have the right tools and materials to make sure the installation is done correctly.
Another factor to consider when installing an antenna on a tile roof is the potential for interference. Tile roofs can sometimes interfere with the signal of the antenna, causing poor reception or even complete signal loss. To avoid this, it is recommended to install the antenna on the highest point of the roof, away from any obstructions. Additionally, using a high-quality coaxial cable and grounding the antenna properly can also help to minimize interference.
Tools and Materials Needed for Antenna Installation
Before installing your antenna, it’s important to gather all the necessary tools and materials. Here’s what you’ll need:
- Antenna
- Mounting bracket
- Drill
- Tile drill bit
- Anchors and screws
- Cable clips and zip ties
- Coaxial cable
- Grounding wire and clamp
Aside from the basic tools and materials, there are a few additional items that can make your antenna installation process smoother. One of these is a signal meter, which can help you determine the best location for your antenna and ensure that it is properly aligned. Another useful tool is a coaxial cable stripper, which can help you prepare the cable ends for connection.
It’s also important to consider the weather conditions when installing your antenna. If you live in an area with high winds or frequent storms, you may want to invest in additional mounting hardware or guy wires to ensure that your antenna stays securely in place. Additionally, if you plan to install your antenna on a roof, you may need to take extra precautions to protect your roof from damage during the installation process.
Assessing the Signal Strength in Your Area
Before proceeding with the installation, it’s important to check the signal strength in your area. To do this, you can use websites or apps that provide signal coverage maps. This will help you choose the right type of antenna for your needs.
It’s also important to note that signal strength can vary depending on the time of day and weather conditions. For example, during a storm, signal strength may be weaker than on a clear day. It’s a good idea to check the signal strength at different times and in different weather conditions to get a better understanding of the signal quality in your area.
Choosing the Right Type of Antenna for Your Needs
Choosing the right type of antenna for your needs is essential to ensure that you get the best signal reception possible. There are different types of antennas available in the market, such as directional, multi-directional, and amplified antennas. Consider factors such as the distance from the broadcast tower, geographic obstacles like hills or mountains, and the number of channels you wish to receive to determine which antenna suits your needs.
Another important factor to consider when choosing an antenna is the frequency range it can receive. Some antennas are designed to receive only VHF (Very High Frequency) signals, while others can receive both VHF and UHF (Ultra High Frequency) signals. If you live in an area where most of the channels are broadcasted in UHF, it is important to choose an antenna that can receive those signals to ensure that you can access all the channels available in your area.
Preparing the Tile Roof Surface for Installation
The next step is to prepare the tile roof surface for installation. Take time to clean and clear the installation area and remove any dirt, debris, or moss from the surface. This will ensure that the mounting bracket adheres to the roof surface firmly and securely.
After cleaning the surface, it is important to inspect the roof for any damage or cracks. Any damage should be repaired before proceeding with the installation. This will prevent any leaks or further damage to the roof in the future.
Additionally, it is recommended to apply a primer to the roof surface before installing the mounting bracket. This will improve the adhesion of the bracket and provide an extra layer of protection against weathering and corrosion.
Measuring and Marking the Mounting Location
Take measurements to determine the right location for the mounting bracket on the tiled roof. Use a pencil or chalk to mark the spot and make sure it’s level. Be sure to measure and mark at least two different spots to ensure stability.
It is important to consider the direction of the sun when choosing the mounting location. The solar panel should be facing south in the northern hemisphere and north in the southern hemisphere to maximize its exposure to sunlight. If the roof has any obstructions, such as trees or buildings, that may block the sun, it is best to choose a different location.
Before drilling any holes, it is recommended to double-check the measurements and markings to ensure accuracy. It is also important to use the appropriate tools and equipment for the job, such as a drill bit that is suitable for the type of roof material. Taking these precautions can help ensure a successful installation and prevent any damage to the roof or solar panel.
Drilling Holes and Inserting Anchors into the Tile Roof
The next step is to drill holes for the anchors using a tile drill bit. Make sure to use a drill with the same size as the anchor to ensure a snug fit. Insert the anchors into the holes and make sure they sit flush with the surface of the tile roof.
It is important to note that the type of anchor used will depend on the weight of the object being hung and the type of tile roof. For example, a heavier object may require a toggle bolt anchor, while a lighter object may only need a plastic anchor. It is also important to consult with a professional if you are unsure about the type of anchor to use or if you are not experienced with drilling into tile roofs.
Attaching the Mounting Bracket to the Roof Surface
Place the mounting bracket over the anchors and align it with the marks you made earlier. Secure the bracket to the tile roof using screws and make sure that they are tightened evenly to avoid damage to the tile surfaces.
It is important to note that if you are attaching the mounting bracket to a metal roof, you will need to use a different set of screws and anchors. Metal roofs require specialized hardware to ensure a secure and safe installation. Be sure to consult the manufacturer’s instructions or a professional installer for guidance on the appropriate hardware to use for your specific roof type.
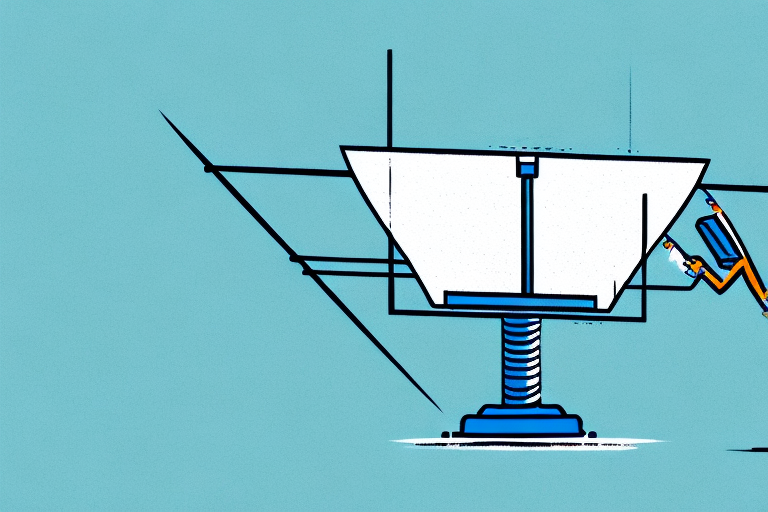
Securing the Antenna Mast to the Mounting Bracket
Next, install the antenna mast to the mounting bracket. Check that it is level and use the right size bolts and nuts to fix it securely to the bracket.
It is important to ensure that the antenna mast is properly secured to the mounting bracket to prevent it from falling or getting damaged during strong winds or other weather conditions. You can use a torque wrench to tighten the bolts to the recommended torque specification for your specific antenna and mounting bracket.
If you are installing the antenna mast on a roof, make sure to use a roof sealant around the base of the mast to prevent water from seeping into the roof. Additionally, you may want to consider using guy wires or braces to provide extra support and stability to the antenna mast, especially if you live in an area with high winds or frequent storms.
Running Coaxial Cable from Antenna to TV Set
Run the coaxial cable from the mast down to the location of your TV set. Use cable clips or zip ties to secure the cable to the roof surface.
When running the coaxial cable, it is important to avoid any sharp bends or kinks in the cable. These can cause signal loss or interference, resulting in poor picture quality. Instead, use gentle curves and loops to guide the cable to its destination.
Additionally, if you are running the cable through walls or ceilings, be sure to use a cable wall plate or junction box to ensure a clean and professional installation. This will also help to protect the cable from damage and prevent any potential fire hazards.
Grounding Your Antenna for Safety and Performance
Grounding your antenna is crucial to ensure safety and optimal performance. Connect the grounding wire from the antenna to the clamp and then attach it to a solid grounding rod or pipe using a grounding wire. Make sure the grounding connection is stable and secure.
One of the main reasons for grounding your antenna is to protect against lightning strikes. If lightning strikes your antenna, the grounding system will provide a safe path for the electrical current to flow into the ground, preventing damage to your equipment and potential harm to you or others nearby.
Another benefit of grounding your antenna is to reduce interference. Grounding helps to eliminate static and other unwanted noise that can affect the quality of your signal. This is especially important for those who rely on their antenna for clear and reliable communication, such as amateur radio operators or emergency responders.
Testing Your Signal Strength and Troubleshooting Issues
Once the installation is complete, it’s time to test your signal strength and make sure everything is working correctly. Take the time to troubleshoot any issues you encounter to make sure that your antenna is performing optimally.
To test your signal strength, you can use a signal meter or a TV with a built-in signal strength meter. Start by tuning your TV to a channel with a weak signal and then adjust the antenna until you get the best possible signal. You can also use an online signal strength tool to check your signal strength.
If you encounter any issues with your antenna, there are a few things you can do to troubleshoot the problem. First, check all the connections to make sure they are secure. If the connections are loose, tighten them and see if that resolves the issue. If that doesn’t work, try adjusting the antenna position or direction. You can also try resetting your TV or antenna to see if that helps.
Maintaining Your Tv Antenna on Tile Roof
It’s important to maintain your antenna regularly to ensure optimal performance. Keep it clean and free of dirt or debris, and make sure to check the mounting bracket for any signs of wear and tear, tightening the screws as necessary.
By following these steps, you can successfully install a TV antenna on a tile roof and enjoy clear, high-quality TV reception.