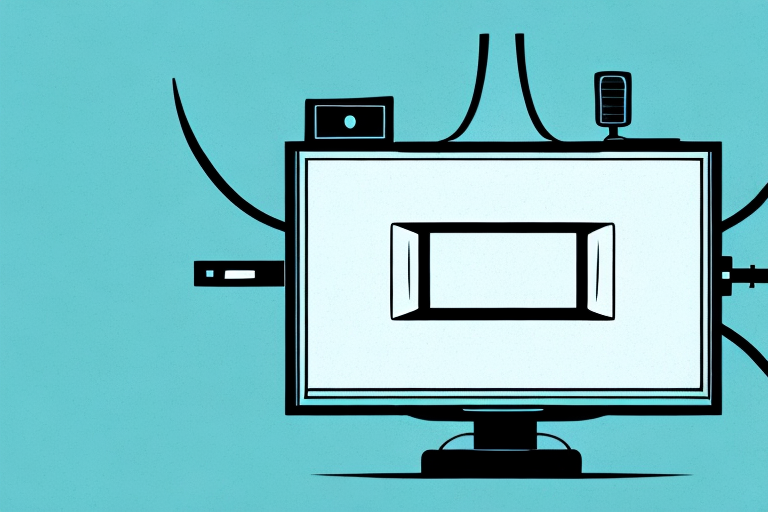
Television antennas have come a long way from the days of rabbit ears and large rooftop antennas. Nowadays, it’s much easier to receive crystal-clear over-the-air (OTA) TV signals with smaller, more powerful antennas that can even be mounted in a window. In this article, we’ll take you through the step-by-step process to mount a TV antenna in a window, including choosing the right antenna, assessing signal strength, preparing the surface, and troubleshooting if necessary. Let’s get started!
Choosing the Right Antenna for Your Window
The first step in mounting a TV antenna in a window is choosing the right type of antenna. Selecting the right antenna will depend on the channels you want to receive and your location. For example, if you’re in a rural area, you may need a larger, more powerful antenna than if you live in a city. Consider whether you want an indoor or outdoor antenna, and whether you need UHF or VHF channels. Look for an antenna that has a long-range reception and good signal strength, and that is also easy to mount and install.
It’s also important to consider the direction of the broadcast towers in your area. You can use online tools to find the location and direction of the towers, and then choose an antenna that is designed to receive signals from that direction. Additionally, if you live in an apartment building or have nearby buildings that could obstruct the signal, you may need to consider a more powerful antenna or one that can be mounted outside of the window. By taking these factors into account, you can ensure that you choose the right antenna for your window and enjoy clear, reliable TV reception.
Benefits of Mounting a TV Antenna in Your Window
Mounting a TV antenna in a window can be one of the best ways to receive higher quality and uninterrupted signals when watching TV. Using a window antenna can also offer a more streamlined and aesthetically pleasing solution than other types of antennas such as roof-mounted antennas. In addition to improved signal quality and convenience, window-mounted TV antennas also tend to be more affordable and can be easily installed and removed as required.
Another benefit of using a window-mounted TV antenna is that it can be adjusted easily to find the best signal. Unlike roof-mounted antennas, which require a professional to adjust, window antennas can be moved and rotated by the user until the best signal is found. This can save time and money, as there is no need to hire a professional to make adjustments.
Window-mounted TV antennas are also a great option for those who live in apartments or rental properties. As they do not require any permanent installation, they can be easily removed and taken with you when you move. This makes them a convenient and cost-effective solution for those who do not want to invest in a more permanent antenna installation.
Assessing the Signal Strength of Your Location
Before deciding where to place your antenna, it’s essential to assess the signal strength of your location. You can use various online resources or apps to determine the strength of OTA channels in your area. If you can also check the signal strength of each station, this will give you an idea of the types of antennas that would work best.
It’s important to note that signal strength can vary depending on factors such as weather conditions, terrain, and nearby obstructions. For example, if you live in a hilly area, you may need a more powerful antenna to receive signals from stations located on the other side of the hills. Similarly, if there are tall buildings or trees blocking the line of sight between your antenna and the broadcasting tower, you may experience weaker signal strength. Therefore, it’s recommended to test the signal strength at different times of the day and in different weather conditions to get a more accurate assessment of your location’s signal strength.
Tools and Materials Needed for Mounting a TV Antenna in a Window
When mounting a TV antenna in a window, make sure you have all the tools and materials needed for the job. You’ll need an antenna, a mount bracket, a mounting surface, adhesive tape, a power drill, screws, and a screwdriver. Make sure the chosen bracket is compatible with both the antenna and the window it will be mounted on.
Before starting the installation process, it’s important to check the signal strength in your area. You can use a signal strength meter or consult online resources to determine the best location for your antenna. Additionally, it’s important to consider the height and direction of the antenna to ensure optimal reception.
Once you have all the necessary tools and have determined the best location for your antenna, you can begin the installation process. Start by cleaning the window and mounting surface to ensure a secure hold. Then, attach the mount bracket to the antenna and secure it to the window using adhesive tape or screws. Finally, connect the antenna to your TV and adjust the direction and height as needed to achieve the best signal strength.
Measuring and Marking the Location for Mounting
The next step is to determine where to mount the antenna and bracket on the window. Measure and mark the location using a pencil or pen. Make sure the spot is central and easily accessible for attaching the bracket and antenna.
It is important to consider the direction of the nearest cell tower when choosing the location for mounting the antenna. This can be done by using a compass or a smartphone app that shows the location of nearby cell towers. Mounting the antenna in the direction of the nearest tower can improve signal strength and reception.
Preparing the Window Surface for Adhesion
Clean the window surface where you will be attaching the bracket with window cleaner or rubbing alcohol. Make sure the surface is dry before proceeding with the installation. This will help to ensure that the bracket adheres securely to the window surface.
It is important to note that if the window surface is not properly cleaned and dried, the bracket may not adhere properly and could potentially fall off. Additionally, if the window surface is dirty or has any residue, it may affect the appearance of the bracket and could make it difficult to remove in the future. Therefore, it is recommended to take the time to properly clean and prepare the window surface before attaching the bracket.
Attaching the Antenna to the Mounting Bracket
Next, connect the antenna to the mounting bracket. Make sure the antenna is properly positioned and tightened to prevent it from falling off or moving around too much.
It is important to note that the type of mounting bracket used can affect the performance of the antenna. A bracket that is too small or weak may not be able to support the weight of the antenna, causing it to sag or tilt. On the other hand, a bracket that is too large or heavy may put unnecessary strain on the antenna and cause it to break or malfunction.
Additionally, it is recommended to use weather-resistant materials when attaching the antenna to the mounting bracket, especially if the antenna will be exposed to the elements. This can help prevent rust, corrosion, and other forms of damage that can affect the antenna’s performance over time.
Securing the Bracket to the Window Surface
Now it’s time to attach the bracket with the antenna to the window surface. Place the bracket in the prepared location, affixing it securely with adhesive tape. On the bracket, drill screw holes in the four corners and screw the bracket on. Make sure to test the bracket for stability and adjust it as necessary before settling down in a permanent placement.
It is important to choose the right type of adhesive tape for securing the bracket to the window surface. Make sure to use a strong and durable tape that can withstand the weight of the bracket and the antenna. Additionally, it is recommended to clean the window surface thoroughly before attaching the bracket to ensure a strong and long-lasting hold.
If you are unsure about drilling screw holes into the window frame, it is best to consult a professional for assistance. They can help you determine the best placement for the bracket and ensure that it is securely attached to the window surface. It is also important to follow any local regulations or building codes when installing an antenna on your property.
Testing Reception and Adjusting Placement if needed
After the bracket is secure, plug your TV antenna into your TV and scan for available OTA channels. Check your reception and picture quality, adjusting the antenna as needed to receive good reception. If you’re having trouble getting good reception, try moving the antenna to different positions within the room or micro-adjusting the antenna position until it picks up the strongest signal.
It’s important to note that the placement of your TV antenna can greatly affect the quality of your reception. If you live in an area with a lot of tall buildings or trees, you may need to place your antenna higher up or even outside to get the best reception. Additionally, weather conditions can also affect your reception, so it’s a good idea to periodically check and adjust your antenna placement as needed.
If you’re still having trouble getting good reception, you may want to consider investing in a signal amplifier or a more powerful antenna. These can help boost your signal and improve your picture quality, especially if you live in a rural area or far away from broadcast towers. Just be sure to do your research and choose a product that is compatible with your TV and antenna setup.
Troubleshooting Tips for Poor Reception
If you’re still experiencing poor reception after installing your TV antenna, some common fixes may include adjusting the antenna’s position, opting for an outdoor antenna, or purchasing a signal amplifier. In some cases, there may be obstructions blocking a clear signal. These obstructions can include buildings, trees, or even the weather.
Maintenance Tips for Keeping Your TV Antenna in Good Condition
Keep your TV antenna in good condition by cleaning it regularly. Check that it remains secure and tight to the window surface, and that no screws or components come loose. Remove any obstructions that may appear on the surface, and ensure that it’s safe from rain and other external weather factors.
Safety Considerations When Installing a TV Antenna in a Window
Be extremely cautious when mounting an antenna near or on a window. Use caution if you’re using a ladder to reach high-up windows. Make sure that your installation surface is sturdy and doesn’t have a risk of breaking or falling. And, check whether the installation complies with local regulations before proceeding with the installation.
We hope these tips have helped you understand how to mount your TV antenna in a window effectively. Using a TV antenna offers you access to free-to-air channels that can improve your overall TV-watching experience, and in turn help to save on cable TV bills. Follow the steps carefully, and you’ll be enjoying high-quality, uninterrupted viewing in no time.