Having a home theater system is a great way to enhance your movie watching and music listening experiences. But without the right audio setup, you may be missing out on the full potential of your system. A TV sound bar can improve audio quality and create a more immersive experience. However, to fully take advantage of this device, it must be mounted properly. In this article, we will be discussing how to mount a TV sound bar.
Why Mounting a TV Sound Bar is Important for Your Home Theater
The placement of the sound bar greatly affects its output and performance. When a sound bar is mounted, it can project sound at the right height and direction for your optimal listening experience. By mounting the sound bar, you will also free up space and reduce clutter in your home theater setup.
Another benefit of mounting a TV sound bar is that it can improve the overall aesthetic of your home theater. A sound bar that is mounted seamlessly blends in with your TV and other home theater components, creating a sleek and modern look. Additionally, mounting a sound bar can help to protect it from accidental damage, such as being knocked over or spilled on.
When it comes to mounting a sound bar, it is important to ensure that it is securely attached to the wall or TV stand. This can be achieved through the use of specialized mounting brackets or stands that are designed to hold the weight of the sound bar. It is also important to consider the placement of the sound bar in relation to other components, such as the TV and subwoofer, to ensure that the sound is balanced and optimized for your listening experience.
Types of Sound Bars and Their Mounting Requirements
There are two main types of sound bars: those that are designed to be mounted on a wall, and those that are not. If your sound bar is designed to be mounted, it should come with the necessary mounting hardware, such as screws and brackets. If it is not designed to be mounted, you may need to purchase a separate mounting bracket.
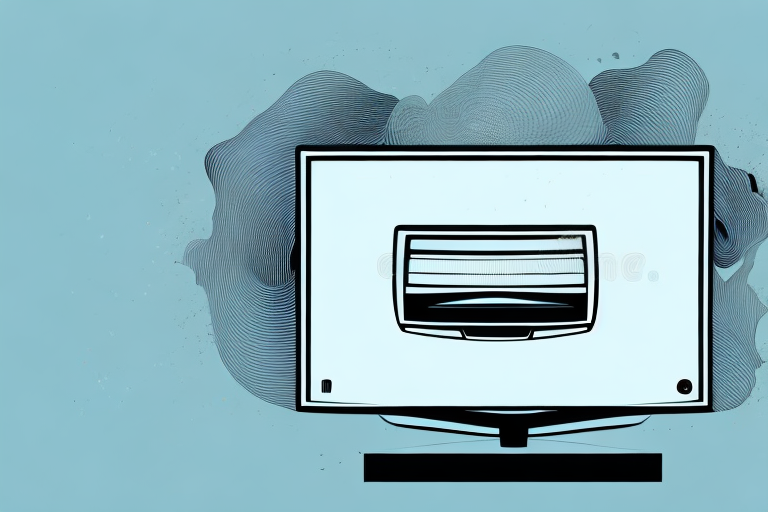
The wall-mounted sound bars are the most popular type of sound bars. They are designed to be mounted on the wall, just below the TV. They come with a mounting template that helps you to align the sound bar with the TV. The wall-mounted sound bars are ideal for people who want to save space in their living room. They are also great for people who want to achieve a clean and clutter-free look in their entertainment area.
The non-wall-mounted sound bars are designed to be placed on a shelf or a table. They are usually smaller in size and are more portable than the wall-mounted sound bars. They are ideal for people who want to move their sound bar from room to room. They are also great for people who want to use their sound bar with multiple devices, such as a TV, a computer, or a smartphone. The non-wall-mounted sound bars are usually less expensive than the wall-mounted sound bars, but they may not provide the same level of sound quality.
Tools Needed for Mounting a TV Sound Bar
To mount a TV sound bar, you will need a few tools. These include a drill, a stud finder, a level, a measuring tape, and a pencil. Make sure that you have these tools on hand before you begin the installation process.
Before you start mounting your TV sound bar, it is important to choose the right location. You should consider the height of the sound bar, the distance from the TV, and the location of the power outlet. Once you have chosen the location, use the stud finder to locate the studs in the wall. This will ensure that the sound bar is securely mounted.
When you are ready to mount the sound bar, use the measuring tape and level to mark the location of the mounting brackets. Make sure that the brackets are level and evenly spaced. Then, use the drill to attach the brackets to the wall. Finally, attach the sound bar to the brackets using the screws provided in the mounting kit.
Steps to Mount a TV Sound Bar on the Wall
- Locate the studs in the wall using a stud finder.
- Mark the placement of the sound bar on the wall using a pencil and a level.
- Drill holes into the stud at the marked location.
- Attach the mounting bracket to the wall using screws and a drill.
- Attach the sound bar to the mounting bracket.
Before mounting the sound bar, it is important to consider the placement of other devices such as the TV and any other speakers. You want to ensure that the sound bar is not blocking the TV or any other important components. Additionally, it is important to consider the height of the sound bar. It should be mounted at a height that is comfortable for viewing and listening.
After mounting the sound bar, it is important to test it out and make any necessary adjustments. You may need to adjust the angle or position of the sound bar to optimize the sound quality. It is also important to ensure that all cables and wires are properly connected and organized to avoid any potential hazards or damage to the devices.
How to Choose the Right Wall Mount for Your TV Sound Bar
The right wall mount for your TV sound bar will depend on its size and weight. Make sure to choose a mount that can support the weight of your sound bar. You should also ensure that the mount is adjustable so that you can position the sound bar at the right height and angle.
Another important factor to consider when choosing a wall mount for your TV sound bar is the type of wall you will be mounting it on. If you have a drywall, you will need to use anchors to secure the mount properly. On the other hand, if you have a concrete or brick wall, you will need to use special screws and drill bits to install the mount.
It is also important to consider the aesthetics of the wall mount. You want to choose a mount that complements the design of your room and does not look out of place. Some wall mounts come in different colors and finishes, so you can choose one that matches your decor.
How to Hide Wires and Cables When Mounting a TV Sound Bar
No one likes the sight of cables and wires cluttering up their room. To hide wires and cables when mounting a TV sound bar, you can use cable ties or a cable management system. This will create a clean and seamless look for your home theater setup.
Another option to consider is using a cord cover. Cord covers are plastic or fabric tubes that can be easily installed over your cables and wires. They come in various sizes and colors to match your wall or furniture. Cord covers not only hide your cables and wires, but also protect them from damage and wear and tear.
Tips and Tricks for Achieving Optimal Audio Quality
To achieve optimal audio quality, it is important to position your sound bar at the right height and angle. This will help to project the sound at the right direction and height, resulting in a more immersive listening experience. You should also calibrate the sound bar to suit your room size and acoustics.
Another important factor to consider is the quality of your audio source. If you are streaming music or movies, make sure that the source is of high quality. Low-quality sources can result in distorted or muffled sound, even if you have a high-end sound bar. Additionally, it is important to keep your sound bar and its components clean and dust-free. Dust and debris can accumulate on the speakers and affect the sound quality over time. Regular cleaning and maintenance can help to ensure that your sound bar continues to deliver optimal audio quality.
Maintenance Tips to Keep Your Mounted TV Sound Bar in Top Condition
Just like any other electronic device, your TV sound bar should be maintained regularly to ensure it continues to function properly. Make sure to clean it regularly and check for any signs of wear and tear.
One important maintenance tip is to keep your TV sound bar away from any sources of heat or moisture. This can cause damage to the internal components and affect the sound quality. Additionally, it is recommended to unplug the sound bar when not in use to prevent any power surges or electrical damage.
Another way to keep your TV sound bar in top condition is to update its firmware regularly. This can improve its performance and fix any bugs or issues. Check the manufacturer’s website for any available updates and follow the instructions carefully to ensure a successful update.
Common Mistakes to Avoid When Mounting a TV Sound Bar
One common mistake that people make when mounting a TV sound bar is not following the manufacturer’s instructions. It is important to read through the instructions carefully to ensure that you are mounting the sound bar correctly. Another mistake is not mounting the sound bar at the right height and angle, which can affect the audio quality.
Additionally, another mistake to avoid when mounting a TV sound bar is not considering the weight of the sound bar and the strength of the wall mount. It is important to choose a wall mount that can support the weight of the sound bar and to properly secure it to the wall. Failure to do so can result in the sound bar falling and causing damage or injury.
Final Thoughts: Enjoying Your Home Theater with a Mounted TV Sound Bar
Mounting a TV sound bar is an important step in creating a home theater setup with optimal audio quality. Follow the steps outlined in this article to ensure that your sound bar is mounted properly and positioned at the right height and angle. By doing so, you will be able to enjoy an immersive audio experience that complements your movie watching and music listening experiences.
However, it’s important to note that the quality of your sound bar is also a crucial factor in achieving the best audio experience. Investing in a high-quality sound bar with advanced features such as Dolby Atmos and DTS:X can significantly enhance your home theater experience.
Additionally, consider adding a subwoofer to your setup to further enhance the bass and low-frequency sounds. This can provide a more immersive and realistic audio experience, especially for action movies and music with heavy basslines.