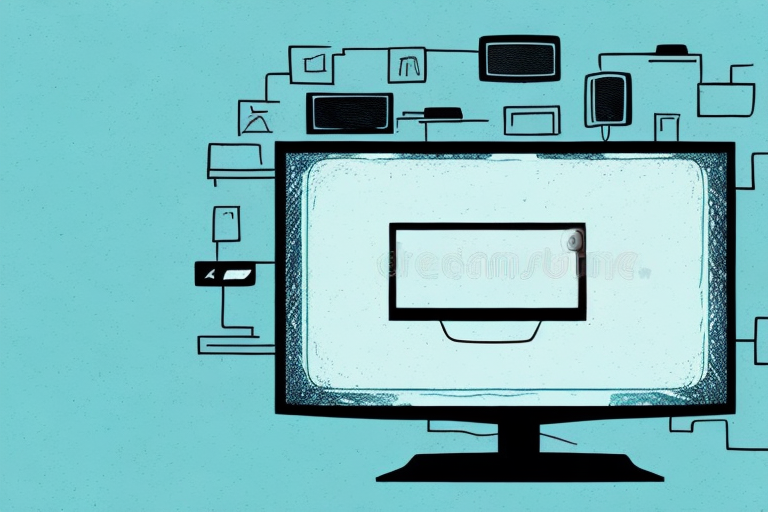
Are you tired of the clutter of multiple screens on your desk? Do you wish to enhance your viewing experience by mounting your TV above your monitors? Mounting a TV above monitors not only saves physical space but also adds style to your office or home. In this article, we will guide you through all the steps you need to follow to mount your TV above monitors yourself.
Why Mounting a TV Above Monitors is a Great Option for Your Home or Office
Mounting a TV above monitors has become a popular trend in homes and offices worldwide. Not only does it create more desk space, but it also adds a modern touch to your room. Additionally, it provides better viewing angles, reducing strain on your neck and eyes, making it ideal for movie nights or professional presentations.
Another advantage of mounting a TV above monitors is that it allows for multitasking. You can work on your computer while keeping an eye on the news or a sports game on the TV. This is especially useful in an office setting where you need to stay up-to-date on current events while completing your work tasks.
Furthermore, mounting a TV above monitors can also improve the overall aesthetic of your space. By having the TV and monitors at eye level, it creates a cohesive and streamlined look. This is particularly beneficial in a home entertainment room or a conference room where you want to impress clients or guests with a professional and modern atmosphere.
Tools and Materials You Need to Mount a TV Above Monitors
Before mounting a TV above your monitors, make sure you have the following tools and materials:
- Wall mounts
- Stud finder
- Drill machine
- Screws and anchors
- Wrench/Screwdriver
- Leveler
- Cable clips
- HDMI Cable
It is important to note that the size and weight of your TV will determine the type of wall mount you need. Make sure to choose a mount that is compatible with your TV’s size and weight to ensure it is securely mounted above your monitors.
Additionally, before drilling any holes into your wall, use the stud finder to locate the studs in the wall. This will ensure that your TV is mounted onto a sturdy surface and prevent any accidents or damage to your equipment.
Choosing the Right Wall Mount for Your TV and Monitors
Choosing the right wall mount for your TV and monitors is crucial as it ensures the long-lasting placement of your mounted device. There are various types of wall mounts available; it is essential to select the one that best fits your needs in terms of functionality, design, and compatibility. Ensure that the mount you select is compatible with your TV and monitors’ weight, size, and VESA pattern.
One of the most popular types of wall mounts is the fixed mount. This type of mount is ideal for those who want a simple and secure way to mount their TV or monitor. Fixed mounts are easy to install and provide a low profile look, making them perfect for rooms with limited space. However, they do not offer any flexibility in terms of adjusting the viewing angle.
If you want more flexibility in adjusting the viewing angle, then a tilting mount may be the right choice for you. Tilting mounts allow you to adjust the angle of your TV or monitor up or down, making it easier to find the perfect viewing position. This type of mount is ideal for rooms where the TV or monitor needs to be mounted higher up, such as in a bedroom or above a fireplace.
Measuring and Marking the Wall for Proper Placement of Wall Mount
Once you have selected your wall mount, measure the dimensions of your TV and monitors, then mark the wall for proper placement of the mount. The height and angle are critical criteria to consider when measuring and marking the wall. It is advisable to leave a minimum of two inches between the top of your monitor and the bottom of the TV for a comfortable view. Using a level, ensure that the marks you make are perfectly balanced.
Another important factor to consider when measuring and marking the wall for a wall mount is the location of the studs. It is essential to ensure that the mount is attached to the studs for maximum stability and safety. You can use a stud finder to locate the studs and mark them on the wall before attaching the mount.
Additionally, it is crucial to consider the viewing distance when determining the placement of the wall mount. The distance between the viewer and the screen should be at least twice the diagonal length of the TV or monitor. This will ensure that the viewer can comfortably see the entire screen without straining their eyes or neck.
How to Install the Wall Mount on the Wall
After you have marked the wall, it’s time to install the wall mount on the wall. Use a stud finder to locate the studs in the wall and drill the necessary holes, then attach the wall mount bracket to the studs using screws and anchors. Ensure that the wall bracket is fixed securely and tightly against the wall surface and that the screws are of appropriate length, as loose screws may cause the mount to become unstable.
Once the wall mount bracket is securely attached to the wall, it’s time to attach the mounting plate to the back of your TV. Make sure to use the appropriate screws and washers that are provided with the wall mount kit. It’s important to follow the manufacturer’s instructions carefully to ensure that the mounting plate is attached correctly and securely to the TV.
After the mounting plate is attached to the TV, it’s time to hang the TV on the wall mount bracket. This step may require two people to lift and hang the TV onto the bracket. Make sure to double-check that the TV is level and securely attached to the bracket before letting go. Once the TV is hung, you can adjust the angle and position of the TV to your desired viewing angle.
Attaching the Bracket to the TV and Monitors
Next, attach the mounting bracket to the TV and monitors. Fixing the bracket to the TV is usually straightforward, but be careful not to damage your device. Use a screwdriver or wrench to attach the mounting plate to the back of the TV. Ensure you attach the wall bracket to the back of each monitor using the VESA pattern.
It is important to ensure that the mounting bracket is securely attached to the TV and monitors. This will prevent any accidents or damage to your devices. You can use a level to ensure that the bracket is straight and aligned properly.
Before attaching the bracket to the wall, make sure you have located the studs or used appropriate anchors to ensure the bracket is securely attached. It is also important to consider the weight of the TV and monitors and ensure that the bracket can support the weight. Once the bracket is securely attached, you can then mount the TV and monitors onto the bracket and adjust the angle and height to your desired position.
How to Lift and Securely Mount the TV Above Monitors
Once you have attached both the mount brackets, lift the TV and set it onto the wall bracket. Have someone help you with this process to avoid any accidents. If you are uncertain about the stability of your mount, you may want to test the setup by gently pulling the TV forward; if the TV stays in place, it is secured correctly.
It is important to consider the weight of your TV when selecting a wall mount. Make sure the mount you choose can support the weight of your TV. Additionally, you should also consider the size of your TV and the distance between the mount brackets. If the brackets are too far apart, the TV may not be stable and could potentially fall.
Before mounting the TV, make sure to locate the studs in the wall and mark them. This will ensure that the mount is securely attached to the wall. It is also important to use the correct screws and anchors for your wall type. If you are unsure about the type of wall you have or the appropriate hardware to use, consult a professional.
Cable Management: How to Hide Wires and Cables for a Neat Look
A mounted TV above your monitors looks neat and elegant, and now you have to ensure cable and wire management is neat too. Start by running the HDMI cable from your TV to the monitor’s screens for proper connectivity. Once done, hide cables and wires using cable clips along with the brackets and mount. This ensures organized management of your AV system and keeps the area looking clean and tidy.
Another useful tip for cable management is to use cable ties to bundle up any excess cables and wires. This not only helps to keep them organized but also prevents them from getting tangled or damaged. Additionally, consider using a cable sleeve to cover any visible cables and create a more streamlined look. With these simple steps, you can easily achieve a clean and organized setup for your home entertainment system.
Testing and Adjusting Your Mounted TV Above Monitors
After finishing all the above steps, ensure your mounted TV is correctly aligned by using a level. Check all connections to avoid any connectivity issues. Adjust the viewing angle accordingly to optimize your viewing experience and always refer to the manufacturer’s instructions for optimal positioning and performance.
It is also important to consider the lighting in the room when positioning your mounted TV. Avoid placing the TV in direct sunlight or in a location where there is a lot of glare. This can cause eye strain and make it difficult to see the screen clearly. Additionally, if you have multiple monitors or screens in the same room, make sure the brightness and contrast levels are consistent across all devices to avoid any discrepancies in color or image quality.
Tips and Tricks for Troubleshooting Common Issues
Mounting a TV above monitors can sometimes present issues, such as loose connections and alignment issues. Always refer to the manufacturer’s instruction manual thoroughly. If you encounter problems, ensure you troubleshoot the issue step-by-step.
Maintenance: How to Keep Your Mounted TV Above Monitors Clean and Functional
After successful installation, ensure that your mounted TV is clean to maintain its longevity and functionality. Start with using a soft microfiber cloth to wipe your TV and monitor screens to avoid scratching them. Ensure that you regularly clean your cables and wires, particularly near the cable clip brackets, to eliminate any dust build-up.
Congratulations on mounting your TV above your monitors! We hope this step-by-step guide has provided you with everything you need to create a flawless set-up. Always remember to prioritize safety during installation, and if you have any questions or concerns, always contact your manufacturer for assistance. Enjoy your enhanced viewing experience!