Are you tired of constantly straining your neck to watch your favorite shows on your wall-mounted TV? A wall mount TV extension is a must-have for anyone who desires a more comfortable viewing experience. In this article, we will guide you through the process of making your own wall mount TV extension. We’ll provide you with all the necessary information you need to know, from tools and materials you’ll need to use, to safety precautions to keep in mind while working on this project.
Why You Need a Wall Mount TV Extension
A wall mount TV extension is a simple yet effective way to maximize your viewing experience while watching television. It allows you to move your TV away from the wall, providing you with a better viewing angle, reducing glare and strain on your neck muscles. Additionally, it can help you to maintain a comfortable distance between your eyes and the screen.
Moreover, a wall mount TV extension can also help you to save space in your living room or bedroom. By mounting your TV on the wall, you can free up valuable floor space and create a more streamlined and organized look in your home. This is especially useful for smaller living spaces where every inch counts. With a wall mount TV extension, you can enjoy all the benefits of a larger screen without sacrificing precious space in your home.
Tools and Materials Needed for the Project
To create your wall mount TV extension, you’ll first need to gather some essential tools and materials. These include a measuring tape, saw, wood glue, drill, screws, sandpaper, wood stain or paint, and a circular saw or a jigsaw.
Additionally, you may want to consider purchasing a stud finder to ensure that your TV extension is securely mounted to the wall. It’s also a good idea to have a level on hand to ensure that your extension is straight and even.
When it comes to materials, you’ll need to choose the type of wood that you want to use for your extension. Popular options include pine, oak, and maple. You’ll also need to purchase the appropriate hardware, such as brackets and screws, to attach your extension to the wall and your TV to the extension.
Measuring and Cutting the Wood for the Extension
The first step in creating your wall mount TV extension involves measuring and cutting the wood for the project. Using a measuring tape, take accurate measurements of the length and width of the TV that you’ll be mounting. Next, cut the wood to the appropriate length and shape. Consider the thickness of the wood that you’ll be using to ensure that the extension is sturdy and dependable.
After cutting the wood, it’s important to sand down any rough edges or surfaces to ensure a smooth finish. This will not only improve the appearance of the extension, but also prevent any potential injuries from splinters or sharp edges. Additionally, you may want to consider staining or painting the wood to match the decor of your room.
Before attaching the extension to the wall, it’s important to test the weight capacity of the mount and ensure that it can support the weight of your TV and the extension. You may also want to consider using additional support brackets or anchors to ensure the stability of the mount. Once you’ve completed these steps, you can confidently attach the extension to the wall and enjoy your newly extended viewing experience.
Sanding and Finishing the Wood for a Professional Look
After cutting the wood, the next step is to sand the edges and surfaces of the wood to remove any sharp edges or splinters. This is also a crucial step as it allows you to create a smooth surface that’s perfect for staining or painting. Once the wood is smooth, apply a coat of stain or paint to give it a professionally finished look.
It’s important to note that the type of sandpaper you use can greatly affect the final result of your project. For a smoother finish, start with a coarser grit sandpaper and gradually work your way up to a finer grit. Additionally, be sure to wipe down the wood with a tack cloth or damp rag before applying any stain or paint to remove any dust or debris that may have accumulated during the sanding process.
Attaching the Extension to Your Existing Wall Mount
Once the wood is sanded and painted, the next step is to attach the extension to your existing wall mount. Begin by installing the screws on your wall mount. Then, attach the screws to the underside of the extension. A high-quality wood glue could also come in handy to provide additional strength to the fixtures. Test to ensure that the extension is safely and securely attached before mounting your TV on it.
It is important to note that the weight of your TV should not exceed the weight limit of your wall mount and extension combined. If you are unsure of the weight limit, consult the manufacturer’s instructions or seek professional assistance. Additionally, make sure that the extension is level and properly aligned with your existing wall mount to avoid any accidents or damage to your TV.
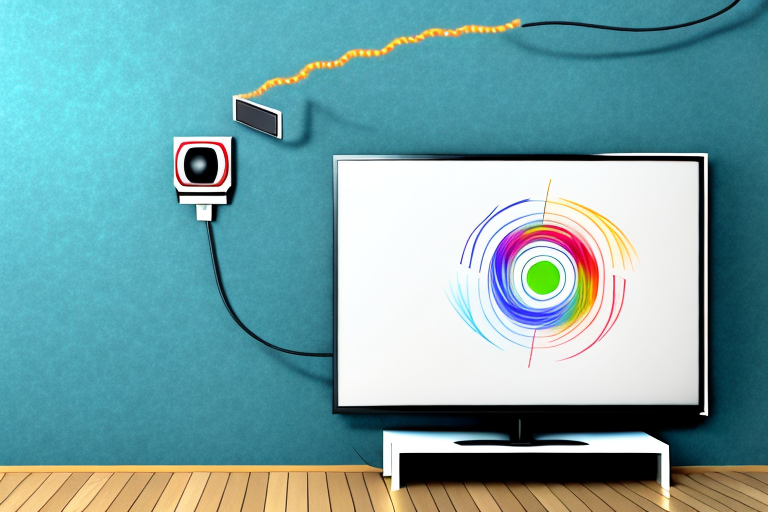
Wiring Your TV Extension for Optimal Performance
While it may be tempting to leave the wires exposed, a clutter of cords can present a tripping danger while giving your space an unappealing look. Consider running your cords and wires through the wall or using cord covers. Concealing the cords and wires will not only improve safety, but it will provide your space with a cleaner and more professional appearance.
Another important factor to consider when wiring your TV extension is the quality of the cables you use. Poor quality cables can result in a loss of signal strength, which can lead to a poor viewing experience. It is recommended to use high-quality HDMI cables for optimal performance.
Additionally, it is important to ensure that your TV extension is properly grounded. Grounding your TV extension will protect your equipment from power surges and other electrical issues. You can use a surge protector or a power conditioner to ensure that your TV and other equipment are properly grounded and protected.
Tips for Hiding Cables and Wires Behind Your TV Extension
There are many creative ways to hide cords and wires behind a wall mount TV extension. For example, you could consider using adhesive clips to keep the cords organized, consider using a cord cover to cover the wires, or even snaking the cables through the wall to create a seamless and clean appearance.
Another option to consider is using a cable raceway, which is a plastic or metal channel that can be mounted to the wall to hide the cords. This is a great option if you want to easily add or remove cords in the future without having to redo the entire setup.
It’s also important to consider safety when hiding cords and wires. Make sure to use surge protectors and avoid overloading outlets. Additionally, if you’re snaking cables through the wall, be sure to use a stud finder to avoid drilling into electrical wires or plumbing pipes.
Safety Precautions to Keep in Mind While Working on this Project
When making a wall mount TV extension, safety should always come first. Be sure to work in a well-ventilated space and wear protective gear. Always remember to switch off all power sources and tools before making any electrical connections or repairs. Finally, don’t forget to follow all safety guidelines for operating your cutting tools to avoid accidents.
Another important safety precaution to keep in mind is to never work alone. Always have someone nearby who can assist you in case of an emergency. Additionally, make sure to keep your work area clean and organized to avoid tripping hazards or cluttered workspaces.
It’s also important to have a first aid kit on hand in case of any accidents. Make sure the kit is easily accessible and that you know how to use all the items inside. Lastly, take breaks as needed to avoid fatigue and maintain focus while working on the project.
Troubleshooting Common Problems with Your TV Extension
If you experience any issues with your wall mount TV extension, such as wobbling or components that aren’t fitting correctly, review the instructions and double-check the measurements. If you’re still having issues, consult with an expert to help you troubleshoot and repair the problem.
With these instructions, you can create a wall mount TV extension that’ll enhance your experience of watching television while providing a comfortable view. With just a little time, effort, and care, you can create a wall mount TV extension that’ll make your home feel more complete.
It’s important to note that when installing a wall mount TV extension, you should always use the appropriate tools and follow safety guidelines. Make sure to secure the mount to a sturdy wall and avoid placing it near any potential hazards, such as electrical outlets or heating vents. Additionally, regularly check the mount and components for any signs of wear or damage, and replace them as needed to ensure the safety of your TV and those around it.