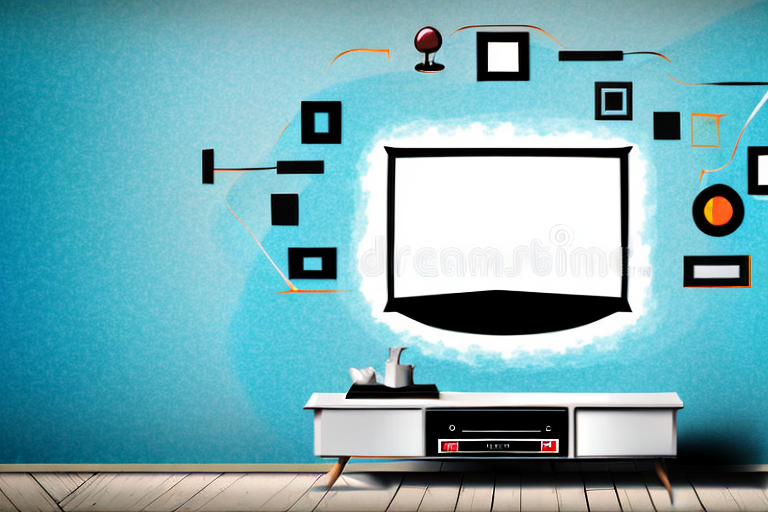
Are you tired of having your TV taking up so much space in your room? Maybe it’s time to install a TV mount. Not only does it save you precious floor space, but it also gives you a better viewing experience. In this article, we’ll guide you on how to install a TV mount in your home. From choosing the right mount to tips on hiding wires and cables, we’ve got you covered. Let’s get started!
The Benefits of Mounting Your TV
Before we dive into the installation process, let’s take a look at the benefits of mounting your TV. As mentioned earlier, mounting your TV saves you floor space, which can be especially helpful for those with smaller living areas. Additionally, mounting your TV at the right height can also reduce neck strain and eye fatigue that comes with viewing a TV placed too high or low. It also gives your room a more streamlined look, especially if you choose a mount that allows you to hide the cables.
Another benefit of mounting your TV is that it can improve the overall viewing experience. When your TV is mounted, you can adjust the angle and height to ensure that everyone in the room has a clear view of the screen. This is especially important for larger groups or families who want to watch a movie or sports game together.
Mounting your TV can also provide added security. When your TV is mounted, it is less likely to be knocked over or damaged by pets or children. Additionally, if you live in an area prone to earthquakes or other natural disasters, mounting your TV can prevent it from falling and causing injury or damage to your home.
Choosing the Right TV Mount for Your Space
The first step in the installation process is choosing the right TV mount. There are several types of mounts available in the market, including fixed, tilting, full-motion, and ceiling mounts. Fixed mounts are the most affordable, but they don’t allow for any adjustments. Tilting mounts are ideal for mounting your TV above eye level, while full-motion mounts give you the flexibility to adjust your TV’s position. Ceiling mounts are suitable for those who want to save wall space. Consider your room size and viewing needs when choosing a mount.
Another important factor to consider when choosing a TV mount is the weight and size of your TV. Make sure to check the weight limit of the mount and ensure that it can support your TV’s weight. Additionally, the size of your TV will determine the size of the mount you need. A larger TV will require a larger mount to ensure it is securely mounted.
It’s also important to consider the location of your TV mount. If you plan on mounting your TV above a fireplace, make sure to choose a mount that can handle the heat. If you plan on mounting your TV in a corner, consider a mount that allows for swiveling to ensure optimal viewing angles. Take into account any potential obstructions or obstacles that may affect the placement of your TV mount.
Tools and Equipment You Need to Install a TV Mount
Now that you have your mount, it’s time to gather the necessary tools and equipment. Here’s what you’ll need:
- Drill with drill bits
- Stud finder
- Screwdriver
- Level
- Tape measure
- Pencil or marker
It’s important to note that the specific tools and equipment you need may vary depending on the type of wall you’re mounting your TV on. For example, if you’re mounting on a concrete wall, you may need a hammer drill and masonry bits. Additionally, if you’re mounting a larger TV, you may need a second person to help with the installation. Always make sure to read the instructions carefully and consult with a professional if you’re unsure about any aspect of the installation process.
Measuring and Marking the Wall for Installation
Once you have all your tools, the next step is to measure and mark the wall where you’ll install the mount. Start by measuring the height at which you want to mount the TV and mark it on the wall using a pencil or marker. Use a level to ensure the mark is straight. Next, locate the studs using a stud finder and mark them on the wall. If you can’t find studs in your intended location, consider using toggle bolts to secure the mount.
It’s important to also consider the weight of your TV when choosing the appropriate mounting hardware. Make sure to select a mount that can support the weight of your TV and any additional accessories, such as a soundbar. Additionally, if you plan on hiding your cables, measure and mark where you want to run them before installing the mount. This will ensure that your cables are hidden and organized once the TV is mounted.
Before drilling any holes, double-check your measurements and make sure everything is level. It’s also a good idea to have a second person assist you with holding the mount in place while you secure it to the wall. Once the mount is installed, test it by gently pulling on it to ensure it’s secure. Now you’re ready to attach your TV and enjoy your newly mounted entertainment center!
How to Find Studs in the Wall for a Secure Mount
Studs are essential because they provide the necessary support to your TV mount. A stud finder is the best tool for locating studs. Once you’ve located the studs, mark them by running a pencil or marker along the stud. You can also use a small drill bit to drill a small hole into the wall. Once you’ve found the studs, you can proceed to mount the bracket.
It’s important to note that not all walls have studs in the same spacing. In some cases, studs may be spaced 16 inches apart, while in others they may be spaced 24 inches apart. It’s important to measure the distance between the studs to ensure that your TV mount bracket is properly aligned. You can use a tape measure to measure the distance between the studs.
If you’re having trouble locating studs, you can try using a magnet. Most screws used in construction are made of steel, which is magnetic. By running a magnet along the wall, you may be able to locate the screws that are holding the drywall to the studs. This can help you determine the location of the studs and ensure that your TV mount is securely attached.
Step-by-Step Guide to Installing a TV Mount
Here’s a step-by-step guide on how to install a TV mount:
- Attach the mounting bracket to the back of your TV using the screws provided.
- Align the bracket with the markings you made earlier and drill pilot holes.
- Insert the bolts through the bracket and into the wall, ensuring they screw into the studs.
- Use a level to make sure the bracket is straight and adjust as required.
- Attach the TV to the bracket using the locking system provided.
Before you begin the installation process, it’s important to choose the right TV mount for your TV. Make sure to check the weight and size specifications of your TV and compare them to the mount’s capacity. Additionally, consider the type of wall you will be mounting the TV on and choose a mount that is compatible with that type of wall.
Once you have installed the TV mount, it’s important to properly organize and conceal the cables. This not only improves the appearance of your setup but also prevents any tripping hazards. You can use cable ties or cable covers to neatly bundle and hide the cables behind the TV.
Common Mistakes to Avoid When Installing a TV Mount
While installing a TV mount is relatively easy, there are common mistakes you’ll want to avoid. These include failing to locate studs, not using a level, and overtightening the screws. Overtightening the screws can cause the bolts to strip, and can potentially damage the wall.
Another common mistake to avoid when installing a TV mount is not considering the weight and size of your TV. It’s important to choose a mount that can support the weight and size of your TV, otherwise it may not be secure and could potentially fall off the wall. Additionally, not following the manufacturer’s instructions can also lead to mistakes and potential safety hazards. Always make sure to read and follow the instructions carefully to ensure a safe and secure installation.
Tips for Hiding Wires and Cables After Installation
Once you’ve installed your TV mount, the next step is to conceal the wires and cables. One way to achieve this is by using a cable management kit that allows you to tuck in the wires behind the mount. Alternatively, you can run the cables through a wall conduit or use a wireless media kit.
Another option for hiding wires and cables is to use decorative cord covers. These covers come in a variety of colors and patterns, and can be easily attached to the wall to hide unsightly cords. Additionally, you can use furniture or plants to strategically cover cords and cables, making them less noticeable in the room.
It’s important to note that when hiding wires and cables, safety should always be a top priority. Make sure to follow all manufacturer instructions and consult with a professional if you’re unsure about any aspect of the installation process. By taking the time to properly hide your wires and cables, you can create a clean and organized look in your home while also ensuring the safety of your family and guests.
How to Adjust Your TV’s Viewing Angle After Installation
With a full-motion TV mount, you can adjust your TV’s viewing angle to ensure optimal viewing. Follow the instructions provided by the manufacturer for your specific mount, and don’t forget to use a level when adjusting the angle.
Maintaining and Cleaning Your TV Mount for Longevity
To ensure the longevity of your TV mount, it’s essential to keep it clean and well-maintained. Use a soft cloth to wipe down the mount regularly, and avoid using harsh chemicals that could damage the finish.
Safety Precautions When Installing a TV Mount
When installing a TV mount, it’s crucial to observe safety precautions to avoid injuries or damage to your TV or property. Always use the right tools for the job, wear safety gear, and don’t attempt to install a mount that’s too heavy for the wall.
DIY vs Professional Installation: Which is Better?
If you’re not confident in your DIY skills, it’s best to hire a professional to install your TV mount. While DIY installation can save you money, it can also result in costly mistakes if done incorrectly. Professionals have the right tools, experience, and knowledge necessary to ensure your TV mount is installed correctly, without damaging your wall or TV.
Troubleshooting Common Issues with TV Mount Installation
While TV mount installation is generally straightforward, problems may arise. If your TV mount is crooked or wobbly, check the level and ensure the bracket is securely mounted onto the wall. If you encounter any issues, refer to the manufacturer’s instructions or consult a professional.
We hope this guide has been helpful in showing you how to install a TV mount. With the right tools, equipment, and knowledge, you can save space in your home and enhance your TV viewing experience.