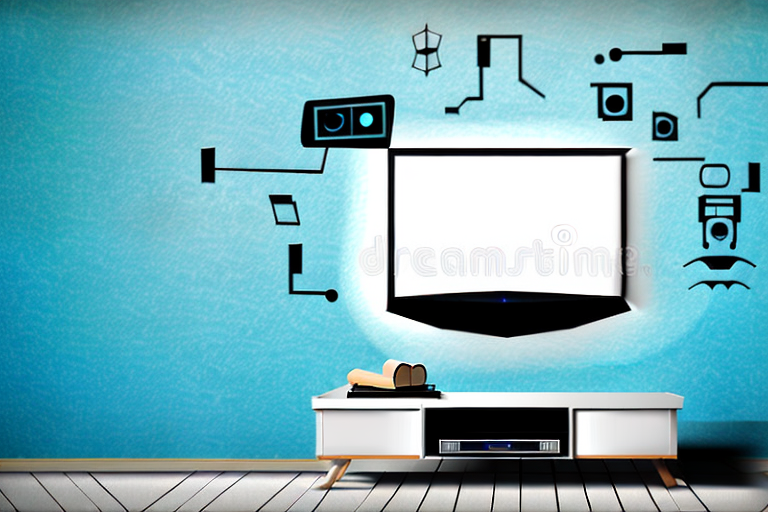
Are you tired of the TV taking up valuable space on your entertainment center or coffee table? Installing a universal TV mount is a great solution for freeing up space and enhancing your viewing experience. The process can seem intimidating, but with the right tools and some patience, it can be done with ease. In this step-by-step guide, we’ll show you how to install a universal TV mount, including measuring, marking, drilling, attaching, and securing the mount. We’ll also cover troubleshooting common problems and tips for ensuring a safe and secure installation.
Gathering Tools and Materials
The first step in installing a universal TV mount is gathering the necessary tools and materials. You will need a stud finder, a power drill, a level, a tape measure, a pencil, a socket wrench, and the universal TV mount kit, which should include the mount itself, mounting hardware, and instructions. Make sure to choose a mount that is compatible with your TV’s size and weight.
It is also important to consider the location where you will be installing the TV mount. Make sure the wall is strong enough to support the weight of the TV and the mount. If you are unsure, consult a professional or use a stud finder to locate the studs in the wall. Additionally, make sure there is enough space for the TV to be mounted at a comfortable viewing height and angle. Taking these factors into consideration will ensure a safe and successful installation.
Measuring the TV
Next, measure the size of your TV to ensure that the universal TV mount is compatible. This is typically done by measuring the distance between the screw holes on the back of the TV. The mount should also be able to support the weight of your TV. This information can be found in the TV manual, or by researching the TV’s weight online.
It is also important to consider the viewing angle when mounting your TV. The ideal viewing angle is at eye level, so make sure to mount the TV at a height that is comfortable for you to watch. Additionally, if you plan on mounting the TV in a room with windows, consider the amount of natural light that enters the room. You may need to adjust the angle of the TV to avoid glare and ensure optimal viewing.
Stud Finding Techniques
Once you have your tools and have verified compatibility, the next step is to locate the studs in your wall. This is important for ensuring that the TV is securely mounted and won’t fall off the wall. There are a few different methods for finding studs, including using a stud finder, tapping the wall to listen for a solid sound, or looking for electrical outlets or switch plates which are typically attached to a stud.
It’s important to note that not all walls have studs spaced evenly apart. In some cases, there may be a gap between studs or they may be spaced closer together. It’s important to locate multiple studs and measure the distance between them to ensure that your TV mount will fit properly. Additionally, if you’re mounting a particularly heavy TV, it may be necessary to use additional support such as toggle bolts or anchors to ensure that the mount is secure.
Marking and Drilling Holes
After locating the studs, use a pencil to mark the spot where the mounting bracket will be installed. Carefully drill a pilot hole into the center of the stud and then drill the hole for the mounting screw, using the appropriate size bit. Use a level to ensure that the bracket is horizontal.
It is important to note that if you are mounting a heavy object, such as a TV or a shelf, you may need to use additional mounting hardware, such as toggle bolts or anchors, to ensure that the bracket is securely attached to the wall. Always follow the manufacturer’s instructions and weight limits for the mounting hardware and the object being mounted.
Attaching the Mount to the Wall
With the holes in the wall drilled, attach the base plate of the mount to the wall using screws and a socket wrench. Make sure to tighten the screws enough to secure the bracket to the wall but not too much which could strip the screws. Double-check to ensure the bracket is level and flush with the wall.
It is important to consider the weight of the object you are mounting before attaching the bracket to the wall. If the object is heavy, it may require additional support such as using toggle bolts or mounting it to a stud. Always refer to the manufacturer’s instructions for the weight limit and recommended installation method for your specific mount.
Securing TV to the Mount
Once the bracket is securely attached to the wall, it’s time to attach the mounting plate to the back of the TV. This is typically done by aligning the bracket with the TV’s screw holes and then screwing the plate onto the TV. Finally, secure the TV to the wall mount by sliding the plate with the TV onto the bracket on the wall mount. Ensure that the plate clicks into place and that the TV is level. Tighten any necessary screws or bolts.
It’s important to note that the weight of the TV should be taken into consideration when selecting a wall mount. If the mount is not designed to support the weight of the TV, it could result in the TV falling off the wall and causing damage or injury. It’s recommended to consult the manufacturer’s specifications or seek professional advice to ensure that the wall mount is suitable for the TV’s weight and size.
Adjusting TV Placement and Viewing Angle
Now that the TV is securely mounted, it’s time to adjust the viewing angle. Depending on the mount, this may include adjusting the tilt or swivel of the TV. Make sure to follow the instructions for your specific mount to ensure proper adjustment. Double-check that the TV is level in its new position.
It’s important to consider the lighting in the room when adjusting the TV placement and viewing angle. Avoid placing the TV in direct sunlight or in a spot where there is a lot of glare. This can cause eye strain and make it difficult to see the screen. If necessary, adjust the curtains or blinds to reduce the amount of light in the room.
Another factor to consider is the distance between the TV and the seating area. The ideal distance will depend on the size of the TV and the layout of the room. As a general rule, the TV should be positioned so that the viewer’s eyes are level with the center of the screen. This will help to reduce neck and eye strain and provide a more comfortable viewing experience.
Troubleshooting Common Installation Problems
If you encounter any problems during the installation process, such as a stubborn screw or difficulty finding studs, consult the instructions or seek help. A common issue is the need for additional hardware if the provided hardware is not compatible with your specific TV or wall type.
Another common issue is the incorrect placement of the TV mount, which can lead to instability and potential damage to the TV. Make sure to follow the instructions carefully and use a level to ensure the mount is straight and secure.
If you are mounting your TV on a brick or concrete wall, you may need to use special anchors or drill bits to ensure a secure installation. It is important to use the appropriate tools and hardware for your specific wall type to avoid any damage or accidents.
Tips to Ensure a Safe and Secure Installation
Before mounting, ensure that your mount has an adequate weight limit to support your TV. Always use the appropriate size screws or bolts for your wall type and TV. Make sure to engage safety locks or pins if present to prevent the TV from accidentally falling off the mount. Finally, consider consulting a professional for installation if you are not comfortable with the process.
Understanding Weight Limits for Different Mounts
Different types of mounts have different weight limits. Make sure to choose a mount that is compatible with your TV’s weight, especially if you have a larger or heavier TV. Failing to do so could result in the TV falling off the mount and causing damage or injury.
Choosing the Right Universal TV Mount for Your Needs
When choosing a universal TV mount, consider factors such as weight limit, size and compatibility, swivel or tilt options, and style. Fixed mounts are ideal for a more permanent installation, while tilt or full-motion mounts are best for adjusting the viewing angle for a variety of seating options. Consider your needs and preferences when selecting a mount.
Comparing Different Types of Universal TV Mounts
There are a variety of universal TV mounts available, including fixed, tilt, full-motion, and ceiling mounts. Fixed mounts are the simplest and often the least expensive, but offer little flexibility in terms of viewing angle. Tilt mounts allow for upward and downward adjustment, while full-motion mounts have the greatest range of motion and are ideal for larger rooms or multiple seating areas. Ceiling mounts are ideal for mounting a TV above eye level and can be useful in rooms with limited wall space.
How to Install a Full Motion Universal TV Mount
The installation process for a full-motion mount is similar to other types of mounts, with the addition of some extra steps for adjusting the range of motion. Follow the instructions provided with your specific mount to ensure proper installation and adjustment.
How to Install a Tilt Universal TV Mount
The installation process for a tilt mount is similar to other types of mounts, but includes the added step of adjusting the tilting angle. Follow the instructions provided with your specific mount to ensure proper installation and adjustment.
How to Install a Fixed Universal TV Mount
The installation process for a fixed mount is the simplest of all universal TV mounts. With no moving parts, the installation process is straightforward and quick. Follow the instructions provided with your specific mount to ensure proper installation.
Step-by-Step Guide on Installing a Universal TV Mount
To recap:
- Gather necessary tools and materials
- Verify compatibility and weight limit of the TV and mount
- Measure the TV and locate the studs in the wall with a stud finder
- Mark and drill pilot holes for the mounting bracket
- Attach the base plate of the mount to the wall with screws and a socket wrench
- Attach the mounting plate to the TV and secure it to the wall mount by sliding the plate onto the bracket
- Adjust the viewing angle and ensure that the TV is level
- Double-check that the TV is securely mounted and that all safety features are engaged
Installing a universal TV mount can seem daunting, but with the right tools, expertise, and patience, it’s a great way to enhance your viewing experience and free up space in your home. Follow these step-by-step instructions, and your universal TV mount will be securely installed in no time.