Installing a TV mount with a top flap is a great way to save on space and create a sleek and modern look in your home. The top flap allows you to cover your cords and wires and keep them organized, while also providing added security for your TV.In this article, we will take you through the step-by-step process of installing a TV mount with a top flap. From choosing the right tools to connecting your TV, we’ve got you covered.
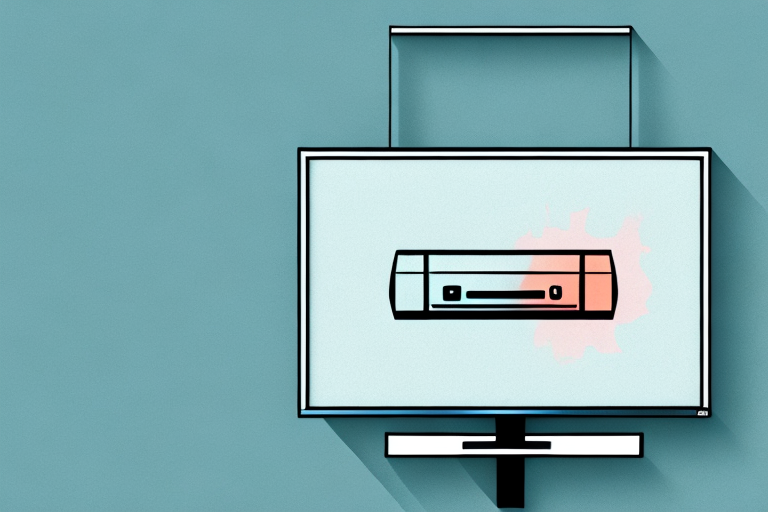
Why Choose a TV Mount with a Top Flap
A TV mount with a top flap is ideal for those looking to save on space and enhance the aesthetics of their home. The flap covers the cords and wires and creates a neat and tidy appearance. Additionally, it provides added security for your TV by covering the mounting bracket and bolts.
Another benefit of a TV mount with a top flap is that it allows for easy access to the back of the TV. This is especially useful for those who frequently need to adjust cables or connections. With the top flap, you can simply lift it up and access the back of the TV without having to remove it from the mount. This saves time and hassle, making it a convenient choice for any home.
Tools and Materials Needed for Installation
Before you start your TV mount installation, you will need the following tools and materials:
- Stud finder
- Level
- Power drill
- Hammer
- Screwdriver
- Measuring tape
- Allen wrench
- Toggle bolts or concrete screws (depending on wall type)
It is important to note that the size and weight of your TV will also determine the type of mount and hardware needed for installation. For larger TVs, you may need additional support such as a second person to assist with the installation or a mount with multiple arms.
Additionally, it is recommended to have a clean and organized workspace before beginning the installation process. This will help prevent any accidents or damage to your TV or walls. Make sure to clear the area of any furniture or objects that may obstruct your work and have a vacuum or broom nearby to clean up any debris.
Preparing Your Wall for TV Mount Installation
The first step in installing a TV mount with a top flap is to prepare your wall. You will need to locate the studs in your wall to secure the mount properly. Use a stud finder to locate the studs and mark them with a pencil.
Next, you will need to clear the area of any obstructions. Remove any furniture or decor from the wall area where you plan to install the mount. This will give you enough space to work and ensure that your TV is not obstructed by any objects.
It is also important to consider the height at which you want to mount your TV. The ideal height for a TV mount is at eye level when you are seated. This will ensure that you have a comfortable viewing experience without straining your neck. Measure the height of your seating area and mark the wall accordingly before installing the mount.
Measuring and Marking the Wall for the TV Mount
Once you have cleared the area and located the studs, the next step is to measure and mark the wall for the mount. Use a measuring tape to find the center point of your wall, and mark it with a pencil. This will be the location of the mount.
Use a level to ensure that your mount will be straight, and mark the height at which you want your TV to hang. Keep in mind factors such as the height of your couch or seating and the viewing angle of the TV.
It is also important to consider the weight and size of your TV when choosing a mount. Make sure to select a mount that can support the weight of your TV and is compatible with its size and VESA pattern. Additionally, if you plan on mounting your TV in a high-traffic area or in a home with children or pets, consider using a mount with a locking mechanism for added safety.
Attaching the Mounting Plate to the Wall
Once you have marked the wall, it’s time to attach the mounting plate. Use a power drill to drill pilot holes into the studs where you marked earlier. Then, attach the mounting plate to the wall using screws and bolts.
It’s important to make sure that the mounting plate is level before attaching it to the wall. You can use a level tool to ensure that the plate is straight. If the plate is not level, it can cause the object you are mounting to hang crookedly.
Additionally, if you are mounting a heavy object, it’s important to use heavy-duty screws and bolts to ensure that the mounting plate can support the weight. You may also want to consider using wall anchors for added support.
Securing and Installing the Top Flap onto the Wall Plate
After the mounting plate is attached securely, it’s time to install the top flap onto the wall plate. Align the flap with the plate and secure it using the bolts and screws provided with your mount. Make sure that it is secured tightly and flush with the plate.
It’s important to note that the weight of the TV should be evenly distributed across the mount. To ensure this, use a level to make sure the mount is straight before attaching the TV. Additionally, it’s recommended to have a second person assist with lifting and attaching the TV to the mount to avoid any accidents or damage to the TV or mount.
How to Connect Your TV to the Wall Mount
Once your mount is secured, it’s time to connect your TV to the wall mount. Place the mounting brackets over the mounting plate and secure them using the bolts and screws provided with your mount. Use an Allen wrench to tighten the brackets securely.
Before connecting your TV to the wall mount, make sure to check the weight and size specifications of both the mount and your TV. It’s important to ensure that your TV is compatible with the mount and that the mount can support the weight of your TV.
Once you’ve confirmed compatibility, carefully lift your TV and align the mounting holes on the back of the TV with the brackets on the wall mount. Use the screws provided with your mount to secure the TV to the brackets. Double-check that the TV is level and securely attached to the mount before letting go.
Tips for Adjusting Your Mounted TV for Optimal Viewing Angle
Now that your TV is mounted, it’s time to adjust it to the optimal viewing angle. Make sure that it is centered properly on the mount and adjust its tilt and swivel to avoid glare and create a comfortable viewing experience. Use your TV’s user manual to help you adjust its settings if necessary.
Another important factor to consider when adjusting your mounted TV is the height at which it is mounted. The ideal height for your TV will depend on the size of the screen and the distance between the TV and the seating area. As a general rule, the center of the screen should be at eye level when you are seated. This will help to reduce neck strain and ensure that you are getting the best possible viewing experience.
Common Mistakes to Avoid While Installing a TV Mount with Top Flap
When installing a TV mount with a top flap, there are a few common mistakes that you should avoid. These include failing to locate the studs properly, failing to secure the mount tightly, and not adjusting the TV to the optimal viewing angle. Make sure to follow our step-by-step guide closely to avoid these common mistakes.
Overall, installing a TV mount with a top flap is a simple process that can instantly improve the look and functionality of your living space. With the right tools and our detailed guide, you’ll have your TV mounted in no time!
It’s important to note that the weight of your TV should also be taken into consideration when installing a TV mount with a top flap. Make sure to check the weight limit of the mount and ensure that your TV falls within that range. Installing a mount that cannot support the weight of your TV can lead to a dangerous situation and damage to your TV or wall. Always double-check the weight limit before beginning the installation process.