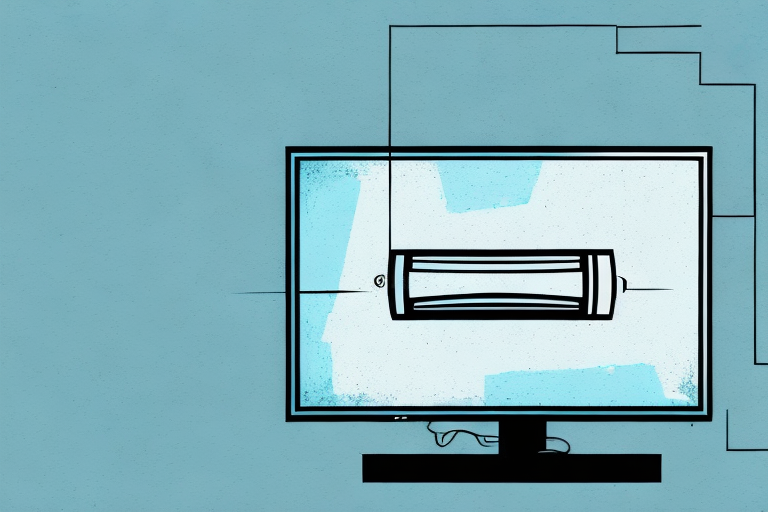
Are you tired of seeing the cords from your TV and other entertainment equipment dangling down your wall? If so, then it’s time to install an electrical outlet for your TV wall mount. This process may seem daunting, but with proper tools and preparation, it is something you can do on your own. In this article, we will guide you through the process of how to install an outlet for your TV wall mount, covering everything from the tools and materials needed to common mistakes you should avoid.
Tools and materials needed for the installation process
To get started with the installation process, you will need several tools, including:
- Wire cutters/strippers
- Screwdrivers (flathead and Phillips head)
- Electrical tape
- Drill with drill bits
- Drywall saw
- Wire nuts
- Outlet box
- Wires (black, white, and green or bare copper)
Make sure you have all these tools and materials on hand before starting the installation process. Proper preparation will help ensure a smooth and efficient process.
In addition to the tools and materials listed above, it is important to have a basic understanding of electrical wiring and safety precautions. Before beginning the installation process, make sure to turn off the power to the area where you will be working. It is also recommended to wear protective gear, such as gloves and safety glasses, to prevent any accidents or injuries. If you are unsure about any aspect of the installation process, consult a licensed electrician for assistance.
Understanding the different types of outlets available for TV wall mount installation
Before starting the installation process, it is essential to understand the different types of electrical outlets available for TV wall mount installation. The two most common outlets for this type of installation are standard electrical outlets and low-voltage installation brackets. Standard outlets offer a conventional option where you can connect the TV mount’s power source and other related equipment. Low-voltage brackets offer a more aesthetically pleasing option that eliminates the need for unsightly cords and wires.
It is important to note that low-voltage installation brackets require a separate power source, such as a power outlet or a power bridge kit. This means that you may need to hire an electrician to install the necessary wiring and power source for your TV mount. However, the end result is a clean and streamlined look that can enhance the overall appearance of your room. Additionally, low-voltage brackets are often used in commercial settings, such as conference rooms and waiting areas, where a professional and polished look is essential.
Preparing the wall for outlet installation
The next step is to prepare your wall. Ensure you have a clear space in which to work. Use a stud finder to locate any studs in your wall and ensure that the outlet will be installed close to a stud. This will provide added stability for the TV mount and prevent it from pulling out of the wall.
Before you begin drilling any holes, make sure to turn off the power to the room where you will be working. This will prevent any electrical accidents from occurring. You can do this by turning off the circuit breaker or removing the fuse that controls the room. Once the power is off, you can begin drilling the hole for the outlet. Use a drywall saw to cut out the hole for the outlet box, making sure to follow the manufacturer’s instructions for the size of the hole. After the hole is cut, insert the outlet box and secure it to the wall using screws. Finally, connect the wires to the outlet and attach the cover plate.
Measuring and marking the outlet placement
Now that your wall is prepped, the next step is to measure and mark the outlet placement. Use a level to ensure that the outlet will be installed straight. Mark the location of the outlet box with a pencil and cut out the area using a drywall saw.
It is important to make sure that the outlet is placed at a safe distance from any water sources, such as sinks or showers. The National Electrical Code recommends that outlets in bathrooms and kitchens be equipped with ground fault circuit interrupters (GFCIs) to prevent electrical shock.
Before installing the outlet, make sure to turn off the power to the circuit at the breaker box. Use a voltage tester to confirm that the power is off before proceeding with the installation. Once the outlet is installed, test it with a plug-in tester to ensure that it is wired correctly and functioning properly.
Cutting a hole in the wall for the outlet box
Now that you have marked the outlet location and cut out the area, the next step is to start cutting out a hole in the drywall to prepare for the outlet box installation. The size of the hole should correspond to the outlet box you have purchased.
Before you start cutting, make sure to turn off the power supply to the area where you will be working. This will prevent any electrical accidents from occurring. You can do this by turning off the circuit breaker or removing the fuse that controls the area.
Once you have turned off the power, use a drywall saw or a keyhole saw to cut out the hole. Start by making a small hole in the center of the marked area and then gradually cut outwards. Be careful not to cut too much or too little, as this can affect the fit of the outlet box.
Wiring the outlet box and connecting it to the electrical circuit
The next step is to wire the outlet box and connect it to the electrical circuit. Connect the wires to the corresponding terminals on the outlet (black wire to brass, white wire to silver, and green/bare copper wire to green) using wire nuts and electrical tape. Ensure that all connections are secure and tight.
It is important to note that before beginning any electrical work, the power to the circuit should be turned off at the breaker box. Additionally, it is recommended to use a voltage tester to ensure that there is no electrical current present before starting any wiring. Safety should always be a top priority when working with electricity.
Installing the outlet box into the wall and securing it in place
Now that your outlet box is wired, the next step is to install it into the wall. Insert the outlet box into the hole you cut earlier and ensure that the screws in the outlet box flaps are flush against the back of the drywall. Use screws to secure the outlet box in place.
It is important to make sure that the outlet box is level before securing it in place. You can use a level to ensure that the box is straight. If the box is not level, it can cause problems when installing the outlet cover plate.
After the outlet box is secured in place, you can attach the outlet cover plate. Make sure that the cover plate is the correct size for the outlet box and align it with the screw holes. Use screws to attach the cover plate to the outlet box.
Connecting the TV mount to the outlet box
The next step is to connect the TV mount to the outlet box. Run an electrical cable from the TV mount to the outlet box and use wire nuts to connect the wires to the corresponding terminals on the outlet.
It is important to ensure that the electrical cable is properly secured and not hanging loosely. Use cable ties or clamps to secure the cable to the wall or ceiling. Additionally, make sure to turn off the power to the outlet box before making any electrical connections to avoid any potential hazards.
Testing the electrical connection and ensuring it is safe for use
After connecting the TV mount to the outlet box, the next step is to ensure that the electrical connection is stable and safe to use. Test the outlet using an electronic device to ensure it is working correctly. The TV mount and extension cord should not show any signs of damage, and the work area around your new outlet should be left neat, clean, and free of hazards.
It is also important to ensure that the electrical load of the TV mount and any other devices connected to the outlet do not exceed the maximum capacity of the circuit. Overloading the circuit can cause overheating, which can lead to electrical fires. To avoid this, check the circuit’s maximum capacity and ensure that the total electrical load does not exceed it.
Additionally, it is recommended to use surge protectors to protect your devices from power surges and voltage spikes. Surge protectors can prevent damage to your TV mount and other electronics, which can save you money in the long run. Make sure to choose a surge protector that is appropriate for the electrical load of your devices and that it is properly grounded.
Tips and tricks for a successful TV wall mount installation
- Read the installation instructions carefully before drilling, screwing, or connecting anything.
- Always mount the TV bracket to studs.
- Use brackets that are appropriate for your television’s size and weight.
- Check the system for level after every step of the installation process.
It is also important to consider the viewing angle when mounting your TV. Make sure the TV is mounted at a height and angle that is comfortable for your viewing experience. You may want to consider using a tilting or swiveling bracket to adjust the angle as needed. Additionally, be sure to properly organize and conceal any cables or wires to maintain a clean and professional look.
Common mistakes to avoid during outlet installation for TV wall mounts
- Installing the outlet box too far from the TV mount.
- Connecting the wires incorrectly.
- Using the wrong type of outlet box or wires.
Frequently asked questions about installing outlets for TV wall mounts
- Can I install the outlet by myself?
- Do I need a license to install an electrical outlet?
- How can I tell if my walls have wiring and if it’s safe to drill into them?
If you have any questions or concerns about the outlet installation process, consult with a licensed electrician for further guidance.
Conclusion and final thoughts on installing an outlet for a TV wall mount
Installing an outlet for your TV wall mount is an easy and cost-effective project that can save you from the hassle of unsightly cords and dangerous wiring configurations. With proper preparation and the right tools, you can get the job done in no time. Remember to follow all safety guidelines, and if in doubt, consult with a licensed electrician for further assistance.