Mounting your TV on the wall can significantly improve your viewing experience. You can enjoy your favorite movies or TV shows while saving valuable floor space. However, the installation process may seem daunting if you’re doing it for the first time. This guide provides a step-by-step approach to mounting your TV on the wall.
Gather the Necessary Tools and Equipment
Before you start the installation process, you should make sure you have all the necessary tools. The tools you’ll need are:
- Stud Finder
- Drill
- Screwdriver
- Tape Measure
- Pencil or Marker
- Level
- Mounting Brackets
- Mounting Screws and Anchors
When you have all the tools in place, you can begin the installation process.
It’s important to note that the type of mounting brackets and screws you need will depend on the type of wall you are mounting the item on. For example, if you are mounting on drywall, you will need to use anchors to ensure the item is securely attached to the wall. If you are mounting on a concrete or brick wall, you may need to use a hammer drill to create holes for the screws.
Additionally, it’s a good idea to have a helper when mounting larger items, as it can be difficult to hold the item in place while also drilling and screwing in the mounting brackets. Having a second set of hands can make the process much smoother and safer.
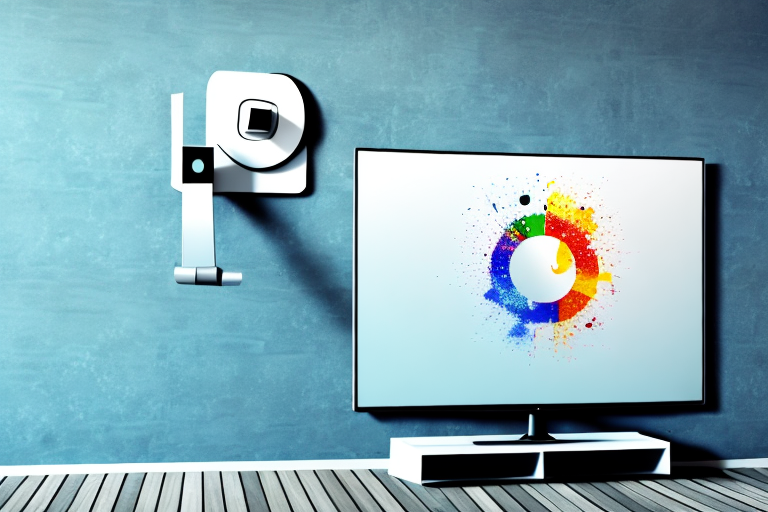
Determine the Type of Mounting Bracket You Need
There are different types of TV wall mounts available in the market. The most popular types are fixed, tilting or full-motion mounts. Before purchasing a mount, you should consider the size and weight of your TV and the type of mount that’s suitable for your specific needs.
Fixed mounts are the most basic type of TV wall mount. They hold the TV in a fixed position, which means that you cannot adjust the angle or position of the TV once it is mounted. Tilting mounts, on the other hand, allow you to adjust the angle of the TV up or down. This is useful if you want to mount the TV higher up on the wall, but still want to be able to adjust the angle for optimal viewing. Full-motion mounts are the most versatile type of TV wall mount. They allow you to adjust the angle and position of the TV in any direction, which means that you can easily adjust the TV to suit your viewing needs. However, full-motion mounts are generally more expensive than fixed or tilting mounts.
Choose the Ideal Wall Location for Your TV
When selecting the ideal location on your wall, you should consider the height of your TV and the viewing angles. You should also select a location that’s free from glare or direct sunlight. A good location would be an area with little to no ambient light that doesn’t flop around much.
Another important factor to consider when choosing the ideal wall location for your TV is the proximity to power outlets and cable connections. You want to make sure that the location you choose is easily accessible to power outlets and cable connections to avoid any unnecessary wiring or installation costs. Additionally, you may want to consider hiding the cables and wires behind the wall for a cleaner and more organized look.
Locate and Mark the Studs in Your Wall
After selecting the perfect location for your TV, you need to locate the studs in your wall to ensure you have the correct mounting points. You can use a stud finder to locate the studs, and then use a pencil to mark their location.
If you don’t have a stud finder, you can also locate studs by tapping the wall and listening for a solid sound, indicating the presence of a stud. However, this method is not as reliable as using a stud finder.
Once you have located the studs and marked their location, it’s important to double-check their position before drilling any holes. You can do this by using a level to ensure that the marks are straight and aligned with each other.
Drill Pilot Holes for the Mounting Bracket
Once you’ve found the studs, the next step is to drill pilot holes for the mounting brackets. You should drill holes according to the size of the screws and anchors that came with your mount.
It’s important to make sure that the pilot holes are drilled straight and level, as this will ensure that the mounting bracket is securely attached to the wall. You can use a level to ensure that the holes are straight, and a drill bit guide to ensure that the holes are level.
Before drilling the pilot holes, it’s also a good idea to double-check the placement of the mounting bracket. Make sure that it is at the correct height and centered on the wall. You can use a measuring tape and a pencil to mark the exact placement of the bracket before drilling the pilot holes.
Secure the Mounting Bracket to the Wall
Insert the anchors and screws into the pilot holes you just drilled and secure the mounting bracket firmly on the wall. When the bracket is securely in place, you can attach the mounting plate to the back of your TV.
It is important to ensure that the mounting bracket is level before securing it to the wall. You can use a level tool to check this. If the bracket is not level, your TV may hang crookedly and could potentially fall off the wall.
Additionally, make sure to choose a sturdy wall to mount your TV on. Avoid mounting it on drywall or plaster alone, as these materials may not be strong enough to support the weight of your TV. Instead, look for a wall stud or use a mounting bracket specifically designed for use with drywall.
Attach the TV Mounting Plate to Your TV
You should follow the instructions provided with your mount to attach the mounting plate to the back of your TV. You should also ensure that the screws are tight, and the plate is firmly in place.
It is important to note that the size and weight of your TV will determine the type of mounting plate you need. Make sure to choose a plate that is compatible with your TV’s size and weight to ensure a secure and safe installation. Additionally, if you are unsure about the compatibility or installation process, it is recommended to seek professional assistance.
Line Up and Securely Connect Your TV to the Mounting Plate
Align the mounting plate on the back of your TV with the bracket on the wall. Carefully lift your TV and attach it securely to the mounting plate. Ensure that the TV is centered, and level, so it doesn’t tilt on one side.
It’s important to note that the weight of your TV should be evenly distributed on the mounting plate. If the weight is not evenly distributed, it can cause the TV to become unstable and potentially fall off the wall. Double-check that all screws and bolts are tightened securely to prevent any accidents.
Adjust and Level Your TV for Optimal Viewing Experience
After attaching your TV to the wall, you need to make sure it is level for the optimal viewing experience. You can use a level to confirm that your TV is not tilted to one side. You can also adjust the view angles as per your preference.
It is important to note that the lighting in your room can also affect your viewing experience. If there is too much glare on the screen, it can be difficult to see the picture clearly. Consider adjusting the lighting in the room or using curtains or blinds to reduce glare. Additionally, if you have a smart TV, you can adjust the picture settings to optimize the display for your specific room and lighting conditions.
Tips for Hiding Cables and Wires
You can use cable ties or cord cover to hide the cables and wires running from your TV to the power outlet. This helps in making your TV area look neat and tidy.
Another option for hiding cables and wires is to use a cable raceway. This is a plastic or metal channel that can be mounted on the wall to conceal the cables. It is a great solution for those who want a more permanent and professional-looking cable management system. Additionally, you can also use furniture such as bookshelves or cabinets to hide the cables and wires. Simply run the cables behind the furniture and out of sight.
Troubleshooting Common Issues During Installation
If you face any difficulty during the installation process, go through the instructions again, and try to identify the error. Usually, incorrect measurements or wrong screws can lead to installation issues.
Making sure you take your time and follow each step carefully will ensure that you have a successful installation and can enjoy watching your TV from a new angle. Happy mounting!
Another common issue that can arise during installation is the lack of necessary tools. Before starting the installation process, make sure you have all the required tools, such as a drill, screwdriver, and level. Not having the right tools can lead to frustration and potentially damage to your wall or TV.