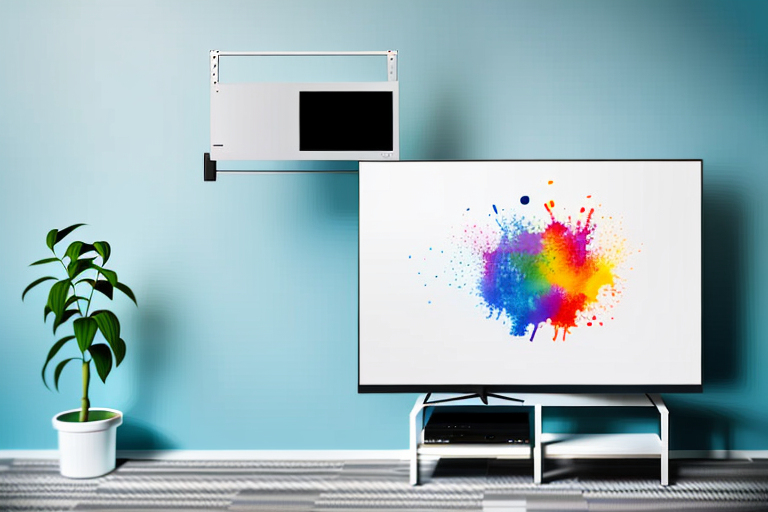
Ikea TV wall mounts have become a popular choice for homeowners who want to save space and have a more elevated viewing experience. With these mounts, your TV can be fixed neatly on the wall, freeing up floor space and giving your living room a more streamlined look. Installing an Ikea TV wall mount can seem daunting at first, but with the right tools and a bit of patience, it’s a relatively simple task that can be completed in just a few hours. In this article, we’ll take you through the step-by-step process of how to install Ikea TV wall mount.
Choosing the Right Ikea TV Wall Mount for Your Needs
The first step in the installation process is to choose the right type of Ikea TV wall mount for your TV. There are several different models available, each designed to support a specific weight range and TV size. Make sure to check the product specifications to ensure that you purchase a mount that fits your TV and meets your weight requirements.
It’s also important to consider the placement of your TV and the viewing angle you want to achieve. Some Ikea TV wall mounts are designed to tilt or swivel, allowing you to adjust the angle of your TV for optimal viewing. If you plan to mount your TV in a high location, such as above a fireplace, a tilting mount may be the best option to avoid neck strain. On the other hand, if you want to be able to adjust the angle of your TV depending on where you’re sitting, a swiveling mount may be a better choice.
Understanding the Tools and Materials Required for Installation
Before you begin the installation process, it’s important to gather all the necessary materials and tools. You’ll need a stud finder, drill, level, measuring tape, screwdriver, and a wrench. Also, make sure you have the correct screws, bolts, and brackets that came with your Ikea TV wall mount.
It’s also important to have a helper during the installation process. This will make it easier to hold the TV mount in place while you secure it to the wall. Additionally, you may want to have a power drill with a long extension cord to make it easier to reach the wall.
Before you start drilling into the wall, make sure you know what’s behind it. Use a stud finder to locate the studs in the wall and mark them with a pencil. This will ensure that you’re drilling into a solid surface and not just drywall. If you’re unsure about the location of the studs, you can use a small nail to make a small hole and check for resistance.
Measuring and Marking the Wall for Optimal Placement
Once you have your tools and materials, it’s time to start measuring and marking the wall. Use the stud finder to locate the studs in the wall where you want to mount your TV. It’s important to mount the bracket to the studs to ensure that your TV stays securely in place. Once you’ve located the studs, use a pencil to mark the location where the bracket will be attached to the wall. Make sure the marks are level and in the proper position for optimal viewing.
After marking the location for the bracket, it’s important to measure the distance between the marks to ensure that they are evenly spaced. Use a tape measure to measure the distance between the marks and adjust them if necessary. This will ensure that your TV is mounted in the center of the wall and looks aesthetically pleasing.
Before drilling any holes, it’s also important to consider the height at which you want to mount your TV. The optimal height for mounting a TV is at eye level when seated, which is typically around 42-48 inches from the floor. Take into account the height of your furniture and the distance from the viewing area to determine the best height for your TV.
Preparing the Wall for Mounting, Including Stud Location and Surface Type
With the wall marked and prepped, it’s time to prepare the area for mounting the bracket. Clear the area of any debris or dust and make sure the surface is clean. Use the drill to make pilot holes where you have marked the stud location. Then, attach the mounting plate to the wall with the screws provided.
It’s important to consider the surface type of the wall before mounting the bracket. If the wall is made of drywall, it’s crucial to locate the studs for a secure mount. However, if the wall is made of concrete or brick, you may need to use anchors to ensure a strong hold. Make sure to choose the appropriate anchors for the weight of the bracket and the type of surface.
Another factor to consider is the height at which you want to mount the bracket. It’s important to ensure that the bracket is mounted at a comfortable viewing height for the intended use. For example, if you’re mounting a TV, you’ll want to make sure it’s at eye level when seated. Take measurements and mark the wall accordingly before mounting the bracket.
Assembling the Ikea TV Wall Mount Components
Next, it’s time to assemble the Ikea TV wall mount components. Follow the manufacturer’s instructions to assemble the mount and brackets correctly. It’s crucial to make sure that all components are securely connected to the bracket and of good quality.
Additionally, before assembling the mount, it’s important to ensure that the wall you plan to mount it on is strong enough to support the weight of your TV. Use a stud finder to locate the studs in the wall and attach the mount to them for added stability. If you’re unsure about the strength of your wall, consult a professional before proceeding with the installation.
Attaching the Mounting Bracket to Your TV and Securing It in Place
Now it’s time to connect the TV to the bracket. Find the right screws or bolts that will fit into the thread holes on the back of your TV. Use the wrench and screwdriver to tighten the screws or bolts and secure the TV on the bracket.
It’s important to make sure that the mounting bracket is securely attached to the wall before attaching the TV. Use a stud finder to locate the studs in the wall and mark their location. Then, use a drill to attach the bracket to the studs with screws. If you’re unable to locate studs, use drywall anchors to secure the bracket to the wall. Once the bracket is securely attached, you can proceed with attaching the TV.
Aligning the Tv with the Wall Mount and Final Adjustments for Optimal Viewing Angle
Once your TV is secured to the bracket, it’s time to adjust it for optimal viewing angles. Adjust the TV’s pitch, roll, and yaw to ensure it is level and sitting at the right height. Once you have achieved the perfect viewing angle, double-check to make sure that everything is firmly secure and won’t move or shift over time.
It’s important to note that the type of wall mount you use can also affect the viewing angle. For example, a fixed wall mount will keep your TV in a stationary position, while a tilting mount will allow you to adjust the angle of the TV up or down. A full-motion mount will give you the most flexibility, allowing you to adjust the TV’s position in any direction.
Another factor to consider when aligning your TV with the wall mount is the room’s lighting. If there is a lot of natural light coming in from windows or if you have bright overhead lighting, it may cause glare on the TV screen. Adjusting the TV’s angle or adding curtains or blinds to the windows can help reduce glare and improve your viewing experience.
Tips and Troubleshooting Common Issues During Installation
During the installation process, you may encounter some common issues such as not finding the studs on the wall, difficulty in aligning the TV with the bracket, or the mounting bracket not being suitable for your TV’s size and weight. If you encounter any of these issues, refer to the manufacturer’s instructions for guidance or consult with a professional installer.
Another common issue during installation is the lack of proper tools. Make sure you have all the necessary tools such as a stud finder, level, drill, and screws before starting the installation process. This will save you time and frustration in the long run.
It is also important to consider the placement of the TV during installation. Make sure the TV is at a comfortable viewing height and angle, and that it is not in direct sunlight or near a heat source. This will ensure a better viewing experience and prevent damage to the TV.
Maintaining Your Ikea TV Wall Mount: Cleaning, Repair, and Replacement Guidelines
After you’ve installed your Ikea TV wall mount, it’s important to keep it clean and well-maintained. Use a soft cloth to clean your TV, and avoid using abrasive cleaners that can scratch the surface. Check the mounting bracket regularly to ensure it’s still sturdy, and if you notice any damage, replace it as soon as possible.
With these tips, you’ll be able to install your new Ikea TV wall mount with ease, and you’ll enjoy many hours of high-quality viewing in your home. Make sure you follow the instructions carefully and take your time to ensure everything is securely in place. It’s a worthwhile investment that will transform your living space and make your TV-watching experience even better.
Another important aspect of maintaining your Ikea TV wall mount is to ensure that the cables are properly organized and secured. Use cable ties or clips to keep the cables neat and tidy, and avoid letting them hang loosely. This not only looks better, but it also reduces the risk of tripping over loose cables or damaging them.
If you need to repair your Ikea TV wall mount, it’s important to follow the manufacturer’s instructions carefully. Attempting to repair it yourself could result in further damage or even injury. If you’re unsure about how to proceed, contact Ikea customer service for assistance. They can provide guidance on how to repair or replace your wall mount, or recommend a professional installer if necessary.