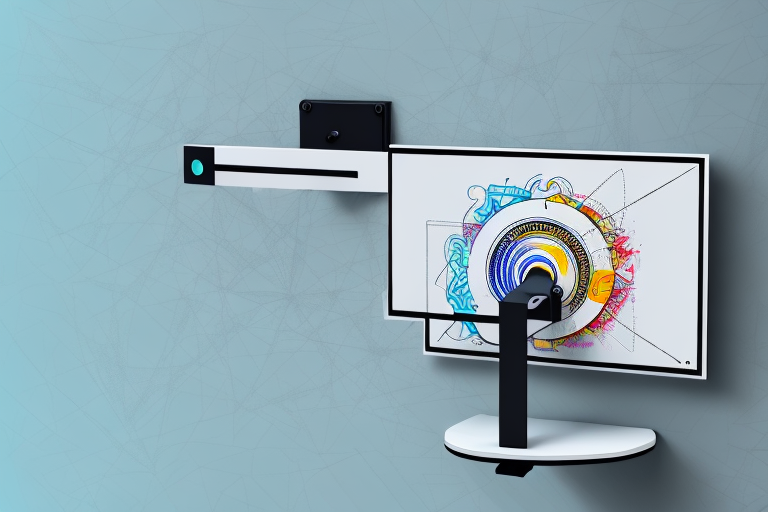
Do you want to give your living room a sleek and modern look by hanging your TV on the wall? Well, installing a Dynex TV wall mount is a fantastic way to accomplish that while saving space. However, the idea of mounting your own TV might seem daunting, but not after reading this step-by-step guide. By following these instructions, you can successfully mount your TV and enjoy the view without worrying about it falling off the wall.
Tools Needed for Installing Dynex Tv Wall Mount
Before you start with anything, you need to gather and prepare the necessary tools for the installation process. Your toolkit should include a stud finder, level, drill with drill bits, a tape measure, and a pencil, screwdriver, and wrench. All of these tools are crucial for your installation process.
Additionally, it is recommended to have a second person to assist you during the installation process. This will make it easier to hold the wall mount in place while you secure it to the wall. It is also important to make sure that you have the appropriate hardware included with your Dynex TV wall mount, such as screws and bolts, to ensure a secure installation. Taking the time to properly prepare and gather all necessary tools and hardware will make the installation process smoother and ensure a safe and secure mount for your TV.
Choosing the Right Location for Your Dynex Tv Wall Mount
Choosing the right location for mounting your TV is essential. You need to ensure it is at a comfortable height and centrally located for optimized viewing experience. It is best to choose a solid wall for mounting your television. Also, avoid locations near windows or areas with glare, which can interfere with the quality of your viewing experience.
Another important factor to consider when choosing the location for your Dynex TV wall mount is the proximity to power outlets and cable connections. Make sure that the location you choose has easy access to power outlets and cable connections to avoid any inconvenience or additional expenses of hiring an electrician or technician to install new outlets or cables.
Additionally, it is important to consider the weight and size of your TV when choosing the location for your wall mount. Make sure that the wall you choose can support the weight of your TV and that the size of your TV is appropriate for the location you choose. A TV that is too large for the space can be overwhelming and uncomfortable to watch, while a TV that is too small may not provide the optimal viewing experience.
Measuring and Marking the Wall for Dynex Tv Wall Mount Installation
The next step in the Dynex TV wall mount installation process is measuring and marking the wall. Use a tape measure to take accurate measurements and mark the points where the mounting brackets will go. Use a pencil to make small dots where you will drill your pilot holes. Make sure that the distance between the dots is precisely the same as the bracket’s holes.
It is important to ensure that the wall you are mounting the TV on is strong enough to support the weight of the TV and the mount. Check the wall for any signs of damage or weakness before proceeding with the installation. If you are unsure about the strength of the wall, it is recommended to consult a professional before mounting the TV.
Preparing the Wall and Studs for Dynex Tv Wall Mount Installation
Before drilling the pilot holes, you need to check for any potential hazards in the walls, such as electrical wires or water pipes. Using your stud finder, identify the studs in the wall where you will attach your mounting brackets. Ensure that you have enough room between the holes to accommodate the width of your mounting bracket.
It is also important to make sure that the wall and studs are level before beginning the installation process. Use a level to check the vertical and horizontal alignment of the studs. If the studs are not level, use shims to adjust them accordingly. This will ensure that your TV is mounted securely and will not tilt or shift over time.
Installing the Mounting Bracket for Dynex Tv Wall Mount
Now that you’ve marked the wall and determined the stud locations, it is time to drill pilot holes in the wall and secure the mounting bracket. Always start with the upper holes, line the bracket with the marks you made earlier, and drill the pilot holes. Repeat the process for the second hole. Once you’re sure that the bracket is level, tighten the screws tightly into the studs to support the weight of the TV.
It is important to note that the size and weight of your TV will determine the size and type of mounting bracket you need. Make sure to check the specifications of your TV and purchase a compatible bracket. Additionally, it is recommended to have a second person assist with the installation process, as it can be difficult to hold the bracket and drill at the same time. Always follow the manufacturer’s instructions and use the appropriate tools and hardware for a safe and secure installation.
Attaching the TV to the Dynex Tv Wall Mount
The next step is attaching the Dynex TV mounting plate to your TV. This is done by screwing the plate onto the back of your TV using the screwdrivers provided. Ensure that the horizontal brackets are perfectly lined up with those on the mounting bracket that you affixed on the wall earlier.
It is important to note that the weight of your TV should not exceed the weight limit specified by the Dynex TV wall mount. Exceeding the weight limit can cause the mount to fail and potentially damage your TV or injure someone. Additionally, make sure that all screws and bolts are tightened securely to prevent any accidents or damage to your TV. Once you have attached the TV to the mounting plate, carefully lift the TV and hang it onto the wall mount, ensuring that it clicks into place.
Securing Your TV on the Dynex Tv Wall Mount
After securely attaching the mounting plate to the TV, you can now place the TV on the wall mount, making sure to adjust the TV’s position to your preferred viewing angle. A second pair of hands will come in handy here. Once you’re confident the TV is correctly positioned, lock the safety screws into place.
It is important to note that the weight of your TV should not exceed the weight limit specified by the wall mount. Exceeding the weight limit can cause the wall mount to fail, resulting in damage to your TV and potential injury to anyone nearby. Always check the weight limit before purchasing a wall mount and before mounting your TV.
Additionally, it is recommended to use a stud finder to locate the studs in your wall before mounting the wall plate. Attaching the wall plate to a stud will provide a more secure and stable mount for your TV. If you are unable to locate a stud, use wall anchors to ensure the wall mount is securely attached to the wall.
Testing Your New Dynex Tv Wall Mount Installation
Now that you’ve hung your TV on the wall, it’s time to test everything. Check that your TV is level and aligned with the mounting bracket. Also, ensure that all screws are tightened, and the TV is securely attached to the wall. Finally, turn your TV on and adjust your viewing experience, sit back and enjoy your newly mounted TV.
It is important to note that if you notice any issues with your TV’s picture quality or sound after mounting it on the wall, it may be due to the placement of the mount. Make sure that the mount is not blocking any ports or vents on the back of the TV, as this can affect the performance of your TV.
Additionally, if you plan on mounting your TV in a room with a lot of natural light, you may want to consider purchasing an anti-glare screen protector. This will help reduce any glare or reflections on your TV screen, making it easier to watch your favorite shows and movies without any distractions.
Troubleshooting Common Issues with Dynex Tv Wall Mount Installation
If you experience any issues or problems installing your Dynex TV wall mount, carefully review the instructions to confirm you have followed every step. In case of poor alignment of screws, use a wrench to adjust it. If the issue persists, unscrew and readjust the mounting bracket as you see fit. It’s always best to seek help from a professional if you are unsure of the installation process.
By following these simple instructions, you can confidently install a Dynex TV wall mount to give your living space a sleek and polished look while keeping your TV secure. Make sure to gather all the necessary tools and follow every step correctly.
Another common issue that may arise during Dynex TV wall mount installation is the weight of the TV. Ensure that the wall mount you have purchased can support the weight of your TV. If the TV is too heavy for the wall mount, it may cause the mount to fail and damage your TV or injure someone. Always check the weight limit of the wall mount before purchasing it.
Additionally, if you are mounting your TV on a wall that is made of plaster or drywall, it is important to locate the studs in the wall. The studs provide the necessary support for the wall mount and the TV. Use a stud finder to locate the studs and mark them before drilling any holes. If you drill into the wrong area, it may cause the wall mount to fail and damage your TV or injure someone.