Installing a DVD home theater system may seem like a daunting task, but with the right guidance and preparation, you can set up the perfect home entertainment setup. In this article, we will guide you through the installation process, step-by-step, so that you can enjoy high-quality video and audio from the comfort of your own home. Whether you’re an audio enthusiast or a movie lover, a DVD home theater system is an excellent way to bring the theater experience into your living room.
Understanding the Basics of a DVD Home Theater System
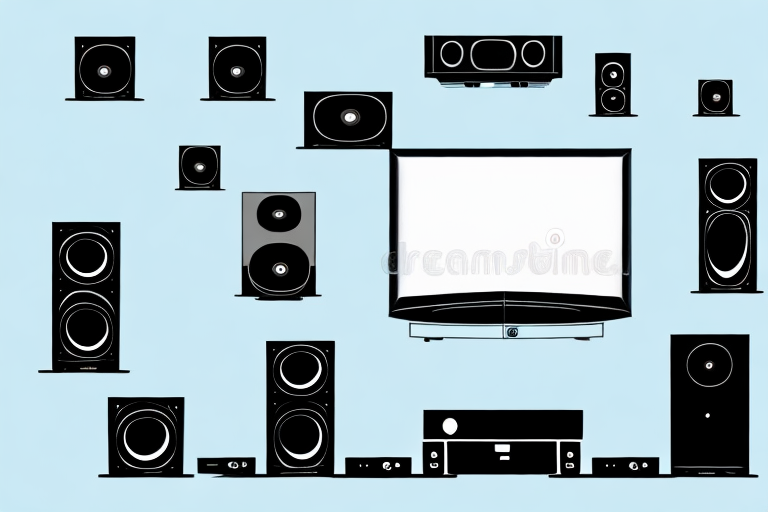
A DVD home theater system is a comprehensive entertainment system that includes a DVD player, surround sound speakers, and a television or projector. The system is designed to provide immersive audio and video experiences for movies, TV shows, music, and gaming. The components of a DVD home theater system work together to deliver high-quality visuals and audio, so it’s essential to choose the right components and set them up correctly.
When selecting a DVD home theater system, it’s important to consider the size of the room where it will be installed. A larger room may require more powerful speakers to fill the space with sound, while a smaller room may only need a basic system. Additionally, it’s important to consider the type of content that will be played on the system. For example, if the system will primarily be used for watching movies, a surround sound system with a subwoofer may be the best choice to create a cinematic experience.
Setting up a DVD home theater system can be a complex process, but following the manufacturer’s instructions can help simplify the process. It’s important to ensure that all components are connected correctly and that the system is calibrated for optimal performance. This may involve adjusting speaker placement, adjusting audio and video settings, and testing the system with different types of content to ensure that everything is working correctly.
Preparing for the Installation Process
Before you begin setting up your DVD home theater system, it’s essential to prepare your space. First, decide where you want to place the system. Look for a location that’s large enough to accommodate all the components, has good ventilation, and easy access to power outlets. Remember to leave enough space for your seating, so you have the optimal viewing experience.
Next, gather all the tools that you’ll need for the installation process. You’ll need a screwdriver, speaker wire, HDMI cable, and other cables, depending on the components you choose. You may also need to purchase a surge protector to protect your system from sudden voltage spikes, which can damage the components.
It’s also important to consider the lighting in your space. If you have windows or other sources of natural light, you may need to invest in blackout curtains or shades to prevent glare on your screen. Additionally, you may want to install dimmer switches or other lighting controls to create the perfect ambiance for your movie-watching experience. Taking the time to prepare your space before installation can ensure that you have a comfortable and enjoyable home theater experience.
Choosing the Right Location for Your Home Theater System
Choosing the right location for your home theater system is crucial to ensure that you get the best sound and picture quality. Start by selecting a location that’s free from distractions and other sources of noise, such as the kitchen or laundry room. If possible, choose a room with no windows or block out any ambient light, as this can impact picture quality.
Once you’ve selected the room, choose a central location for your television or projector and locate the seating area accordingly. Pay attention to the placement of the surround sound speakers, as this can have a big impact on the audio quality. The main speaker should be placed directly in front of the seating area, and the rear speakers directly behind the seating area. The surround sound speakers should be placed at ear level, and the subwoofer can be placed anywhere in the room, as it is omnidirectional.
Another important factor to consider when choosing the location for your home theater system is the size of the room. A larger room may require more speakers to achieve optimal sound quality, while a smaller room may not require as many. Additionally, the size of the room can impact the viewing experience. A larger room may require a larger screen or projector to ensure that everyone in the room can see the picture clearly.
It’s also important to consider the layout of the room when choosing the location for your home theater system. If the room has an irregular shape or features such as columns or alcoves, this can impact the placement of the speakers and seating area. In these cases, it may be necessary to consult with a professional to ensure that the system is set up correctly and that you’re getting the best possible sound and picture quality.
Assembling the Components of Your DVD Home Theater System
Once you’ve selected the location for your home theater system, it’s time to assemble the components. Start by unpacking the boxes and laying out all the components to ensure that you have everything you need. Follow the instruction manuals to assemble each of the components carefully, ensuring that all cables and wires are connected correctly. You may need to label the wires for later reference.
When assembling your DVD home theater system, it’s important to consider the placement of each component. Make sure that the DVD player, speakers, and subwoofer are all positioned in a way that will provide the best sound quality. You may need to experiment with different placements to find the optimal setup.
Additionally, it’s important to properly calibrate your home theater system. This involves adjusting the settings on each component to ensure that the sound and picture quality are optimized. Many DVD home theater systems come with calibration tools or you can hire a professional to do it for you.
Connecting Your DVD Home Theater System to Other Devices
Once the components are assembled, it’s time to connect your DVD home theater system to other devices. Begin by connecting the HDMI cable from your DVD player to your television or projector. Ensure that the cable is securely plugged and tightened. Next, connect your speakers to the receiver and amplifier according to the instruction manual. Finally, connect any other devices, such as a gaming console or streaming device, to your system using the appropriate cables.
It’s important to note that not all devices may be compatible with your DVD home theater system. Before attempting to connect any additional devices, check the instruction manual or contact the manufacturer for compatibility information. Additionally, make sure to adjust the settings on your DVD player and other devices to ensure optimal audio and video quality.
If you experience any issues with your connections or audio and video quality, troubleshoot the problem by checking all cables and connections, adjusting settings, and consulting the instruction manual or manufacturer’s website for further assistance. With proper setup and maintenance, your DVD home theater system can provide an immersive and enjoyable viewing experience for years to come.
Setting up Your DVD Home Theater System for Optimal Performance
Once all the components are connected, it’s time to adjust the settings for optimal performance. Start by using the remote control to access the menu on your DVD player and adjusting the picture and audio settings. Ensure that the picture is bright and clear, and the audio is crisp and balanced. Test your system by watching a movie or playing music to get a sense of how it sounds and looks.
Another important aspect to consider when setting up your DVD home theater system is the placement of the speakers. The speakers should be positioned at ear level and equidistant from the viewer to create a balanced sound. Additionally, consider using speaker stands or wall mounts to optimize the sound quality.
It’s also important to keep your DVD player and other components clean and dust-free. Dust can accumulate on the lens of the DVD player, causing it to skip or freeze during playback. Use a soft, dry cloth to clean the components regularly to ensure optimal performance.
Troubleshooting Common Issues with Your DVD Home Theater System
If you encounter any issues with your DVD home theater system, don’t panic. Most issues are straightforward to fix. If you’re experiencing sound or video problems, check that all cables are securely connected and try adjusting the settings. You may also need to update your system’s firmware or seek professional help if you’re unable to resolve the issue on your own.
Another common issue that you may encounter with your DVD home theater system is a disc that won’t play. This can be caused by a dirty or scratched disc, or a problem with the disc drive. Try cleaning the disc with a soft cloth and make sure it’s inserted correctly. If the problem persists, try playing a different disc to see if the issue is with the disc or the system. If none of these solutions work, you may need to seek professional help to diagnose and fix the problem.
Maintaining and Cleaning Your DVD Home Theater System
Keeping your DVD home theater system clean and well-maintained is essential to ensure that it continues to work correctly and provides excellent performance. Dust and debris can accumulate on the components over time and may impact their sound and picture quality. Use a microfiber cloth to clean the surface regularly, and ensure that the system is well-ventilated to prevent overheating.
In addition to regular cleaning, it is also important to maintain your DVD home theater system by updating its firmware. Manufacturers often release firmware updates to fix bugs, improve performance, and add new features. Check the manufacturer’s website regularly for any available updates and follow the instructions carefully to ensure a successful update. Keeping your system up-to-date will help it run smoothly and provide the best possible viewing and listening experience.
Upgrading and Expanding Your Home Theater System
Your DVD home theater system is an investment that you can expand and upgrade over time. As technology advances, you can replace components or add new ones to get the latest features and improvements. Consider upgrading your speakers or adding a gaming console for a more immersive experience.
Tips and Tricks for Getting the Most Out of Your DVD Home Theater System
To get the most out of your DVD home theater system, try experimenting with different settings and configurations. Adjust the bass and treble to suit your preferences and use the surround sound setting for a more immersive experience. You can also customize your system’s remote control to make it easier to navigate and use.
In conclusion, setting up a DVD home theater system may take some time and effort, but the rewards are well worth it. With the right components and preparation, you can enjoy high-quality visuals and audio from the comfort of your home. Follow the steps outlined in this article, and you’ll be well on your way to creating the perfect home entertainment setup.