Panasonic is a brand known for its high-quality home theater systems. Their home theater systems offer a premium audio and visual experience to movie and music enthusiasts. However, to truly unlock the full potential of your Panasonic home theater system, you must connect it to a receiver. Connecting your Panasonic home theater system to a receiver is a fairly straightforward process that can be completed in no time. In this article, we will guide you through the entire process of connecting your Panasonic home theater system to a receiver, including understanding the components of your Panasonic home theater system, choosing the right receiver, preparing your Panasonic home theater system for connection, connecting your home theater system to the receiver, configuring settings, troubleshooting common issues, and getting the best sound quality from your system. So, let’s dive in.
Understanding the Components of Your Panasonic Home Theater System
Before you start the process of connecting your Panasonic home theater system to a receiver, it is essential to understand the components of your system.
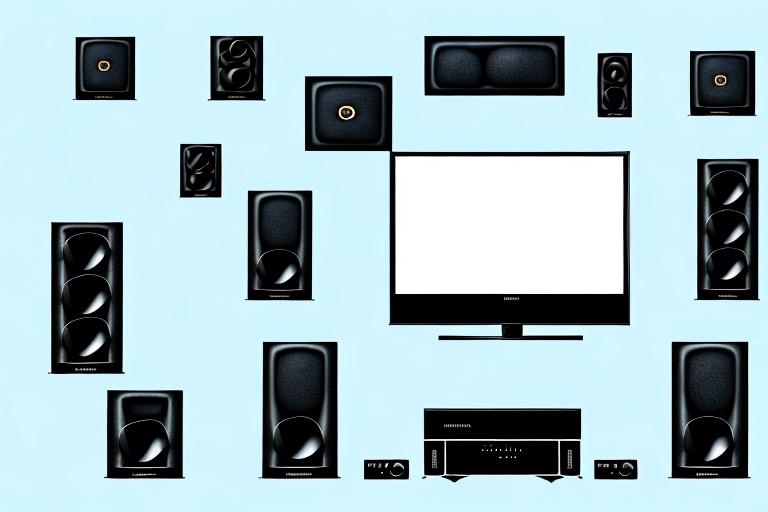
Your Panasonic home theater system comes with four primary components: a TV, speakers, a media player, and an amplifier. The TV is used as the display device for the home theater system. However, you do not need to use a Panasonic TV to connect your home theater system to a receiver. Speakers come in different sizes and shapes to cater to your specific needs. The media player is responsible for playing various formats of audio and video files. The amplifier powers the speakers and improves the overall sound quality of the home theater system.
It is important to note that your Panasonic home theater system may also come with additional components, such as a subwoofer or a soundbar. A subwoofer is a specialized speaker that is designed to reproduce low-frequency sounds, such as bass and drums. A soundbar is a long, narrow speaker that is designed to sit below or above your TV and provide a more immersive audio experience.
When setting up your Panasonic home theater system, it is crucial to ensure that all components are properly connected and configured. This includes connecting the media player to your TV, connecting the speakers to the amplifier, and adjusting the audio settings to suit your preferences. By taking the time to understand and properly set up your home theater system, you can enjoy a high-quality audio and visual experience from the comfort of your own home.
Choosing the Right Receiver for Your Panasonic Home Theater System
Choosing the right receiver for your Panasonic home theater system is crucial to ensure optimal performance. A receiver is responsible for decoding compressed audio and amplifying it to your speakers. This creates a surround sound effect that enhances your home theater experience. When choosing a receiver, it is essential to consider your budget, the number of channels, and the compatibility with your Panasonic home theater system.
Another important factor to consider when choosing a receiver for your Panasonic home theater system is the power output. The power output of a receiver determines how loud and clear the sound will be. It is recommended to choose a receiver with a power output that matches the power handling of your speakers. This will ensure that the receiver can drive the speakers to their full potential without distortion or damage. Additionally, some receivers come with advanced features such as built-in Wi-Fi, Bluetooth connectivity, and support for streaming services like Spotify and Pandora. These features can enhance your home theater experience and provide more convenience and flexibility in how you listen to music and watch movies.
Preparing Your Panasonic Home Theater System for Connection
Before connecting your Panasonic home theater system to a receiver, there are a few preparatory steps you need to take. Firstly, ensure that all the components of your home theater system are in working condition. Secondly, disconnect the power cords of all the components of your home theater system to avoid any electrical hazards. Finally, prepare the cables needed for connection.
It is important to note that not all cables are created equal. When preparing the cables for connection, make sure to use high-quality cables that are appropriate for your home theater system. Using low-quality or incorrect cables can result in poor audio and video quality, or even damage to your equipment. It is recommended to use HDMI cables for high-definition video and audio, and optical cables for surround sound audio.
Connecting Your Panasonic Home Theater System to the Receiver: Step by Step Guide
The following are the step by step guide to connecting your Panasonic home theater system to a receiver:
Step 1: Connect the Media Player to the Receiver
Connect the media player to the receiver using an HDMI cable. Make sure to use the HDMI port labeled “out” on the media player and the HDMI port labeled “in” on the receiver.
Step 2: Connect the Receiver to the TV
Connect the receiver to the TV using an HDMI cable or any other compatible cable. Ensure that the HDMI port labeled “out” on the receiver is connected to the HDMI port labeled “in” on the TV.
Step 3: Connect the Speakers to the Receiver
Connect the speakers to the receiver using speaker cables. Ensure to match the polarity of the cable with the speakers and the receiver. The positive and negative terminals of the speakers and the receiver should be connected appropriately.
Step 4: Configure the Audio Settings
Once all the connections are made, configure the audio settings on the receiver. This includes selecting the appropriate input source, adjusting the volume levels, and setting up any additional audio features such as surround sound or equalizer settings. Refer to the user manual for specific instructions on how to configure the audio settings on your Panasonic home theater system.
Configuring the Settings on Your Panasonic Home Theater System
After connecting your Panasonic home theater system to the receiver, it is time to configure the settings. This is done through the user interface of your Panasonic home theater system. Navigate to the settings menu and choose the audio output option. Select the receiver as the audio output device. You can also adjust other settings such as speaker placement and sound modes.
It is important to note that the settings on your Panasonic home theater system can greatly affect the overall audio quality. Take the time to experiment with different settings to find the optimal configuration for your specific setup. Additionally, some Panasonic home theater systems may have advanced features such as built-in equalizers or surround sound options. These features can further enhance your audio experience and should be explored.
If you are having trouble configuring the settings on your Panasonic home theater system, consult the user manual or contact Panasonic customer support for assistance. They can provide guidance on how to properly configure your system and troubleshoot any issues that may arise. With the right settings and configuration, your Panasonic home theater system can provide a truly immersive audio experience for all your entertainment needs.
Troubleshooting Common Issues When Connecting Your Panasonic Home Theater System to Receiver
When connecting your Panasonic home theater system to a receiver, you may encounter a few issues. The most common issues include no sound, distorted sound, and synchronization issues. In such cases, ensure that the cables are connected correctly, the ports are functional, and the settings are configured appropriately. Make sure all components are turned on too.
If you have checked all the connections and settings, and you are still experiencing issues, try resetting both the home theater system and the receiver. This can often resolve any communication errors between the two devices.
Another common issue is interference from other electronic devices. If you have other devices, such as a Wi-Fi router or a microwave, near your home theater system and receiver, try moving them further away to reduce interference. Additionally, make sure that the cables you are using are shielded to prevent interference from other sources.
Tips and Tricks for Getting the Best Sound Quality from Your Connected Panasonic Home Theater System
To get the best sound quality from your connected Panasonic home theater system, you can follow these tips and tricks:
- Ensure that the volume levels are set appropriately
- Adjust the equalizer settings
- Consider buying higher-quality speakers
- Minimize the number of obstructions in your room to allow the sound to travel freely.
By following these guidelines, you can successfully connect your Panasonic home theater system to a receiver and enhance your home theater experience. Enjoy!
Another important tip to consider is the placement of your speakers. The position of your speakers can greatly affect the sound quality of your home theater system. It is recommended to place your front speakers at ear level and equidistant from the center of your TV screen. Additionally, your surround speakers should be placed slightly above ear level and behind your seating area. By properly positioning your speakers, you can create a more immersive and realistic audio experience.