Connecting a microphone to your home theater system can be a bit daunting, especially if you’re not familiar with audio equipment. In this article, we’ll guide you through the process, step by step, to ensure that you get the best sound quality possible. From understanding the different types of microphones to selecting the right cable, you’ll learn everything you need to know to connect your microphone to your home theater system.
Understanding the Different Types of Microphones
Before you start connecting your microphone, it’s important to understand the different types of microphones available. There are two main categories of microphones: dynamic and condenser. Dynamic microphones are great for live performances because they’re able to handle high volumes without distortion. Condenser microphones, on the other hand, are more sensitive and produce a clearer sound, making them ideal for recording. Decide on the type of microphone you need before moving onto the next steps.
It’s also important to consider the polar pattern of the microphone. The polar pattern refers to the directionality of the microphone and how it picks up sound. There are three main types of polar patterns: cardioid, omnidirectional, and bidirectional. Cardioid microphones pick up sound from the front and reject sound from the sides and rear, making them ideal for solo performances or recording vocals. Omnidirectional microphones pick up sound from all directions, making them great for recording ambient sound or group performances. Bidirectional microphones pick up sound from the front and back, but reject sound from the sides, making them ideal for interviews or recording two people in a conversation. Consider the polar pattern that best suits your recording needs when choosing a microphone.
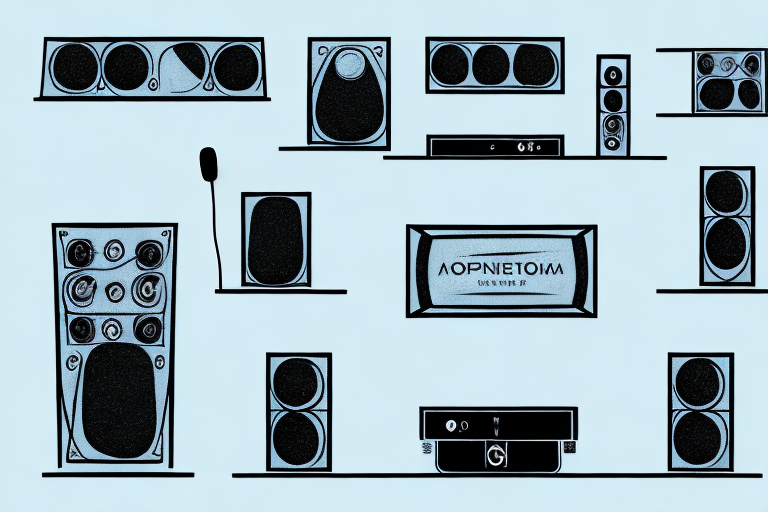
Identifying Your Home Theater System’s Audio Inputs
Once you have your microphone, the next step is to identify your home theater system’s audio inputs. Look for the audio input labeled “Mic” or “Microphone,” which should be located near the audio outputs. If you’re unsure which input to use, consult your home theater system’s user manual for guidance.
It’s important to note that not all home theater systems have a dedicated microphone input. In this case, you may need to use an adapter or connect the microphone to a different input, such as the auxiliary input. Again, consult your user manual for specific instructions.
Additionally, some home theater systems may have multiple microphone inputs, which can be useful for karaoke or other group activities. These inputs may be labeled as “Mic 1,” “Mic 2,” etc. Make sure to select the correct input for your microphone to ensure optimal sound quality.
Choosing the Right Cable for Your Microphone
Choosing the right cable for your microphone is crucial for ensuring good sound quality. We recommend using an XLR cable if possible, as it provides a balanced connection and minimizes any interference. However, if your microphone doesn’t have XLR output, you can use an adapter to connect it to your home theater system’s audio input.
It’s important to note that the length of the cable can also affect the sound quality. If you need to use a longer cable, make sure to choose one with a thicker gauge to prevent signal loss. Additionally, if you plan on using your microphone for live performances, consider investing in a high-quality cable with durable connectors to prevent any accidental disconnections during your performance.
Another factor to consider when choosing a cable for your microphone is the type of shielding it has. Shielding helps to protect the signal from interference, and there are different types of shielding available, such as braided or foil shielding. If you’re using your microphone in a noisy environment, such as a live concert, it’s recommended to choose a cable with better shielding to minimize any unwanted noise or interference.
Setting Up Your Microphone on a Stand or Holder
Once you have the right cable and have identified the audio input, it’s time to set up your microphone on a stand or holder. This will help ensure that your microphone is in the best position to capture sound. Adjust the stand or holder so that the microphone is at a comfortable height for you and close enough to your mouth to pick up your voice clearly.
When setting up your microphone on a stand or holder, it’s important to consider the environment you will be recording in. If you are in a noisy room, you may need to position the microphone closer to your mouth to reduce background noise. On the other hand, if you are in a quiet room, you may want to position the microphone slightly further away to avoid picking up any breathing or mouth noises.
Another important factor to consider when setting up your microphone is the type of microphone you are using. Some microphones, such as condenser microphones, are more sensitive and require a shock mount to reduce vibrations and handling noise. Be sure to research the specific requirements for your microphone and adjust your stand or holder accordingly.
Adjusting Your Home Theater System’s Audio Settings
Before using your microphone, you’ll need to adjust your home theater system’s audio settings. Check your system’s manual to ensure that you’re using the correct settings for your specific microphone. Once you’ve adjusted the settings, do a quick test recording to ensure that everything sounds good.
It’s important to note that the acoustics of your room can also affect the audio quality of your recordings. Consider adding sound-absorbing materials, such as curtains or acoustic panels, to reduce echoes and improve sound clarity. Additionally, make sure to position your microphone correctly for optimal sound capture. Experiment with different placements to find the best spot for your microphone.
Testing and Troubleshooting Your Microphone Connection
If your microphone isn’t producing the sound quality you desire, there may be a problem with your connection. Check that all cables are securely connected and that there are no signs of damage. If you’re still having issues, consult your microphone’s manual or contact the manufacturer for additional troubleshooting steps.
Another possible reason for poor microphone quality is interference from other electronic devices. Try moving your microphone away from any other devices, such as speakers or cell phones, and see if that improves the sound quality.
It’s also important to check your computer’s audio settings to ensure that your microphone is selected as the input device. If it’s not selected, your computer may be using the built-in microphone instead, which could be causing the poor sound quality.
Tips for Improving the Sound Quality of Your Microphone
To get the best sound quality possible, we recommend investing in a pop filter to minimize any popping sounds when speaking into your microphone. You can also adjust the microphone’s position and distance from your mouth to get the best sound quality.
Another tip for improving the sound quality of your microphone is to use a shock mount. A shock mount helps to isolate the microphone from any vibrations or movements that may cause unwanted noise. This is especially useful if you are recording in a room with a lot of foot traffic or if you are using a microphone stand that is not very stable.
Additionally, it is important to consider the environment in which you are recording. If you are in a room with a lot of echo or reverb, the sound quality of your microphone may suffer. To combat this, you can try recording in a smaller room or using sound-absorbing materials such as blankets or foam panels to reduce the amount of echo in the room.
Using a Mixer to Enhance Your Audio Experience
If you want to take your audio experience to the next level, consider using a mixer. A mixer allows you to control the levels of each audio input, including your microphone. This allows for more precise adjustment and can help improve your sound quality even further.
Another benefit of using a mixer is the ability to add effects to your audio. Many mixers come with built-in effects such as reverb, delay, and compression. These effects can help add depth and richness to your audio, making it sound more professional and polished.
Additionally, using a mixer can simplify your setup if you have multiple audio sources. Instead of having to adjust the levels of each source individually, you can control them all from one central location. This can save time and make your workflow more efficient.
Common Mistakes to Avoid When Connecting a Microphone to a Home Theater System
When connecting a microphone to your home theater system, there are several common mistakes to avoid. These include failing to check your audio input, using the wrong cable, and not adjusting your audio settings correctly. Avoid these mistakes by following the steps outlined in this article, and you’ll be on your way to great sound quality in no time.
That’s everything you need to know about connecting a microphone to your home theater system. By following these steps, you’ll be able to enjoy high-quality sound for all your audio needs.
However, there are a few additional tips that can help you get the most out of your microphone and home theater system. Firstly, consider investing in a microphone preamp. This device can help boost the signal from your microphone, resulting in clearer and more powerful sound. Additionally, make sure to position your microphone correctly. Placing it too close to speakers or other electronic devices can cause interference and distortion.
Lastly, don’t forget to test your microphone and audio settings before any important event or performance. This will ensure that everything is working properly and that you won’t encounter any unexpected issues during your presentation or recording.