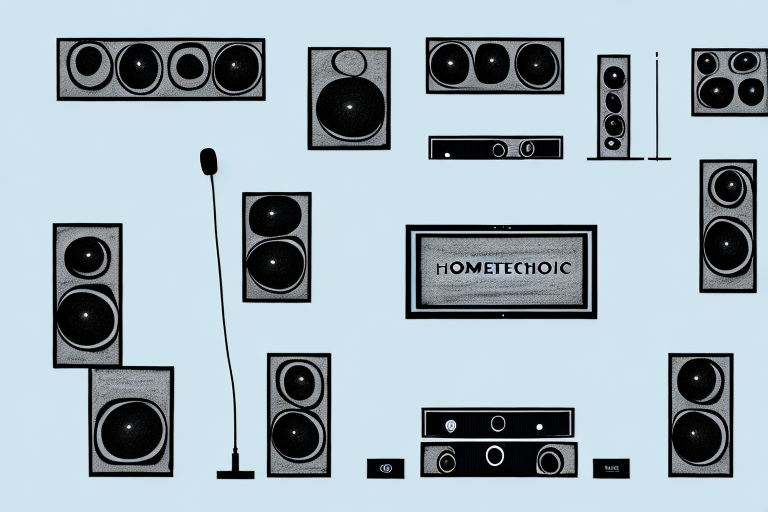
Do you want to take your home entertainment system to the next level? Perhaps you want to host karaoke nights, give speeches, or record podcasts from the comfort of your own home. To do any of these things, you will need to connect a microphone to your home theater system. In this article, we will go over everything you need to know to successfully connect a microphone to your home theater system.
Understanding the Different Types of Microphones
Before choosing a microphone for your home theater system, you should first understand the different types of microphones available. There are three main types of microphones: dynamic, condenser, and ribbon. Dynamic microphones are durable and require no external power source, making them a popular choice for live performances. Condenser microphones, on the other hand, offer higher sensitivity and are better for studio recording. Ribbon microphones are known for their warm and natural sound, but can be fragile and expensive.
It’s important to note that there are also subcategories within each type of microphone. For example, dynamic microphones can be further classified as moving coil or ribbon, each with their own unique characteristics. Similarly, condenser microphones can be categorized as large diaphragm or small diaphragm, which affects their frequency response and polar pattern.
When selecting a microphone, it’s also important to consider the intended use and environment. For outdoor recordings or performances, a dynamic microphone may be more suitable due to its durability and ability to handle high sound pressure levels. In a controlled studio environment, a condenser microphone may be preferred for its sensitivity and ability to capture subtle nuances in sound.
Choosing the Right Microphone for Your Home Theater System
Now that you know the different types of microphones, you can choose the right microphone for your home theater system. Consider what you’ll be using the microphone for and how much you’re willing to spend. For karaoke nights, a dynamic microphone would be ideal. For podcast recordings, a condenser microphone would be better suited.
It’s also important to consider the sensitivity of the microphone. If you have a large room or plan on recording from a distance, a microphone with higher sensitivity would be necessary to pick up sound accurately. Additionally, if you plan on using the microphone for live performances, a wireless microphone would provide more freedom of movement. Keep in mind that higher quality microphones may come with a higher price tag, but investing in a good microphone can greatly improve the overall sound quality of your home theater system.
Understanding the Audio Inputs and Outputs on Your Home Theater System
It’s important to understand the audio inputs and outputs on your home theater system so that you can properly connect your microphone. Most home theater systems have a dedicated microphone input, but if not, you can use a line input or an auxiliary input. Make sure to read the manual of your specific home theater system to know which input to use.
Additionally, it’s important to consider the type of microphone you are using. Some microphones require phantom power, which is a voltage that is sent through the microphone cable to power the microphone. If your microphone requires phantom power, make sure to connect it to an input that provides this power. Also, keep in mind that some home theater systems have different audio settings for different inputs, so you may need to adjust the settings for the microphone input to get the best sound quality.
Setting Up Your Home Theater System for Microphone Use
Once you’ve identified the appropriate input for your microphone, it’s time to set up your home theater system for microphone use. Turn off your home theater system and unplug it. Connect the microphone to the appropriate input and plug in your home theater system. Turn on your home theater system and adjust the volume as necessary.
It’s important to note that not all home theater systems are compatible with microphones. Before purchasing a microphone, check the specifications of your home theater system to ensure that it has a microphone input. If it doesn’t, you may need to purchase an external preamp or mixer to connect your microphone to your home theater system. Additionally, make sure to test your microphone before using it for an important event or presentation to ensure that it’s working properly and that the volume levels are appropriate for your needs.
Connecting a Wired Microphone to Your Home Theater System
If you’re using a wired microphone, connect it directly to the microphone input on your home theater system. Make sure the microphone is securely connected and has enough slack for you to move around while using it.
It’s important to note that not all home theater systems have a dedicated microphone input. In this case, you may need to use an external preamp or mixer to connect your microphone to the system. Be sure to consult your home theater system’s manual or contact the manufacturer for guidance on the best way to connect your microphone.
Additionally, when using a wired microphone, it’s important to minimize any interference or noise that may be picked up by the microphone. This can be done by keeping the microphone away from any electronic devices or power sources, and by using a high-quality shielded cable to connect the microphone to the home theater system.
Connecting a Wireless Microphone to Your Home Theater System
If you’re using a wireless microphone, you’ll need to connect the wireless receiver to the appropriate input on your home theater system. Most wireless microphones come with a receiver that can be plugged into a line or auxiliary input. Make sure the receiver is securely connected and turned on.
It’s important to note that some wireless microphones may require additional setup or configuration before they can be used with your home theater system. Check the user manual or manufacturer’s website for specific instructions on how to set up your wireless microphone.
Another thing to consider is the distance between the wireless microphone and the receiver. Make sure the microphone is within range of the receiver to ensure a strong and clear signal. If you experience any interference or dropouts, try moving the microphone closer to the receiver or adjusting the frequency settings.
Troubleshooting Common Mic Connection Issues on Your Home Theater System
If you’re experiencing issues with your microphone connection, there are a few things you can try. Make sure your microphone is securely connected to the appropriate input and that your home theater system is turned on. Adjust the volume levels and check to see if your microphone is muted. If you’re still experiencing issues, refer to the manual for your specific home theater system or contact customer support for additional assistance.
Another common issue with microphone connections is interference from other electronic devices. Try moving your microphone away from other devices, such as speakers or cell phones, to see if this improves the connection. Additionally, make sure that your microphone is compatible with your home theater system. Some microphones may require additional adapters or settings to work properly.
If you’re using a wireless microphone, check the batteries to make sure they are fully charged. Weak batteries can cause connection issues and poor sound quality. You may also need to adjust the frequency settings on your wireless microphone to avoid interference from other wireless devices in your home.
Tips and Tricks for Improving the Sound Quality of Your Microphone on Your Home Theater System
If you want to improve the sound quality of your microphone on your home theater system, there are a few tips and tricks you can try. Use a pop filter to reduce popping and hissing sounds. Experiment with microphone placement to find the best sound. And finally, invest in quality microphone cables to reduce noise interference.
Another tip for improving the sound quality of your microphone on your home theater system is to adjust the microphone’s gain level. If the gain level is too high, it can cause distortion and feedback. If it’s too low, your voice may not be loud enough. Adjust the gain level until you find the right balance for your setup.
Using Your Microphone with Other Audio Devices on Your Home Theater System
Finally, you can use your microphone with other audio devices on your home theater system. For example, you could connect your microphone to your TV to enhance the sound quality of your favorite shows and movies. Experiment with different audio devices and settings to find your ideal setup.
With this comprehensive guide on how to connect a microphone to your home theater system, you’ll be able to take your home entertainment to the next level. Whether you’re hosting karaoke nights or recording podcasts, you’ll have the knowledge and tools to successfully connect your microphone and achieve high-quality sound.
Additionally, using a microphone with your home theater system can also improve the audio quality of video games. By connecting your microphone to your gaming console or computer, you can communicate with other players and enhance the overall gaming experience. Make sure to adjust the audio settings in your game to optimize the microphone’s performance.