If you’re looking to enhance your home theater system by using an OTA (Over-the-Air) device, you’re on the right track. OTA technology allows you to receive and watch over-the-air television broadcasts, providing you with a vast range of channels and content, often in high definition quality. However, to do so, you do need to understand how to connect your OTA to your home theater system. In this article, we’ll explore everything you need to know to get started, including choosing the right OTA device, preparing your home theater system, connecting your OTA device step-by-step, optimizing your OTA viewing experience, exploring advanced tips to enhance audio and video quality, comparing OTA vs cable TV, and examining the future of OTA technology and its impact on home theater systems. So, let’s dive in and get started!
Understanding OTA and Home Theater System
Before we get into the details of connecting OTA to your home theater system, let’s first understand what OTA technology is and what a home theater system comprises.
An OTA device receives over-the-air signals from local broadcasters and then uses these signals to display television content such as popular network shows, local news, and sports programming. The quality of reception depends on your location and the strength of the signal.
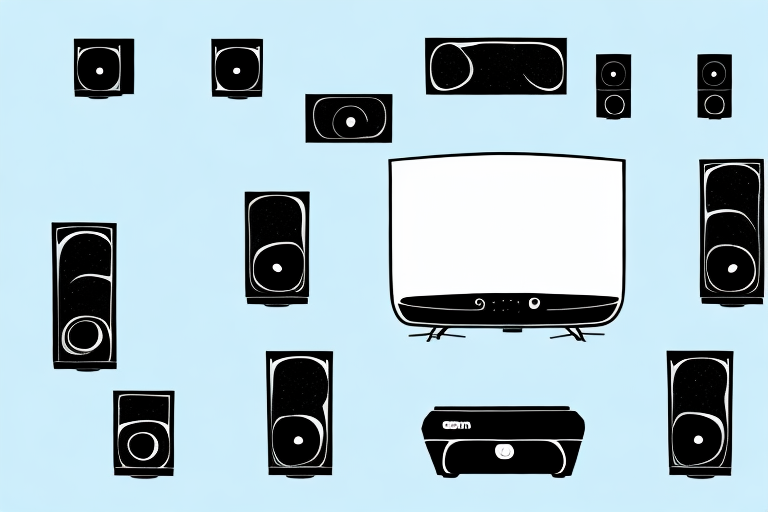
A home theater system, on the other hand, is a multimedia setup consisting of a television, speakers, and media player(s). It’s designed to provide an immersive cinema-like experience in the comfort of your own home.
When it comes to OTA technology, it’s important to note that it’s a free alternative to cable or satellite TV. This means that you don’t have to pay a monthly subscription fee to access local channels. Additionally, OTA signals are uncompressed, which means that the picture and sound quality are often better than what you would get with cable or satellite.
As for home theater systems, they come in a variety of configurations and price points. Some systems may include a soundbar and a Blu-ray player, while others may have a full surround sound setup with a projector and screen. It’s important to consider your budget and the size of your room when choosing a home theater system that’s right for you.
Choosing the Right OTA Device for Your Home Theater System
The first step in connecting OTA to your home theater system is choosing the right OTA device. There are many options to choose from, ranging from simple digital antennas to more advanced OTA tuners that can record live television.
When selecting an OTA device, consider factors such as the strength of the signal in your area, the compatibility of the device with your home theater system, and the features you need.
It is also important to consider the cost of the OTA device. While some devices may be more expensive, they may offer additional features that are worth the investment. On the other hand, a simple digital antenna may be a more affordable option for those on a budget.
Preparing Your Home Theater System for OTA Connection
Before connecting your OTA device to your home theater system, you need to prepare your home theater system for the OTA connection. This includes ensuring the correct ports are available and that your system is set up to support the device.
Most OTA devices connect to your home theater system via HDMI or coaxial cables. Ensure your TV has HDMI or coaxial inputs and that you have the necessary cables.
If your home theater system does not have the necessary ports, you may need to purchase an adapter or converter to make the connection possible. It is important to research and purchase the correct adapter or converter to ensure compatibility with your devices.
Additionally, you may need to adjust the settings on your home theater system to optimize the OTA connection. This may include adjusting the resolution or aspect ratio to match the capabilities of your TV and OTA device.
Connecting Your OTA Device to Your Home Theater System: Step-by-Step Guide
Now that you have chosen the right OTA device and prepared your home theater system, you can start connecting your OTA device to your home theater system:
- Connect the coaxial cable from the OTA device’s output to the input of the TV.
- Connect the HDMI cable from the OTA device to the HDMI input of the TV, if available.
- If your home theater system has an amplifier or soundbar, connect the OTA device to it using an optical or HDMI cable.
- Turn on your TV and OTA device and make sure your home theater system is set to the right input.
- Follow the on-screen instructions to scan for available OTA channels.
- Once the scan is complete, you should be able to watch live TV channels on your home theater system through your OTA device.
It is important to note that the quality of your OTA signal may be affected by various factors such as distance from the broadcast tower, weather conditions, and interference from other electronic devices. If you experience poor signal quality, you may need to adjust the placement of your OTA device or invest in a signal booster.
Additionally, some OTA devices come with built-in DVR capabilities, allowing you to record and pause live TV. If this is a feature you are interested in, make sure to choose an OTA device with DVR capabilities and follow the manufacturer’s instructions for setting it up.
Troubleshooting Common Issues When Connecting OTA to Your Home Theater System
Despite following these steps, you may face some issues with your OTA connection. Here are some common issues to watch out for and some troubleshooting tips:
- No Signal or Poor Reception: Check if your antenna is properly connected and that there are no obstructions such as tall buildings or trees blocking the signal.
- Audio/Video Issues: Check the cables and their connections, ensure they are properly plugged in, and have no physical damage.
- Audio/Video Sync Issues: Check the TV’s audio settings if you’re using an external soundbar or amplifier.
- Weak Broadcast Signal: Check the signal strength and consider investing in a more powerful antenna.
Another common issue that you may face when connecting OTA to your home theater system is the inability to receive certain channels. This could be due to the distance between your antenna and the broadcast tower, or the direction in which your antenna is facing. You can try repositioning your antenna or investing in a directional antenna to improve your reception.
If you’re experiencing intermittent signal loss or pixelation, it could be due to weather conditions such as heavy rain or snow. In this case, there’s not much you can do except wait for the weather to clear up. However, if the issue persists even in clear weather, it could be due to a weak signal or a damaged cable. You can try replacing the cable or investing in a signal amplifier to boost your signal strength.
Optimizing Your OTA Viewing Experience with Your Home Theater System
Once you have successfully connected OTA to your home theater system, you can optimize your viewing experience. Here are some tips to help:
- Change the display settings on your TV for optimal viewing based on the content being watched.
- Invest in a high-quality OTA device to improve the quality of the broadcast signal and minimize interruptions.
- Use a dedicated remote control for your OTA device to simplify switching channels and making adjustments.
- Consider adding a media streaming device to your home theater system for access to additional content.
Another way to optimize your OTA viewing experience is to ensure that your home theater system is properly calibrated. This can be done by using a calibration disc or hiring a professional to calibrate your system. Proper calibration can improve color accuracy, contrast, and overall picture quality.
Advanced Tips for Enhancing Audio and Video Quality of OTA on Your Home Theater System
For a better audio and video experience, here are some advanced tips:
- Invest in a good-quality soundbar or amplifier to improve the sound quality of your OTA broadcasts.
- Consider buying a UHD TV to enjoy the highest quality content.
- Activate Motion Smoothing on your TV to reduce motion blur and improve the visual quality of fast-moving images.
- Use a color calibration tool to fine-tune your TV’s color settings and get accurate color reproduction.
Another way to enhance the audio quality of your OTA broadcasts is to use a digital-to-analog converter (DAC). This device converts the digital audio signal into an analog signal, which can then be amplified by your soundbar or amplifier. This can result in clearer and more detailed sound.
If you’re experiencing buffering or slow streaming, you may want to consider upgrading your internet connection. A faster internet speed can help improve the quality of your OTA streaming, especially if you’re streaming in high definition or 4K. You can also try connecting your streaming device directly to your router with an Ethernet cable, instead of using Wi-Fi, to improve the stability of your connection.
Comparing OTA vs Cable TV: Which is Better for Your Home Theater System?
When deciding between OTA and cable TV for your home theater system, there are a few things to keep in mind.
Firstly, OTA is a more affordable option as it doesn’t require a monthly subscription, unlike cable TV. Secondly, OTA offers local content that may not be available on cable TV, such as regional sports games and local news. However, cable TV provides greater channel selection, including premium channels and live sports.
Another factor to consider is the quality of the picture and sound. OTA broadcasts are typically uncompressed, which means they offer better picture and sound quality compared to cable TV. However, the quality of OTA broadcasts can be affected by weather conditions and other external factors.
Additionally, if you are interested in streaming content, cable TV may be a better option as it often includes access to streaming services like Netflix and Hulu. On the other hand, OTA does not offer any streaming services and requires a separate device to access them.
Exploring the Future of OTA Technology and Its Impact on Home Theater Systems
The future of OTA technology seems especially bright, with newer technologies like ATSC 3.0 promising 4K and HDR content. In addition, improvements in signal strength and channel availability will continue to make OTA a popular choice for watching live TV on a home theater system.
In conclusion, connecting OTA to a home theater system is a great way to diversify your viewing options. By following our guide, you can enjoy a high-quality viewing experience without having to pay for a monthly cable TV subscription. So, what are you waiting for? Get started and enjoy live TV on your home theater system!