Are you ready to up your home entertainment game? A DVD home theater system is a great investment to take the viewing experience to the next level. But setting up a home theater system can be intimidating. Thankfully, with the right equipment and a little know-how, you can easily connect your DVD home theater system in no time. In this article, we’ll take you step-by-step through the process and cover everything you need to know to get the most out of your system.
Gather the Necessary Equipment
The first step to connecting your DVD home theater system is to gather the necessary equipment. For most systems, you will need a DVD player, a TV, a receiver, and speakers. You will also need various cables to connect each of these components. Make sure you have the right cables for your system; you may need HDMI, RCA, or optical audio cables.
It is important to note that the quality of your cables can greatly affect the overall performance of your home theater system. Investing in high-quality cables can result in better sound and picture quality. Additionally, you may want to consider purchasing a surge protector to protect your equipment from power surges and voltage spikes.
Before you begin connecting your system, it is also a good idea to read the instruction manuals for each component. This will ensure that you are connecting everything correctly and will help you troubleshoot any issues that may arise. Once you have gathered all of your equipment and cables and have familiarized yourself with the instruction manuals, you are ready to begin setting up your DVD home theater system.
Understand the Components of a DVD Home Theater System
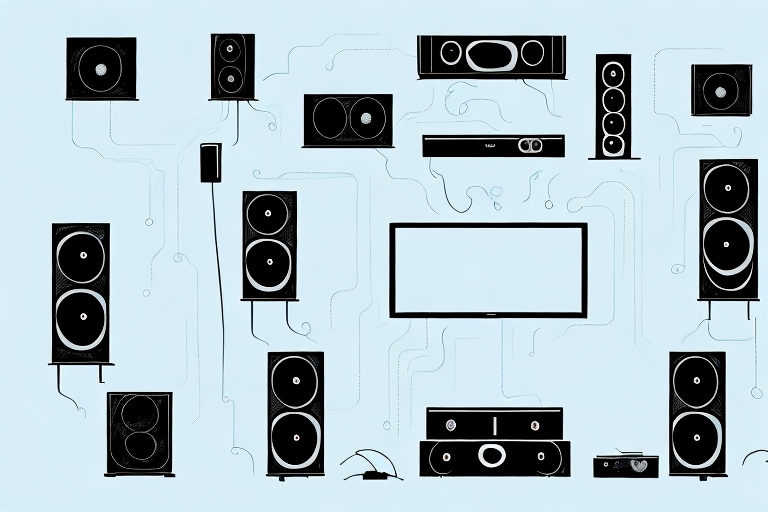
Before you start connecting cables, it’s important to understand the different components of your DVD home theater system. The DVD player is the central component of the system and plays your DVDs. The receiver is responsible for receiving and processing audio signals from all of your components, including the DVD player. The speakers are what give you the surround sound experience.
Another important component of a DVD home theater system is the subwoofer. This speaker is responsible for producing low-frequency sounds, such as bass and drums, which add depth and richness to your audio experience. Some home theater systems come with a separate subwoofer, while others have it built into the speakers.
It’s also important to consider the type of connections your DVD home theater system has. Most modern systems have HDMI connections, which provide high-quality audio and video signals. However, if you have an older TV or other components, you may need to use RCA or component connections instead.
Identify the Best Connection Method for Your System
There are several different ways to connect your DVD home theater system, so it’s important to identify the best method for your specific system. HDMI cables are the most common type of connection and allow for high-quality audio and video. However, if your system doesn’t support HDMI, you may need to use RCA or optical audio cables.
Another important factor to consider when choosing a connection method is the distance between your DVD player and your TV or audio system. If the distance is too great, HDMI cables may not be the best option as they can only transmit signals up to a certain distance. In this case, you may need to use a wireless HDMI transmitter or a longer RCA cable.
It’s also worth noting that some older DVD players may not have any of these connection options and may only have a coaxial cable output. In this case, you will need to use a coaxial to RCA converter to connect your DVD player to your TV or audio system.
Connecting Your DVD Player to a TV
To connect your DVD player to your TV, use an HDMI cable or RCA cables. If you use an HDMI cable, simply plug one end into the DVD player and the other into an available HDMI port on your TV. If you use RCA cables, plug the red and white cables into the corresponding audio-out ports on your DVD player and into the audio-in ports on your TV. Connect the yellow cable to the video-out port on your DVD player and the video-in port on your TV.
It’s important to note that some older TVs may not have HDMI ports, in which case you will need to use RCA cables. Additionally, if you have a newer TV with multiple HDMI ports, make sure to select the correct input on your TV to display the DVD player’s output. If you’re still having trouble connecting your DVD player to your TV, consult the user manual for both devices or contact the manufacturer for assistance.
Connecting Your Speakers to the Receiver
The next step is to connect your speakers to your receiver. First, determine how many speakers you have. Most systems have five speakers and a subwoofer, but some may have more. Once you know how many speakers you have, use speaker wire to connect each speaker to the corresponding speaker output on your receiver. Make sure you connect the positive and negative terminals correctly; this is critical for proper sound quality.
It’s important to note that the length of your speaker wire can affect the sound quality as well. If the wire is too long, it can cause a decrease in volume and clarity. On the other hand, if the wire is too short, it can limit your ability to position your speakers where you want them. It’s recommended to use high-quality speaker wire that is the appropriate length for your setup to ensure the best possible sound.
Setting Up Your Surround Sound Speakers
To get the full surround sound experience, you need to set up your speakers properly. Start by positioning your front left and right speakers on either side of your TV, facing the center of the room. Place your center speaker above or below your TV, facing your seating area. Position your rear left and right speakers behind your seating area, facing the center of the room. Finally, position your subwoofer near a wall for optimal bass.
It’s important to note that the type of room you have can also affect the sound quality of your surround sound system. If you have a large, open room with high ceilings, you may need to adjust the volume levels of your speakers to compensate for the extra space. Additionally, if your room has a lot of hard surfaces like tile or hardwood floors, you may need to add some soft furnishings like curtains or rugs to help absorb sound and prevent echoes. Taking these factors into consideration can help you achieve the best possible sound from your surround sound system.
Configuring Your Audio Settings for Best Sound Quality
Once you’ve connected everything, it’s time to configure your audio settings for the best sound quality. Use your system’s setup menu to adjust bass and treble levels, set speaker distances, and adjust speaker volumes. This will optimize your system for the best sound quality.
It’s also important to consider the acoustics of the room where your audio system is located. If the room has hard surfaces, such as tile or hardwood floors, sound can bounce around and create echoes. To combat this, consider adding soft furnishings, such as curtains or rugs, to absorb some of the sound. Additionally, if your system has a room correction feature, use it to adjust for any acoustic issues in the room.
Troubleshooting Common Connection Issues
If you encounter any issues during the setup process, such as flickering video or no sound, check your connections. Make sure all cables are securely plugged in and that you’ve selected the correct input on your TV and receiver. If you’re still having issues, consult your system’s manual or contact customer support for assistance.
Another common issue that can arise is slow or intermittent internet connectivity. This can be caused by a variety of factors, such as distance from the router, interference from other devices, or outdated equipment. To improve your internet connection, try moving your router to a central location, minimizing the number of devices connected to it, or upgrading to a newer router or modem. You can also contact your internet service provider for further assistance.
Optimizing Your Home Theater Experience with Additional Accessories
Once your DVD home theater system is set up and running smoothly, you may want to consider additional accessories to enhance your experience. A soundbar can add even more immersive sound to your system, while a universal remote can simplify control over all of your home theater components. Consider adding a subwoofer or upgraded speakers for an even better viewing experience.
In conclusion, setting up your DVD home theater system can seem daunting, but with the right equipment and a little patience, it’s a straightforward process. Follow our step-by-step guide and optimize your home entertainment experience today!
Another accessory to consider is a projector, which can provide a larger and more cinematic viewing experience. Projectors come in a variety of sizes and resolutions, so be sure to choose one that fits your space and budget. Additionally, a projector screen can enhance the image quality and provide a dedicated space for your home theater setup. With a projector and screen, you can enjoy movies, TV shows, and even video games on a big screen from the comfort of your own home.