Are you tired of the clutter underneath your TV set or simply want to improve your home décor? Building a wall mount TV stand is an excellent idea, as it not only enhances the beauty of your living room, but also saves valuable floor space. With a DIY TV stand, you can customize it according to your preferences and budget. In this guide, we will take you through the step-by-step process of building your own wall mount TV stand. Read on to discover the advantages of building your own TV stand, the materials and tools you need, how to measure and cut the wood, assembling the components, mounting the bracket, and maintenance tips.
Introduction to Wall Mount Tv Stands
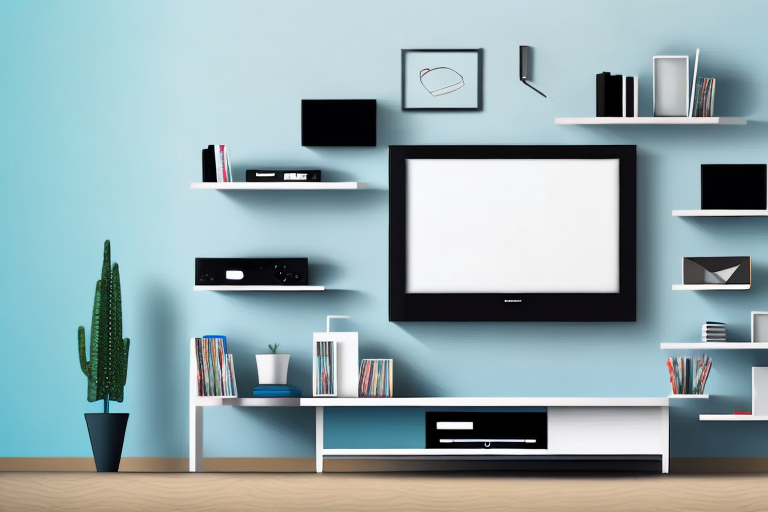
A wall mount TV stand enables you to mount your TV on the wall while providing space for shelving, drawers or cabinets for organizing your devices, game consoles or DVD collections. Although premade TV stands are readily available at stores, they may not fit the specific needs of your home. A DIY wall mount TV stand can be customized according to your preferred materials, design, and sizes. Whether you are a DIY enthusiast or a professional woodworker, a wall mount TV stand project can be an excellent way to improve your home décor and maximize utilization of space.
In addition to the customization options, wall mount TV stands also offer a sleek and modern look to your living space. By eliminating the need for a bulky TV stand, you can create a more open and spacious feel in your room. This can be especially beneficial for smaller living spaces where every inch of floor space counts.Another advantage of wall mount TV stands is the improved viewing experience. By mounting your TV at eye level, you can reduce neck and eye strain, making it more comfortable to watch your favorite shows or movies for extended periods of time. Additionally, wall mount TV stands can be adjusted to different angles, allowing you to find the perfect viewing position for your seating arrangement.
Advantages of Building Your Own Wall Mount Tv Stand
Building your own wall mount TV stand comes with several advantages. Firstly, you have full control over the design, size and materials used. Secondly, you can save money by using leftover wood or recycled materials. Furthermore, building your own TV stand ensures that it fits perfectly with the decor of your living room. Finally, a DIY TV stand can be a rewarding and challenging project that will improve your woodworking skills.
In addition to these benefits, building your own wall mount TV stand also allows you to customize it to fit your specific needs. For example, you can add shelves or compartments to store your media devices or remote controls. You can also incorporate cable management systems to keep your cords organized and out of sight. By building your own TV stand, you can create a functional and personalized piece of furniture that enhances your viewing experience.
Materials and Tools Required to Build a Wall Mount Tv Stand
Before you start building, you will need to gather the following materials and tools:
- 2 x 4 wood planks
- 3/4-inch wood sheets
- Wood screws
- Wood glue
- Sandpaper and wood filler
- Paint, stain or varnish
- Level
- Drill/driver
- Circular saw or handsaw
- Wood clamps
- Tape measure or ruler
- Safety gear (gloves, goggles)
It is important to note that the size of the wall mount TV stand will depend on the size of your TV. Make sure to measure your TV and adjust the dimensions of the stand accordingly. Additionally, you may want to consider adding cable management features to the stand to keep cords and cables organized and out of sight.
When selecting the wood for your stand, consider the weight of your TV and choose a sturdy, durable wood that can support the weight. You may also want to choose a wood that matches the decor of the room where the stand will be placed.
Measuring and Cutting the Wood for Your Wall Mount Tv Stand
After you have gathered all the required materials and tools, you can start building your TV stand. The first step is to measure and cut the wood according to the design of your TV stand. You can use a circular saw or a handsaw to cut the wood to the required length and width. Ensure that you have enough wood for the shelf, sides, and back of your TV stand.
Once you have cut the wood to size, smooth the edges using sandpaper and wood filler. Sanding ensures that the wood is smooth and ready for finishing.
It is important to note that when measuring and cutting the wood, you should always double-check your measurements to avoid any mistakes. It is also recommended to wear safety goggles and gloves when using power tools to prevent any accidents. Additionally, if you are unsure about any aspect of the cutting process, it is always best to seek advice from a professional or experienced woodworker.
Sanding and Finishing Your Wall Mount Tv Stand
Before you assemble the different components of your TV stand, you need to sand and finish the wood. Sand the wood using several grits of sandpaper, starting with a coarse grit and ending with a fine grit. Sanding ensures that the wood is smooth and ready for finishing. Once you are satisfied with the sanding, apply a stain, paint or varnish to the wood for a beautiful finish.
It is important to note that the type of finish you choose will affect the overall look and durability of your TV stand. Stains enhance the natural beauty of the wood grain, while paints offer a wider range of color options. Varnishes provide a protective layer that can withstand wear and tear. Consider the style and decor of your room when choosing a finish for your TV stand.
Assembling the Different Components of Your Wall Mount Tv Stand
After you have cut the wood and finished the pieces, the next step is to assemble the different components of your TV stand. Using wood glue and screws, join the sides, back, and shelf of the TV stand together. Use the level to ensure that everything is squared up before attaching the other components. Ensure that the assembly is secure before mounting it to the wall.
Once the TV stand is assembled, you can add any finishing touches, such as sanding down any rough edges or painting the stand to match your room’s decor. It’s important to let any paint or finish dry completely before mounting the stand to the wall.When mounting the TV stand to the wall, make sure to use appropriate hardware and follow the manufacturer’s instructions carefully. It’s also a good idea to have someone assist you in holding the stand in place while you secure it to the wall. Once the stand is securely mounted, you can attach your TV and enjoy your new wall-mounted entertainment center.
Preparing the Wall for Mounting the Tv Stand
Before mounting your TV stand, you need to ensure that the wall is free from debris and dust that may interfere with the mounting process. Use a level to ensure that your TV stand will be mounted straight on the wall.
Additionally, it is important to locate the studs in the wall to ensure that the TV stand is securely mounted. You can use a stud finder to locate the studs, or you can tap the wall to listen for a solid sound, which indicates the presence of a stud. Once you have located the studs, mark their positions on the wall with a pencil. This will help you to accurately mount the TV stand and prevent it from falling or becoming unstable.
Installing the Wall Mount Bracket for Your Tv Stand
You will need to install a wall mount bracket for your TV stand. Measure and mark where the bracket will be mounted on the wall, ensuring that it is level. Use a drill/driver to attach the wall mount bracket to the wall, making sure that it is secure.
Once the wall mount bracket is securely attached to the wall, you can then attach the mounting plate to the back of your TV. Make sure to use the appropriate screws and follow the manufacturer’s instructions for your specific TV model. Once the mounting plate is attached to the TV, you can then hang the TV onto the wall mount bracket.It is important to note that the weight of your TV should not exceed the weight limit specified by the wall mount bracket. If your TV is too heavy, it can cause the bracket to fail and potentially damage your TV or injure someone. Always double-check the weight limit before purchasing a wall mount bracket and installing it.
Attaching the Wall Mount Tv Stand to the Bracket
After installing the wall mount bracket, you can now attach the TV stand to it. Use wood screws to attach the stand to the bracket, ensuring that it is secure. Use a level to ensure that the TV stand is mounted straight.
It is important to make sure that the weight of the TV is evenly distributed on the stand. Check the weight limit of the bracket and ensure that the TV does not exceed it. If the TV is too heavy, it may cause the stand to become unstable and fall off the bracket.
Before attaching the TV to the stand, make sure that all cables and wires are properly connected. This will prevent any damage to the TV or the cables during the installation process. Once the TV is securely attached to the stand, you can adjust the angle and height of the TV to your desired position.
Cable Management Tips for a Clean Look on Your Wall Mount Tv Stand
Cable clutter can spoil the look of your TV stand. To avoid this, use cable clips to hold your cables and wires in place. You can also use a cable organizer to conceal the cables within the TV stand.
Troubleshooting Common Problems with Your Wall Mount Tv Stand
If you encounter any issues with your wall mount TV stand, such as instability or wobbling, ensure that all the screws and components are tightened properly. Alternatively, you can adjust the assembly and cable management to ensure that everything is in the right place.
Maintenance and Cleaning of Your Wall Mount Tv Stand
To maintain your wall mount TV stand, regularly dust it using a soft cloth or feather duster. Avoid using abrasive chemicals or cleaners that may damage the finish. Ensure that the screws, cables, and fittings are tight to prevent any instability.
Conclusion: Enjoying Your DIY Wall Mounted TV Stand
Building a DIY wall mount TV stand is an excellent way to improve your home décor and maximize utilization of space. With the right materials, tools, and a little bit of creativity, you can build your own TV stand within a short time. The above guide takes you through the step-by-step process of building your wall mount TV stand, from measuring and cutting the wood to cable management, troubleshooting and maintenance. Follow these steps carefully and enjoy your DIY wall mount TV stand!