If you’re planning to upgrade your television viewing experience with a digital receiver, you might be wondering how to mount it to your TV. In this article, we will guide you through the entire process of mounting your digital receiver, step by step.
Understanding the Basics of Digital Receivers
A digital receiver is a device that allows you to receive digital television signals and convert them into a format that can be displayed on your TV. They are available in various types and come with features such as recording, playback, and streaming options. To make the most of your digital receiver, you need to mount it securely and connect it correctly to your TV.
One of the most important things to consider when choosing a digital receiver is its compatibility with your TV. Some receivers may not work with certain types of TVs, so it’s important to check the specifications before making a purchase. Additionally, you should also consider the type of digital signal that your receiver can receive, as some receivers may only be able to receive standard definition signals while others can receive high definition signals.
Another important feature to look for in a digital receiver is its user interface. A good user interface can make it easier to navigate through channels and access different features. Some receivers may also come with additional features such as parental controls, electronic program guides, and the ability to pause and rewind live TV. By considering these factors, you can choose a digital receiver that meets your needs and enhances your TV viewing experience.
Types of Digital Receivers Available in the Market
There are many types of digital receivers available in the market, such as standard, HD, and 4K receivers. Standard receivers offer basic features, while HD and 4K receivers come with high-quality picture and sound. The type of receiver you choose will depend on your specific needs and budget.
Another type of digital receiver available in the market is the satellite receiver. This type of receiver is used to receive satellite signals and can offer a wide range of channels from different countries. Some satellite receivers also come with features such as recording and pause live TV.
In addition to satellite receivers, there are also cable receivers. These receivers are used to receive cable TV signals and can offer a variety of channels and packages. Cable receivers also come with features such as on-demand content and DVR recording.
Tools Required for Mounting a Digital Receiver to a TV
Before mounting your digital receiver, make sure you have all the necessary tools. You will need a drill, screwdriver, measuring tape, level, and mounting brackets. Some receivers come with a mounting kit in the box, so check if this is the case before purchasing any extra equipment.
It is important to choose the right location for your digital receiver. Make sure it is placed near a power outlet and has good ventilation to prevent overheating. Avoid mounting it near any heat sources or in direct sunlight.
Before drilling any holes, double-check the measurements and make sure the mounting brackets are level. It is also a good idea to have someone assist you during the installation process to ensure the receiver is mounted securely and safely.
Identifying the Right Location to Mount Your Digital Receiver
The first step in mounting your digital receiver is to identify the right location. Choose a spot that is convenient for you to access and provides enough space for your receiver and cables. It should also have good ventilation and be away from direct sunlight or heat sources.
Another important factor to consider when identifying the right location to mount your digital receiver is the proximity to other electronic devices. Keep your receiver away from other devices that emit electromagnetic interference, such as microwaves, cordless phones, and Wi-Fi routers. This will help to ensure that your receiver operates at its optimal level and reduces the risk of signal interference or loss.
Measuring the Distance and Height for Proper Installation
Once you have identified the location, measure the distance and height between your TV and the mounting spot. This will help you determine the screw holes on the bracket that will fit your TV and receiver. Ensure that the bracket’s size matches the VESA pattern on the TV, or you can purchase a universal bracket if necessary.
It is also important to consider the viewing angle when determining the height of the TV. The center of the screen should be at eye level when seated for optimal viewing experience. Additionally, if you plan on mounting the TV above a fireplace, make sure to take into account the heat generated by the fireplace and choose a bracket that can withstand high temperatures.
Removing Obstructions and Preparing the Surface for Mounting
Before mounting the bracket, remove any obstructions and clean the surface where you plan to mount the receiver. Use a level to ensure the surface is straight and flat. If you’re mounting the bracket on the wall, ensure that it’s sturdy and can support the combined weight of the TV and the receiver.
It’s also important to consider the location of the mount. If you’re mounting the TV in a high-traffic area, make sure it’s at a comfortable viewing height and angle. If you’re mounting it in a bedroom, consider the distance from the bed and the angle of the mount for optimal viewing.
Additionally, if you’re mounting the bracket outside, make sure it’s weather-resistant and can withstand the elements. You may also need to use special hardware to secure the bracket to the surface, such as masonry anchors for brick or concrete walls.
Attaching the Bracket to Your Digital Receiver and TV
Attach the bracket to your digital receiver and TV according to the manufacturer’s instructions. Use the screws provided in the kit and ensure that the bracket is securely attached to both devices. Make sure that the bracket is straight and level to avoid any instability and cable management issues.
It is important to note that the weight of your TV should not exceed the weight limit specified by the bracket manufacturer. Exceeding this limit can cause the bracket to fail and potentially damage your TV or injure someone. Always double-check the weight limit before attaching the bracket to your TV and digital receiver.
Securing the Digital Receiver to the Wall or TV Stand
Once the bracket is attached, you can secure the digital receiver to the wall or TV stand. Use the screws provided in the mounting kit and ensure that the receiver is securely attached to the bracket.
It is important to make sure that the digital receiver is level when attaching it to the bracket. Use a level to ensure that the receiver is straight before securing it to the bracket. This will prevent any issues with the receiver being tilted or crooked, which could affect its performance.
If you are attaching the digital receiver to a wall, make sure that you are using the appropriate hardware for the type of wall you are mounting it on. For example, if you are mounting it on drywall, you will need to use anchors to ensure that the screws are securely fastened. If you are unsure about the type of hardware you need, consult with a professional or refer to the manufacturer’s instructions.
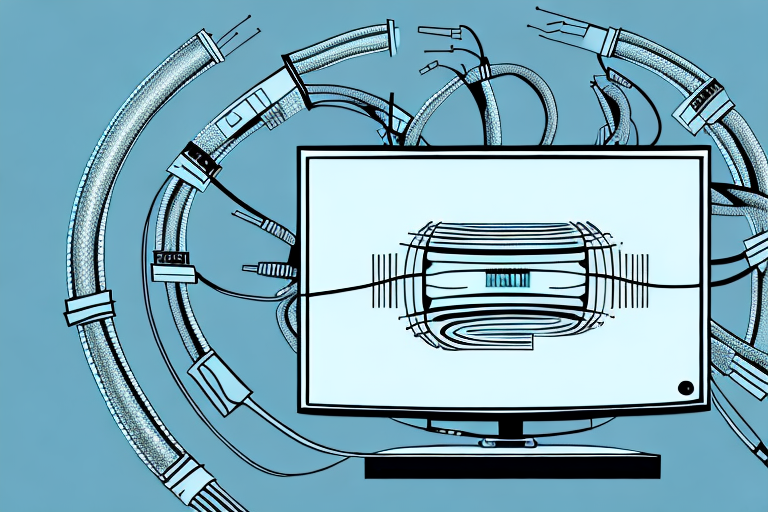
Connecting Your Digital Receiver to Your Television Set
Connect your digital receiver to your television set using an HDMI cable or other appropriate cables. Plug one end of the cable into the receiver and the other end into your TV. Follow the manufacturer’s instructions to complete the setup process.
It is important to ensure that your TV is set to the correct input source to receive the signal from your digital receiver. This can usually be done by pressing the “Input” or “Source” button on your TV remote and selecting the appropriate input source. If you are unsure which input source to select, refer to your TV or receiver manual for guidance. Once you have selected the correct input source, you should be able to access your digital channels and enjoy high-quality picture and sound.
Testing Your Setup and Troubleshooting Common Issues
Test your setup by turning on your TV and checking that the digital receiver is working correctly. If you experience any problems, consult the manual or contact the manufacturer’s customer support for assistance. Common issues include poor reception, no sound, or cable management issues.
It is also important to check that all cables are securely connected and that there are no loose connections. Loose connections can cause signal loss and affect the quality of your viewing experience. Additionally, make sure that your TV and digital receiver are both set to the correct input source. This can be easily overlooked and can cause confusion when troubleshooting issues.
Tips for Maintaining Your Digital Receiver Installation Over Time
Ensure that your digital receiver is regularly cleaned to prevent dust buildup that can affect performance. Check the cables and connections periodically to ensure they are securely attached and not damaged. If you need to move your receiver, ensure you follow the manufacturer’s instructions to avoid damaging it. Lastly, always consult the manual or manufacturer’s website for any specific maintenance or troubleshooting issues.
In conclusion, mounting your digital receiver to your TV isn’t a complicated process, but it requires careful planning and attention to detail. Follow these steps, and you’ll be enjoying high-quality digital television programming in no time.
It’s important to note that digital receivers can also be affected by power surges or lightning strikes. To protect your receiver, consider investing in a surge protector or unplugging it during thunderstorms. Additionally, if you notice any unusual behavior or performance issues with your receiver, don’t hesitate to contact the manufacturer’s customer support for assistance.