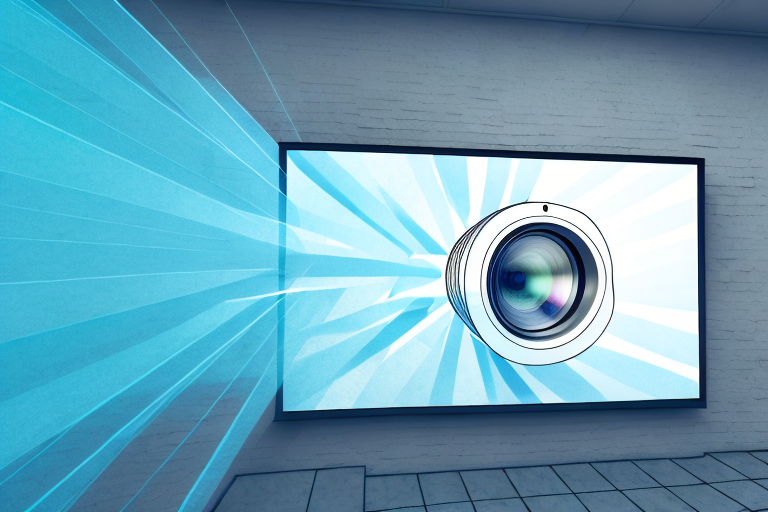
Mounting a front projector TV can be a daunting task, but with the right tools, preparation, and step-by-step guidance, it can be a relatively straightforward process. In this article, we will guide you through the mounting process and highlight the benefits of choosing a front projector TV. We will also discuss the different types of front projector TVs available, how to choose the right mount, and troubleshoot common issues that can arise during the mounting process. So, without further ado, let’s get started!
Step-by-Step Guide to Mounting a Front Projector TV:
Before we begin, it’s essential to ensure that you have all the necessary tools and equipment available. These include a drill, stud finder, level, screwdriver, bolts, brackets, and safety goggles, among other tools. Once you have gathered everything required, you can proceed with the following steps:
Step 1: Choose the right location for mounting
When mounting a front projector TV, the first thing to consider is the location. You want a location that is free from reflections and clutter and has ample space for the screen. Ideally, the room should also be dark enough to create an optimal viewing experience.
Step 2: Mark the location of your mount
Use a stud finder to locate the studs in the wall, and mark the location of your mount. This will help you to ensure that the mount is properly secured and fixed in place.
Step 3: Attach the brackets to the mount
Attach the brackets to the mount by using the bolts and a screwdriver. Make sure to follow the manufacturer’s instructions and ensure that the brackets are securely fixed in place.
Step 4: Attach the mount to the wall
Using a drill, attach the mount to the wall by drilling pilot holes into the marked studs, and secure the bracket to the wall using the bolts and screws.
Step 5: Attach the front projector TV to the mount
Once the mount is securely installed, attach the front projector TV to the mount by using the screws and brackets that come with the TV. Follow the manufacturer’s instructions and ensure that the TV is properly secured to the mount.
Step 6: Adjust the projector TV
After attaching the TV to the mount, adjust the angle and height of the TV until it is in the desired position. Use a level to ensure that the TV is perfectly level and adjust it accordingly.
Step 7: Test your installation
Once you have mounted your front projector TV, test it by turning it on and checking the placement and image quality. Make any necessary adjustments to ensure that you have the optimal viewing experience.
It’s important to note that the weight of the front projector TV should also be taken into consideration when choosing a location and mounting it. Make sure that the mount and brackets you choose can support the weight of your TV to avoid any accidents or damage to your equipment.
The Benefits of Choosing a Front Projector TV:
Front projector TVs offer numerous benefits over traditional TVs. These include:
- Large screen size: Front projector TVs can produce larger screens than traditional TVs, which makes for a more immersive viewing experience.
- Picture quality: Front projector TVs often have superior picture quality, with better color accuracy and contrast.
- Flexibility: Front projector TVs can be easily mounted on the ceiling or wall, allowing for flexibility in placement and saving space.
- Cost-effective: Despite their larger screen size, front projector TVs can be more cost-effective than traditional TVs.
- Longer lifespan: With no backlight, front projector TVs can significantly outlast traditional TV models.
Another benefit of front projector TVs is their ability to create a true cinema experience in your home. With the ability to project onto a large screen, you can enjoy movies and TV shows in the same way they were meant to be seen, with a big screen and immersive sound.
Additionally, front projector TVs are ideal for gaming enthusiasts. With their large screen size and superior picture quality, you can enjoy your favorite games in a whole new way. Plus, the flexibility in placement allows you to create a gaming setup that is tailored to your preferences.
Understanding the Different Types of Front Projector TVs:
When choosing a front projector TV, it’s important to understand the different types available:
- DLP (Digital Light Processing): DLP projectors use a chip to create images by reflecting light onto the screen.
- LCD (Liquid Crystal Display): LCD projectors use liquid crystals to create images and are known for their bright and vivid colors.
- LCoS (Liquid Crystal on Silicon): LCoS projectors use a reflective surface to create images and offer superior picture quality and black levels.
It’s also important to consider the resolution of the front projector TV. The most common resolutions are 1080p and 4K. 1080p is a high-definition resolution that offers a clear and detailed picture, while 4K offers even more detail and clarity.
Another factor to consider is the brightness of the projector. The brightness is measured in lumens, and the higher the lumens, the brighter the image will be. If you plan on using the projector in a bright room, you’ll want to choose a projector with a higher lumen count to ensure a clear and visible image.
Choosing the Right Mount for Your Front Projector TV:
When choosing a mount for your front projector TV, consider the following:
- Weight capacity: Ensure that the mount can support the weight of your TV.
- Compatibility: The mount should be compatible with your specific model of front projector TV.
- Type of mount: There are several types of front projector TV mounts, including ceiling mounts, wall mounts, and tabletop mounts.
- Adjustability: Choose a mount that offers adjustability for optimal viewing angles.
- Installation: Choose a mount that comes with clear instructions and is easy to install.
Another important factor to consider when choosing a mount for your front projector TV is the viewing distance. The mount should be positioned at a distance that allows for comfortable viewing, without causing eye strain or discomfort. This distance will depend on the size of your TV and the layout of your room.
Additionally, you may want to consider the aesthetics of the mount. Some mounts are designed to be hidden or blend in with the decor of your room, while others are more visible and can add a modern or industrial touch to your space. Choose a mount that fits your personal style and complements the overall look of your room.
Tools Required for Mounting a Front Projector TV:
Some of the essential tools required for mounting a front projector TV include:
- Stud finder
- Level
- Drill
- Socket wrench
- Screwdriver
- Bolts and screws
- Brackets
- Safety goggles
Before mounting a front projector TV, it is important to consider the location and placement of the TV. The room should have minimal ambient light and the projector should be placed at a distance that allows for the desired screen size. Additionally, it is important to ensure that the projector is mounted securely to prevent any accidents or damage to the TV.
Another important factor to consider when mounting a front projector TV is the type of wall or ceiling that the TV will be mounted on. It is important to use the appropriate hardware and brackets for the specific type of wall or ceiling to ensure that the TV is mounted securely and safely.
Preparing Your Wall for Mounting a Front Projector TV:
Before mounting your front projector TV, prepare your wall in the following ways:
- Clean the area where you will mount the TV, removing any dust or debris.
- Locate the studs in the wall
- Mark the location for your mount.
Additionally, it is important to consider the lighting in the room where you will be mounting your front projector TV. Ideally, the room should have minimal ambient light to ensure the best viewing experience. You may want to consider installing blackout curtains or shades to block out any excess light. It is also important to position the TV away from any windows or light sources to avoid glare on the screen.
Installing Your Front Projector TV Mount on the Wall:
Follow these steps to install your front projector TV mount:
- Attach the brackets to the mount.
- Attach the mount to the wall, ensuring it is securely fastened to the studs.
- Attach the front projector TV to the mount using the screws and brackets that come with the TV.
Before you begin the installation process, make sure you have all the necessary tools and equipment, including a drill, level, and stud finder. It is also important to have a helper to assist you in lifting and positioning the mount.
Once the mount is securely attached to the wall, use the level to ensure that it is straight and adjust as necessary. It is also recommended to test the mount’s stability by gently pulling on it before attaching the TV.
Attaching Your Front Projector TV to the Mount:
When attaching your front projector TV to the mount, follow the manufacturer’s instructions and ensure that it is securely fastened to the mount.
It is also important to consider the placement of the mount and the projector TV. Make sure that the mount is attached to a sturdy surface and that the projector TV is positioned at the appropriate distance and angle for optimal viewing. Additionally, be sure to use the appropriate cables and connectors to connect the projector TV to your audio and video sources.
Adjusting Your Front Projector TV after Mounting:
Once you have attached your front projector TV to the mount, adjust the angle and height of the TV until it is in the desired position, using a level to ensure that it is level.
Troubleshooting Common Issues When Mounting a Front Projector TV:
Common issues that can arise when mounting a front projector TV include:
- Difficulty finding studs.
- Misalignment of brackets.
- Inadequate support from the mount.
- Poor picture quality due to incorrect placement or alignment.
If you encounter any of these issues, adjust your installation accordingly, consult the manufacturer’s instructions or seek professional assistance if needed.
Tips for Proper Maintenance of Your Front Projector TV and Mount:
Proper maintenance of your front projector TV and mount can extend their lifespan and ensure peak performance. Some tips for proper maintenance include:
- Clean the projector lens and screen regularly to remove dust and debris.
- Check the mount for any signs of wear or damage and replace any faulty components.
- Use a surge protector to protect your equipment from power surges
- Ensure that the projector has adequate ventilation to avoid overheating.
Conclusion:
Mounting a front projector TV can seem like a challenging task, but with the right tools and guidance, it can be a relatively straightforward process. By following our step-by-step guide, you can mount your front projector TV with ease and enjoy the many benefits that come with owning one. Remember to choose the right mount for your specific model of front projector TV, maintain proper ventilation and cleaning, and seek professional assistance if necessary. We hope this article has been informative and helpful in guiding you through the process of mounting your front projector TV!